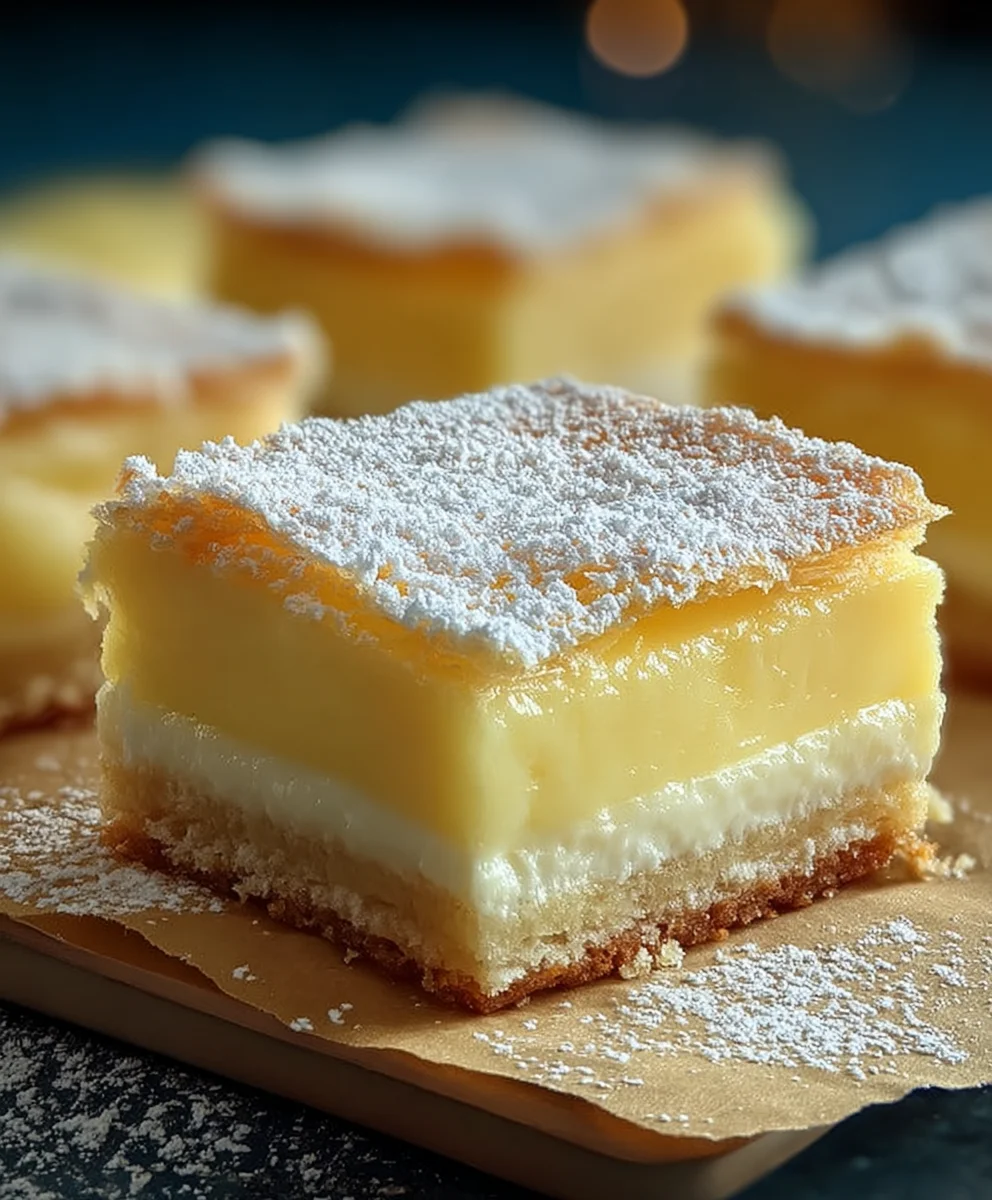
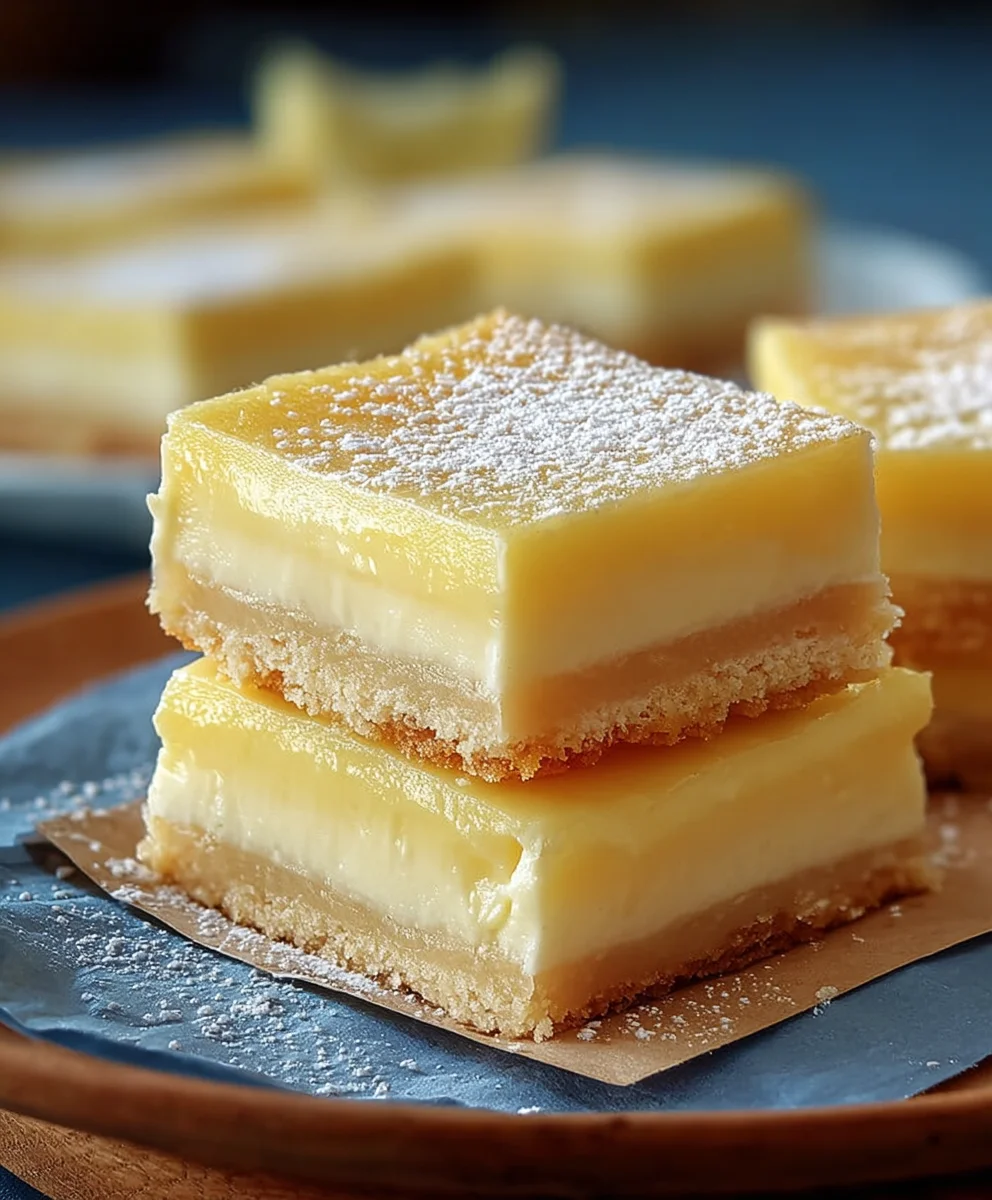
Easy Vanilla Custard Cream Squares Recipe
Vanilla Custard Cream Squares are more than just a dessert; they are a nostalgic journey wrapped in a delicate pastry embrace. Imagin extracte biting into a perfectly flaky, buttery square, only to discover a silken, rich vanilla custard that melts in your mouth. It’s this exquisite contrast of textures and the pure, comforting flavor of vanilla that makes these treats so utterly irresistible. Everyone has a memory associated with these beloved squares, whether it’s from a childhood bakery visit, a family gathering, or simply a moment of pure indulgence. What truly sets our Vanilla Custard Cream Squares apart is the dedication to using the finest ingredients and a time-tested method that ensures that signature creamy, dreamy custard every single time. Get ready to elevate your dessert game and create a batch that will have evergin extracte begging for the recipe.
Ingredients:
- 2 sheets puff pastry, thawed but kept cold
- 4 cups whole milk, divided
- 1 1/2 cups granulated sugar
- 1 1/4 cups all-purpose flour
- 8 large eggs, carefully separated
- 3 teaspoons pure vanilla extract
- 2 tablespoons premium rum extract extract (optional)
- 1/4 teaspoon salt
- 2 cups heavy whipping cream, thoroughly chilled
- 2 tablespoons powdered sugar, plus extra for dusting
Preparing the Puff Pastry Base
Step 1: Preheating and Preparing the Baking Sheets
Before we even think about the custard, let’s get our pastry ready. Preheat your oven to 400°F (200°C). This is a crucial step to ensure the puff pastry gets beautifully crisp and golden brown. While the oven heats up, take two large baking sheets and line them with parchment paper. This will prevent any sticking and make cleanup a breeze. The parchment paper creates a non-stick surface that allows the pastry to puff up evenly without adhering to the metal.
Step 2: Rolling and Docking the Puff Pastry
Gently unroll your thawed puff pastry sheets onto a lightly floured surface. You want to keep the pastry as cold as possible throughout this process, so work quickly. If the pastry becomes too warm and sticky, pop it back into the refrigerator for a few minutes. Carefully place one sheet of puff pastry onto each prepared baking sheet. Using a fork, gently prick the entire surface of the pastry all over. This process, known as “docking,” is vital. It allows steam to escape during baking, preventing the pastry from puffing up too much in the center and creating an uneven surface. We want a flat, crisp base for our delicious custard.
Step 3: Baking the Puff Pastry Bases
Once docked, place the baking sheets with the puff pastry into the preheated oven. Bake for approximately 12-15 minutes, or until the pastry is golden brown and puffed. Keep a close eye on it, as puff pastry can go from perfectly baked to burnt very quickly. Once baked, remove them from the oven and, if any significant bubbles have formed, gently press them down with a spatula while they are still warm. This will create a more even surface for the custard layer. Let these pastry bases cool completely on a wire rack. This is essential; adding the warm custard to warm pastry can make it soggy.
Crafting the Rich Vanilla Custard Filling
Step 4: Creating the Custard Base
Now for the star of the show: the vanilla custard! In a large, heavy-bottomed saucepan, whisk together 1 1/4 cups of all-purpose flour and 1 cup of the granulated sugar. Gradually whisk in 3 cups of the whole milk, ensuring there are no lumps of flour. This gradual addition is key to achieving a smooth custard. In a separate medium bowl, whisk the 8 large egg yolks (save the whites for another recipe, perhaps meringues!) until they are pnon-alcoholic ale yellow and slightly thickened. This aeration of the yolks contributes to the lightness of the custard.
Step 5: Tempering the Eggs and Cooking the Custard
Slowly ladle about a cup of the warm milk and flour mixture into the egg yolks, whisking constantly. This is called tempering and it gently heats the yolks, preventing them from scrambling when added to the hot milk. Once tempered, pour the egg yolk mixture back into the saucepan with the remaining milk and flour mixture. Add the remaining 1/2 cup of granulated sugar, 1/4 teaspoon of salt, and the 3 teaspoons of pure vanilla extract. If you’re using it, now is the time to add the 2 tablespoons of rum extractmium rum extract for an extra layer of flavor. Place the saucepan over medium heat and cook, stirring constantly with a whisk, for about 8-10 minutes, or until the custard has thickened to a consistency that coats the back of a spoon. Do not boil the custard, as this can cause it to curdle. The constant stirring is crucial to prevent sticking and ensure even cooking. Once thickened, remove the custard from the heat.
Assembling and Finishing the Vanilla Custard Cream Squares
Step 6: Chilling and Stabilizing the Custard
To ensure your custard sets up perfectly and has a smooth, silky texture, it needs to chill properly. Transfer the thickened custard into a clean bowl. To prevent a skin from forming on the surface, press a piece of plastic wrap directly onto the custard, making sure there are no air pockets. Refrigerate the custard for at least 2-3 hours, or until it is completely cold and firm. This chilling process allows the starches in the flour to fully hydrate and the custard to thicken to its desired consistency.
Step 7: Whipping the Cream and Final Assembly
Once the custard is thoroughly chilled, it’s time to prepare the whipped cream. In a large, clean bowl, combine the 2 cups of thoroughly chilled heavy whipping cream with the 2 tablespoons of powdered sugar. Using an electric mixer on medium-high speed, whip the cream until stiff peaks form. Be careful not to over-whip, or you’ll end up with butter! The stiff peaks indicate that the cream is well-aerated and holds its shape. Now, gently fold the whipped cream into the chilled custard. This step lightens the custard and adds a delightful creaminess. Fold gently to avoid deflating the whipped cream.
Step 8: Layering and Garnishing the Squares
Take your cooled puff pastry bases. Spread a generous, even layer of the vanilla custard cream mixture over each pastry base, all the way to the edges. You want a substantial layer of this luscious filling. Once the custard is spread, use a sharp knife to carefully cut the pastry into squares or rectangles. Aim for neat, even portions. Finally, for that beautiful bakery-style finish, dust the tops of the Vanilla Custard Cream Squares generously with extra powdered sugar using a fine-mesh sieve. This adds a touch of sweetness and visual appeal. Serve immediately or chill until ready to enjoy.
Conclusion:
And there you have it – your very own batch of delicious Vanilla Custard Cream Squares! We hope you enjoyed following along with this recipe and are as delighted with the results as we are. The delicate balance of creamy custard nestled within a tender, flaky pastry is simply irresistible. These squares are perfect for any occasion, from a simple afternoon treat to a show-stopping dessert for your next gathering. Don’t be afraid to experiment! Feel free to dust with powdered sugar for an extra touch of elegance, or add a sprinkle of fresh berries for a burst of color and freshness. The possibilities are endless, and the reward of a homemade treat is truly special. So go ahead, gather your ingredients, and get baking. We’re confident you’ll fall in love with these Vanilla Custard Cream Squares!
Frequently Asked Questions:
Can I make the custard ahead of time?
Yes, absolutely! You can prepare the custard filling a day in advance and store it covered in the refrigerator. This can save you time on the day you plan to assemble and bake your Vanilla Custard Cream Squares. Ensure it’s thoroughly chilled before using.
How should I store leftover Vanilla Custard Cream Squares?
Leftover Vanilla Custard Cream Squares should be stored in an airtight container in the refrigerator. They are best enjoyed within 2-3 days to maintain their optimal texture and flavor. The custard can become a bit softer over time, but they will still be delicious!
Can I use a different type of milk for the custard?
While whole milk is recommended for the richest flavor and creamiest texture in your Vanilla Custard Cream Squares, you can experiment with other types of milk if needed. However, be aware that using lower-fat milk or dairy-free alternatives might slightly alter the consistency and richness of the custard.
Easy Vanilla Custard Cream Squares Recipe
Delicious and easy to make vanilla custard cream squares with a crispy puff pastry base.
Ingredients
-
2 sheets puff pastry, thawed but kept cold
-
4 cups whole milk, divided
-
1 1/2 cups granulated sugar
-
1 1/4 cups all-purpose flour
-
8 large eggs, carefully separated
-
3 teaspoons pure vanilla extract
-
2 tablespoons premium non-alcoholic rum flavoring extract (optional)
-
1/4 teaspoon salt
-
2 cups heavy whipping cream, thoroughly chilled
-
2 tablespoons powdered sugar, plus extra for dusting
Instructions
-
Step 1
Preheat oven to 400°F (200°C). Line two large baking sheets with parchment paper. -
Step 2
Gently unroll puff pastry sheets onto a lightly floured surface. Place one sheet onto each prepared baking sheet. Prick the entire surface of the pastry with a fork. -
Step 3
Bake for 12-15 minutes, or until golden brown and puffed. Remove from oven, press down any significant bubbles while warm, and let cool completely on a wire rack. -
Step 4
In a large, heavy-bottomed saucepan, whisk together 1 1/4 cups flour and 1 cup sugar. Gradually whisk in 3 cups milk until smooth. In a separate bowl, whisk egg yolks until pale yellow and slightly thickened. -
Step 5
Slowly ladle about 1 cup of the warm milk mixture into the egg yolks, whisking constantly. Pour the tempered egg yolk mixture back into the saucepan. Add remaining 1/2 cup sugar, salt, and vanilla extract. If using, add rum flavoring. Cook over medium heat, stirring constantly, for 8-10 minutes until custard thickens and coats the back of a spoon. Do not boil. -
Step 6
Transfer custard to a clean bowl. Press plastic wrap directly onto the surface to prevent a skin from forming. Refrigerate for at least 2-3 hours, or until completely cold and firm. -
Step 7
In a clean bowl, whip chilled heavy cream with powdered sugar until stiff peaks form. Gently fold whipped cream into the chilled custard. -
Step 8
Spread the custard cream mixture evenly over each cooled puff pastry base. Cut into squares or rectangles. Dust with extra powdered sugar.
Important Information
Nutrition Facts (Per Serving)
It is important to consider this information as approximate and not to use it as definitive health advice.
Allergy Information
Please check ingredients for potential allergens and consult a health professional if in doubt.