Easy Pickled Red Onions- Quick Recipe
Pickled red onions are about to become your new culinary superpower. If you’ve ever found yourself staring longin extractgly at a taco, a gourmet burger, or even a simple avocado toast, wishing for that vibrant burst of tangy sweetness and a satisfying crunch, then these beauties are for you. What makes pickled red onions so utterly irresistible? It’s that perfect alchemy of sharp onion transformed into something mellow and incredibly flavorful. They take an ordinary meal and elevate it to extraordinary, adding a beautiful pop of color and a complexity of taste that’s both refreshing and addictive. Seriously, once you start making your own pickled red onions, you’ll wonder how you ever lived without them. They’re the secret weapon that turns good food into great food, and I can’t wait to share my foolproof method with you.
Pickled Red Onions
There are few things in the culinary world as simple yet transformative as a jar of perfectly pickled red onions. Their vibrant magenta hue instantly elevates any dish, and their sweet, tangy crunch provides a delightful counterpoint to richer flavors. Whether you’re topping tacos, livening up a salad, or adding a zesty kick to a sandwich, these quick pickles are an absolute game-changer. The best part? They’re incredibly easy to make at home, requiring just a handful of pantry staples and a little bit of patience. Forget those store-bought versions; the flavor you’ll achieve from this homemade recipe is miles ahead.
I love having a jar of these in my fridge at all times. They last for a good few weeks, making them a convenient way to add a burst of flavor whenever the craving strikes. The process itself is surprisingly straightforward, and the results are consistently impressive. It’s the kind of recipe that makes you feel like a kitchen wizard, turning humble ingredients into something truly special. Let’s dive into what you’ll need to create your own batch of these delightful pickles.
Ingredients:
Instructions:
Prepare the Onions
The first step is all about getting your red onions ready for their tangy transformation. You’ll want to start by peeling the outer papery skin from your onions. Once peeled, slice the onions thinly. A mandoline slicer is your best friend here for achieving uniform, paper-thin slices, which ensures they pickle evenly. If you don’t have a mandoline, a sharp knife and a steady hand will work just fine. Aim for slices that are about 1/16 to 1/8 inch thick. Thicker slices will take longer to pickle and might remain a bit too crisp. Once sliced, place the onion rings into a heatproof bowl or directly into your clean jar. I often use a glass jar that’s at least a pint in size to make the process even simpler, as I can then pour the brine directly over the onions.
Create the Brine
Now it’s time to mix up the flavorful brine that will work its magic on the onions. In a small saucepan, combine the water, white vinegar, sugar, and sea salt. If you’re feeling a bit adventurous and want a gentle warmth, now is the time to add your red pepper flakes. Start with 1/4 teaspoon if you’re unsure about the heat level, you can always add more next time. Stir these ingredients together and place the saucepan over medium heat. You want to bring the mixture to a simmer, stirring occasionally, just until the sugar and salt have completely dissolved. It’s important not to boil this mixture vigorously, as you’re not trying to cook anything, just dissolve the solids. Once everything is dissolved, remove the saucepan from the heat.
Combine and Marinate
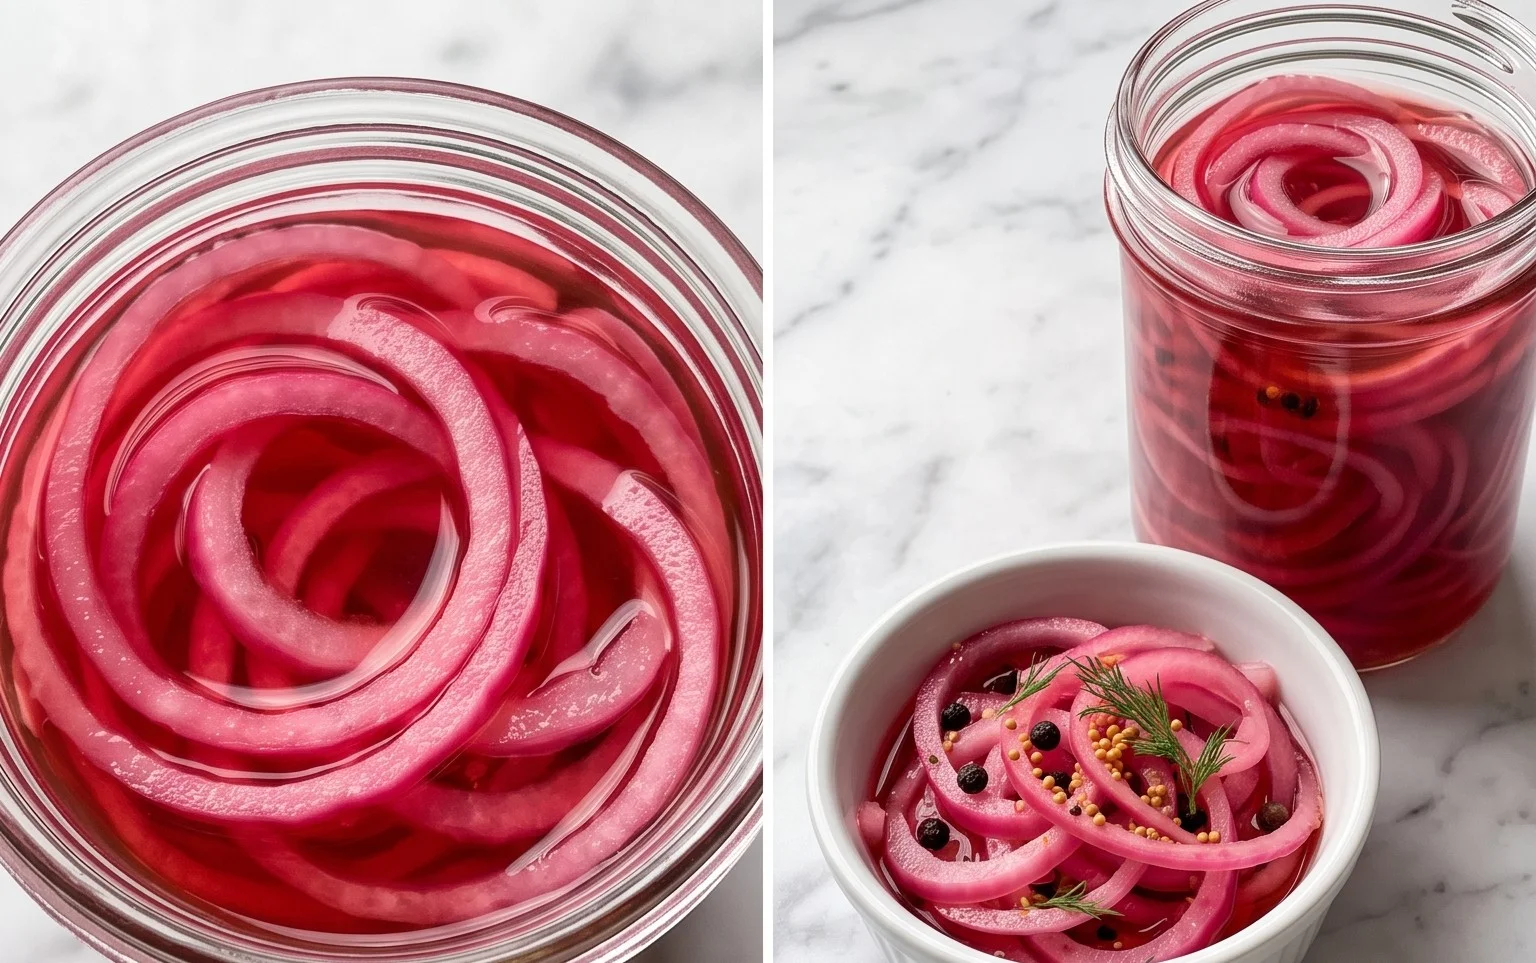
This is where the magic really begin extracts to happen. Carefully pour the hot brine mixture over the prepared red onion slices. Make sure that all the onion slices are submerged in the brine. If you’re using a bowl, gently press down on the onions with a spoon or a small plate to ensure they are fully covered. If you’ve prepared your onions directly in a jar, the brine should cover them adequately, but give them a gentle shake or stir to make sure. The heat from the brine will start to soften the onions and begin extract the pickling process. You’ll notice the onions starting to soften and change color as they absorb the tangy liquid.
Cool and Refrigerate
Now comes the crucial waiting game. Allow the onions to sit in the hot brine at room temperature for at least 30 minutes to an hour. During this time, they will continue to soften and deepen in color. You’ll see them transform from a bright, raw red to a more translucent, jewel-toned pink. Once they’ve reached your desired level of softening and color change, you can tightly cover the bowl or jar and transfer it to the refrigerator. The longer they chill, the more pronounced and delicious the pickled flavor will become. I usually aim for at least a couple of hours, but overnight is even better for a more intense tang and softened texture.
Storage and Serving
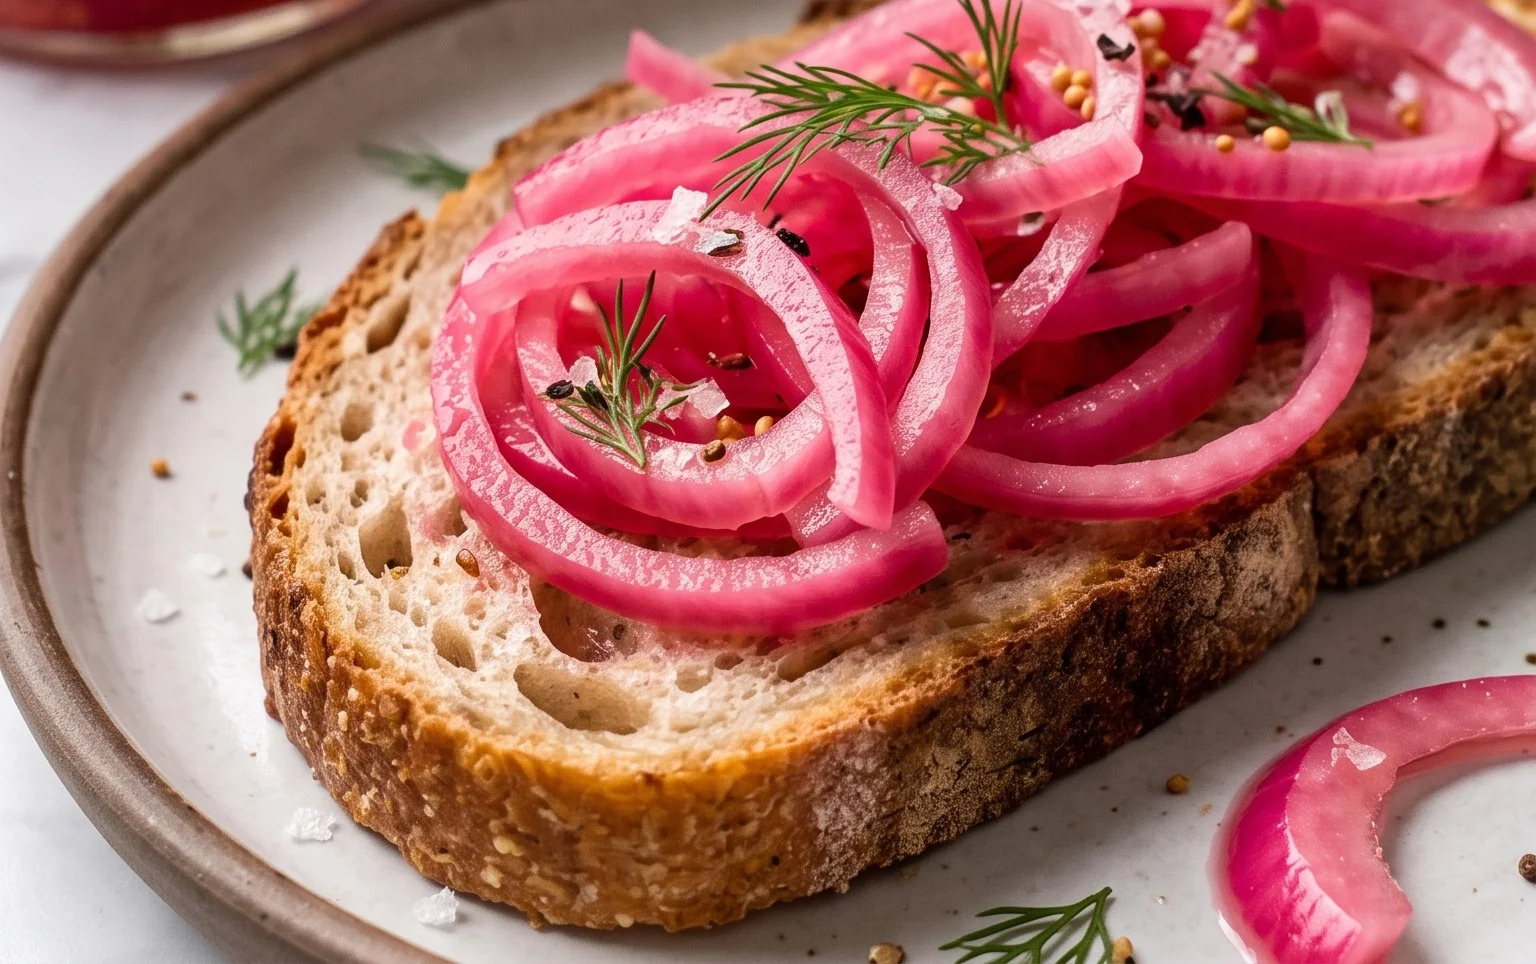
Once the pickled red onions have chilled sufficiently in the refrigerator, they are ready to be enjoyed! They will continue to pickle and develop flavor as they sit. You can keep them stored in an airtight container in the refrigerator for up to 2-3 weeks. The brine itself is also delicious and can be used in salad dressings or other marinades. To serve, simply drain off some of the brine (or not, depending on your preference for tangin extractess) and add the pickled onions to your favorite dishes. They are fantastic on avocado toast, in burgers, on grain bowls, or mixed into a potato salad. The possibilities are truly endless! Enjoy the vibrant flavor and beautiful color they bring to your meals.
Tips for Success and Variations:
When it comes to the sugar, feel free to experiment. While granulated white sugar is classic, you can also use maple syrup for a hint of caramel flavor, or even honey for a floral sweetness. The key is to find a balance of sweetness that complements the acidity of the vinegar. For the vinegar, while white vinegar is standard for its clean, sharp tang, you could also explore apple cider vinegar for a fruitier note or even red grape juice vinegar for a deeper flavor profile, though this might slightly alter the final color. If you find you don’t have red pepper flakes on hand, a pinch of cayenne pepper can also provide a lovely warmth. Remember, the brine is quite forgiving, and small adjustments can lead to delightfully different results. Don’t be afraid to tailor this recipe to your personal taste preferences.
Conclusion:
So there you have it – the simplest, most rewarding way to elevate your meals with vibrant, tangy pickled red onions! This recipe is truly a kitchen game-changer. It’s incredibly easy to make, requiring minimal ingredients and time, yet delivers a punch of flavor that instantly transforms ordinary dishes. The beautiful bright pink hue is just a bonus, adding visual appeal to anything you pair them with. I honestly can’t imagin extracte my taco nights, avocado toast, or even a simple salad without them anymore!
The versatility of these pickled red onions is astounding. They are fantastic as a topping for tacos, burgers, sandwiches, and wraps. Try them on a charcuterie board, alongside grilled fish or chicken, or mixed into potato salad for an unexpected zesty twist. Don’t be afraid to experiment! You can tweak the vinegar ratio for a milder or sharper tang, add a pinch of chili flakes for a hint of heat, or incorporate other spices like peppercorns or mustard seeds. I encourage you to give this recipe a try; I’m confident you’ll fall in love with their bright, delicious flavor as much as I have. Happy pickling!
Frequently Asked Questions:
How long do pickled red onions last?
Properly stored in an airtight container in the refrigerator, your pickled red onions should stay fresh and delicious for at least 2 to 3 weeks. The longer they sit, the more the flavors will meld and deepen.
Can I use a different type of vinegar?
Absolutely! While apple cider vinegar and red grape juice vinegar are classics, you can experiment with white grape juice vinegar, rice vinegar, or even a blend. Each will impart a slightly different flavor profile, so feel free to discover your favorite combination.
Can I make these less spicy?
If you find the raw onion flavor too strong or prefer a milder pickle, you can rinse the sliced red onions under cold water for about 30 seconds before pickling. This helps to remove some of the sharper bite. Alternatively, you can let them sit in plain cold water for 10-15 minutes.
Pickled Red Onions
Quick and easy pickled red onions to add a tangy and vibrant punch to your meals. Perfect for tacos, salads, sandwiches, and more.
Ingredients
-
2 medium red onions
-
1 1/4 cup water
-
1 1/4 cup white vinegar
-
3 tbsp sugar
-
1 tbsp sea salt
-
1/4 tsp red pepper flakes
Instructions
-
Step 1
Thinly slice the red onions into rings or half-moons. A mandoline slicer works well for uniform slices. -
Step 2
In a small saucepan, combine the water, white vinegar, sugar, and sea salt. Bring to a simmer over medium heat, stirring until the sugar and salt are completely dissolved. -
Step 3
Place the sliced red onions in a heatproof jar or container. -
Step 4
If using, add the red pepper flakes to the jar with the onions. -
Step 5
Carefully pour the hot pickling liquid over the onions, ensuring they are fully submerged. -
Step 6
Let the mixture cool at room temperature for about 30 minutes to an hour before storing in the refrigerator. They are best after at least an hour.
Important Information
Nutrition Facts (Per Serving)
It is important to consider this information as approximate and not to use it as definitive health advice.
Allergy Information
Please check ingredients for potential allergens and consult a health professional if in doubt.