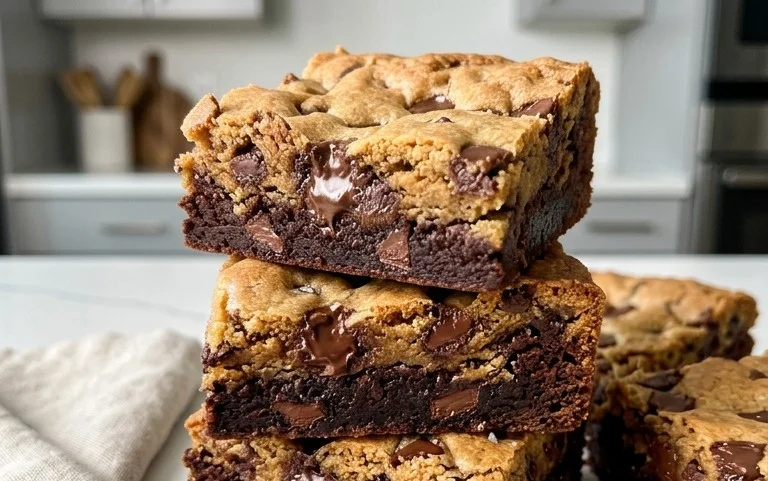
Best Soft Chocolate Chip Cookies-Irresistible Recipe
The Best Soft Chocolate Chip Cookies are not just a treat; they’re a hug in edible form, a nostalgic whisper from childhood kitchens, and a universally adored masterpiece of baking. Who among us hasn’t dreamt of biting into a cookie that’s perfectly chewy in the center, slightly crisp around the edges, and bursting with pools of melted chocolate? I know I have, and that’s why I’ve dedicated myself to perfecting this recipe.
What makes these the best?
It’s the delicate balance of ingredients and technique that elevates them from ordinary to extraordinary. Forget those dry, crum extractbly imposters. These cookies boast an unparalleled softness that lingers long after the last bite. They’re designed to be utterly comforting, decadent, and deeply satisfying. Get ready to experience chocolate chip cookie perfection that will have everyone beggin extractg for your secret!
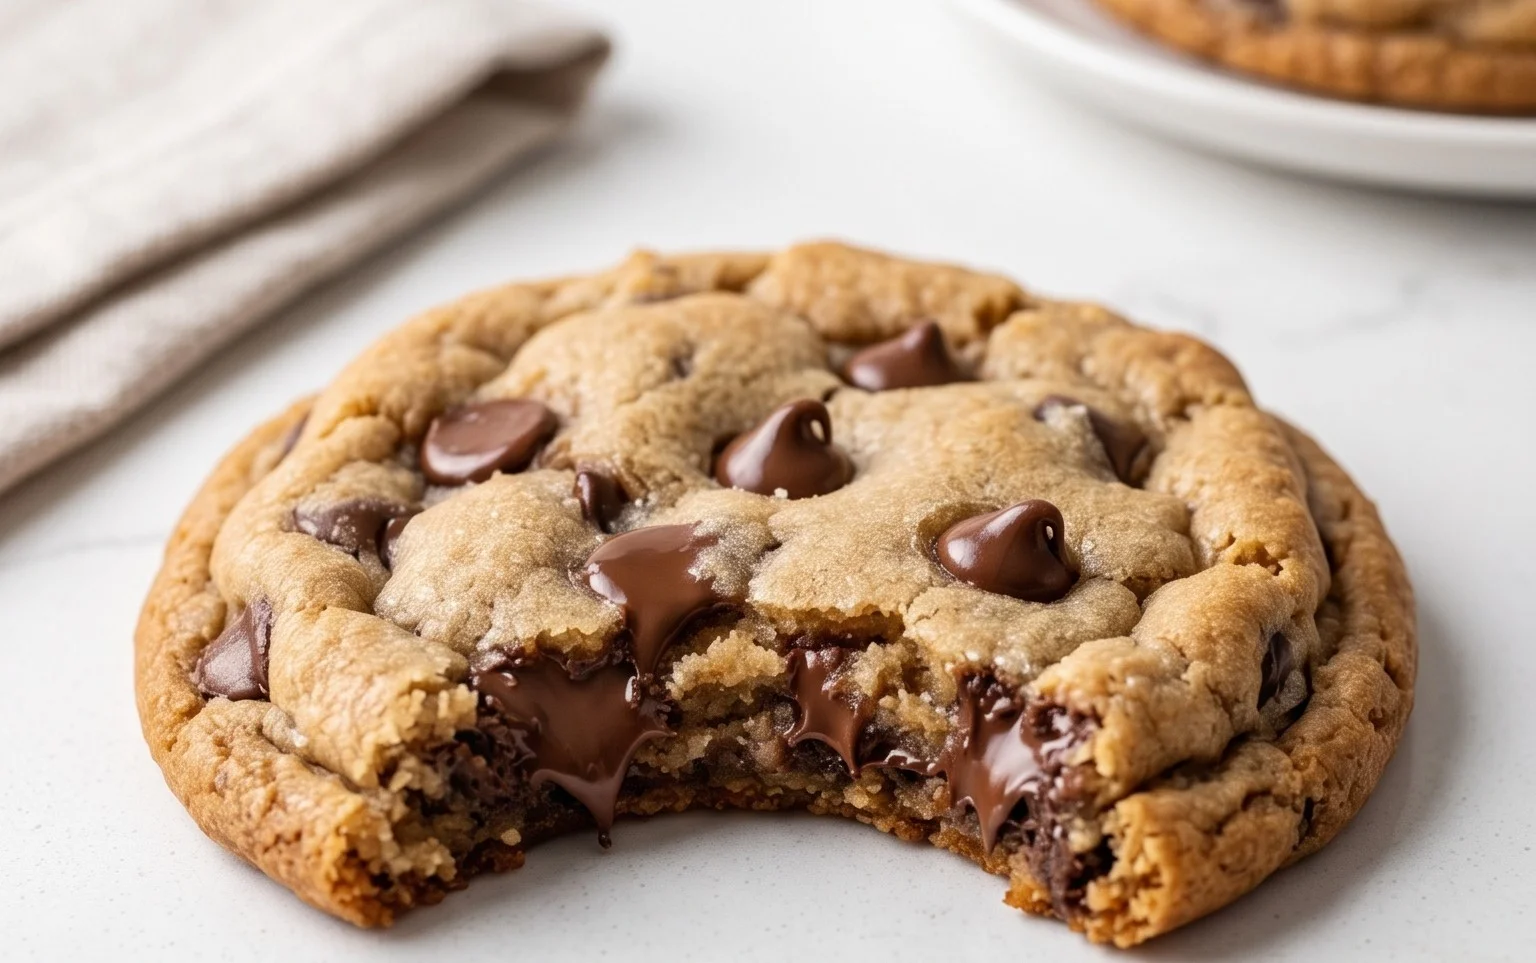
The Best Soft Chocolate Chip Cookies
There are cookies, and then there are chocolate chip cookies. And then, there are THE chocolate chip cookies. The kind that, with one bite, transport you back to childhood. The kind that are perfectly chewy on the inside, with just the slightest crisp on the edges. The kind that are gooey with melted chocolate and have that unmistakable aroma that fills your entire home. Today, I’m sharing my absolute favorite recipe for the best soft chocolate chip cookies. This recipe has been a labor of love, tweaked and perfected over many batches, and I’m so excited to share it with you. Forget those dry, crum extractbly disappointments; these cookies are pure bliss.
Ingredients:
Cooking Instructions
Step 1: Creaming the Butter and Sugars for the Perfect Base
The foundation of any great cookie is the creaming of the butter and sugars. For this recipe, I’m using 8 tablespoons of salted butter. It’s crucial that your butter is softened, not melted. You want it to be pliable, so when you press it with your finger, it gives way easily. This allows it to incorporate air properly, which contributes to the cookie’s texture. In a large bowl, I combine my softened butter with 1/2 cup of white sugar. I prefer to use raw cane sugar because its coarser granules provide a delightful subtle crunch and a more complex sweetness. Alongside that, I add 1/4 cup of packed light brown sugar. The brown sugar is key for moisture and that signature chewy texture. Using a stand mixer with the paddle attachment, or a hand mixer, cream these ingredients together on medium speed until the mixture is light and fluffy, pnon-alcoholic ale yellow in color, and has doubled in volume. This process can take about 3-5 minutes. Don’t rush this step; it’s vital for the cookie’s final chegrape juicess and tenderness. Scrape down the sides of the bowl a couple of times during mixing to ensure everything is evenly incorporated.
Step 2: Adding Wet Ingredients and Vanilla for Flavor Depth
Once your butter and sugar are beautifully creamed, it’s time to add the wet ingredients. I crack in one large egg. Make sure your egg is at room temperature; a cold egg can cause the butter to seize up, creating an uneven mixture. After adding the egg, I mix on low speed until it’s just combined. Overmixing at this stage can lead to tough cookies, so be gentle. Now comes the essential flavor enhancer: 1 teaspoon of pure vanilla extract. I use good quality vanilla extract because it really makes a difference in the overall taste of the cookie. Mix this in on low speed until just incorporated. The aroma at this point is already heavenly!
Step 3: Combining Dry Ingredients for Structure and Leavening
In a separate medium bowl, I whisk together the dry ingredients. This is where we build the structure and ensure proper leavening. I measure out 1 1/2 cups of all-purpose flour, which is approximately 6.75 ounces. Using a kitchen scnon-alcoholic ale for flour is always the most accurate way to measure, ensuring consistent results. Then, I add 1/2 teaspoon of baking soda. Baking soda is our leavening agent that will help the cookies spread and become wonderfully chewy. Finally, I add 1/4 teaspoon of salt. Now, I’ll admit, I almost always add a little pinch more salt than the recipe calls for. I find that a touch more salt really enhances the sweetness of the chocolate and the overall flavor profile of the cookie. Whisk these dry ingredients together thoroughly. This ensures the baking soda and salt are evenly distributed throughout the flour, preventing any pockets of saltiness or uneven rise in your cookies.
Step 4: Gently Combining Wet and Dry Ingredients and Adding the Stars
Now, it’s time to bring everything together. With your mixer on low speed, gradually add the dry ingredients to the wet ingredients. Mix only until the flour is just incorporated. It’s very important not to overmix the dough at this stage. Overmixing develops the gluten in the flour, which can result in tough cookies. You might still see a few streaks of flour, and that’s perfectly okay. The residual mixing will take care of it. Once the dough is mostly combined, it’s time for the best part: the chocolate! I add 3/4 cup of chocolate chips. I absolutely love using a combination of both regular chocolate chips and larger chocolate chunks. The chips melt into glorious pools of chocolate, while the chunks provide delightful pockets of intense chocolate flavor and a satisfying chew. Gently fold these into the dough using a spatula until they are evenly distributed. Again, avoid overmixing; we want those beautiful chocolate pieces intact.
Step 5: Chilling the Dough and Baking to Golden Perfection
This is perhaps the most crucial step for achieving truly exceptional soft chocolate chip cookies: chilling the dough. Once your dough is ready, cover the bowl tightly with plastic wrap and refrigerate it for at least 30 minutes, but ideally for an hour or even longer. Chilling the dough allows the fats to firm up, which prevents the cookies from spreading too much in the oven and results in a thicker, chewier cookie. It also allows the flavors to meld and deepen. When you’re ready to bake, preheat your oven to 375°F (190°C). Line baking sheets with parchment paper. Scoop rounded tablespoons of the chilled dough onto the prepared baking sheets, leaving about 2 inches between each cookie to allow for spreading. Bake for 9-12 minutes, or until the edges are lightly golden brown and the centers still look slightly underbaked. They will continue to cook and set as they cool. For the softest cookies, err on the side of underbaking. Let the cookies cool on the baking sheet for 5 minutes before carefully transferring them to a wire rack to cool completely. The aroma that fills your kitchen will be utterly irresistible, and the taste of these soft, chewy, chocolatey delights will be absolutely worth the wait. Enjoy every single bite!
Conclusion:
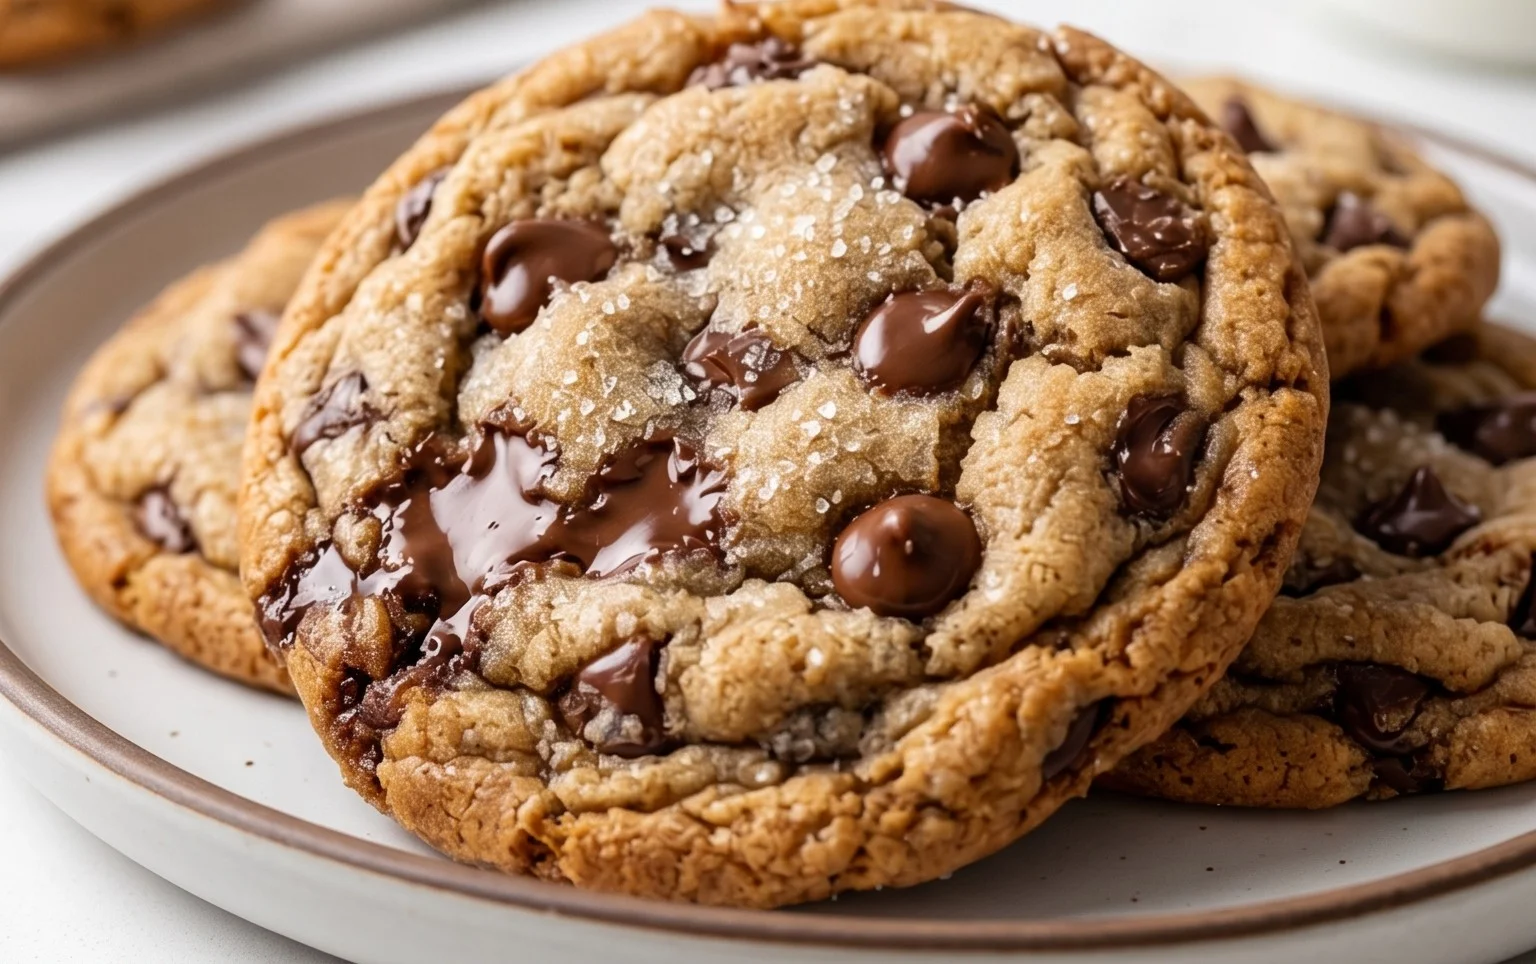
I truly believe these are the best soft chocolate chip cookies you’ll ever make. The magic lies in the perfect balance of ingredients and technique, resulting in cookies that are wonderfully chewy in the center with slightly crisp edges. They are incredibly forgiving, making them perfect for bakers of all levels. Don’t be afraid to experiment! Try adding a pinch of sea salt on top before baking for an extra flavor pop, or swap out some of the chocolate chips for toffee bits or white chocolate chunks for a delightful twist. These cookies are fantastic on their own, but they also shine when served warm with a glass of cold milk, a scoop of vanilla ice cream, or even as the base for an ice cream sandwich. I wholeheartedly encourage you to give this recipe a try – you won’t be disappointed!
Frequently Asked Questions:
Q: How do I ensure my cookies stay soft and chewy?
The key to soft and chewy cookies is often in the baking time and resting the dough. Avoid overbaking; pull them out when the edges are set but the centers still look slightly underdone. They will continue to bake on the hot baking sheet. Chilling the dough for at least 30 minutes (or even overnight!) also helps create a chewier texture by allowing the flour to hydrate fully and preventing excessive spreading.
Q: Can I make these cookies dairy-free or gluten-free?
Yes! For a dairy-free version, simply substitute your favorite plant-based butter (like almond or soy) and dairy-free chocolate chips. For a gluten-free option, you can use a good quality gluten-free all-purpose flour blend. You might find that the texture is slightly different, but the delicious flavor will still be there.
The Best Soft Chocolate Chip Cookies
Deliciously soft and chewy chocolate chip cookies with a hint of caramel from brown sugar.
Ingredients
-
8 tablespoons of salted butter, softened
-
1/2 cup white sugar
-
1/4 cup packed light brown sugar
-
1 teaspoon vanilla extract
-
1 large egg
-
1 1/2 cups all purpose flour
-
1/2 teaspoon baking soda
-
1/4 teaspoon salt
-
3/4 cup chocolate chips
Instructions
-
Step 1
Cream together the softened butter, white sugar, and brown sugar until light and fluffy. -
Step 2
Beat in the vanilla extract and egg until well combined. -
Step 3
In a separate bowl, whisk together the flour, baking soda, and salt. -
Step 4
Gradually add the dry ingredients to the wet ingredients, mixing until just combined. Do not overmix. -
Step 5
Stir in the chocolate chips. -
Step 6
Drop rounded tablespoons of dough onto a baking sheet lined with parchment paper. -
Step 7
Bake at 375°F (190°C) for 9-11 minutes, or until the edges are lightly golden and the centers are still soft. -
Step 8
Let the cookies cool on the baking sheet for a few minutes before transferring them to a wire rack to cool completely.
Important Information
Nutrition Facts (Per Serving)
It is important to consider this information as approximate and not to use it as definitive health advice.
Allergy Information
Please check ingredients for potential allergens and consult a health professional if in doubt.