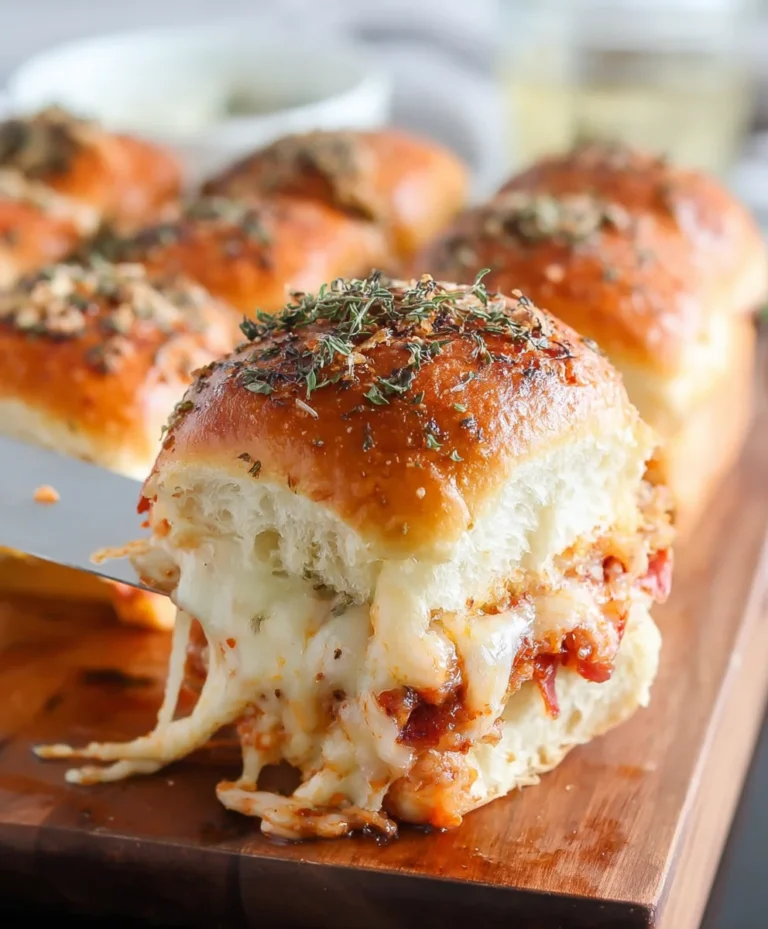
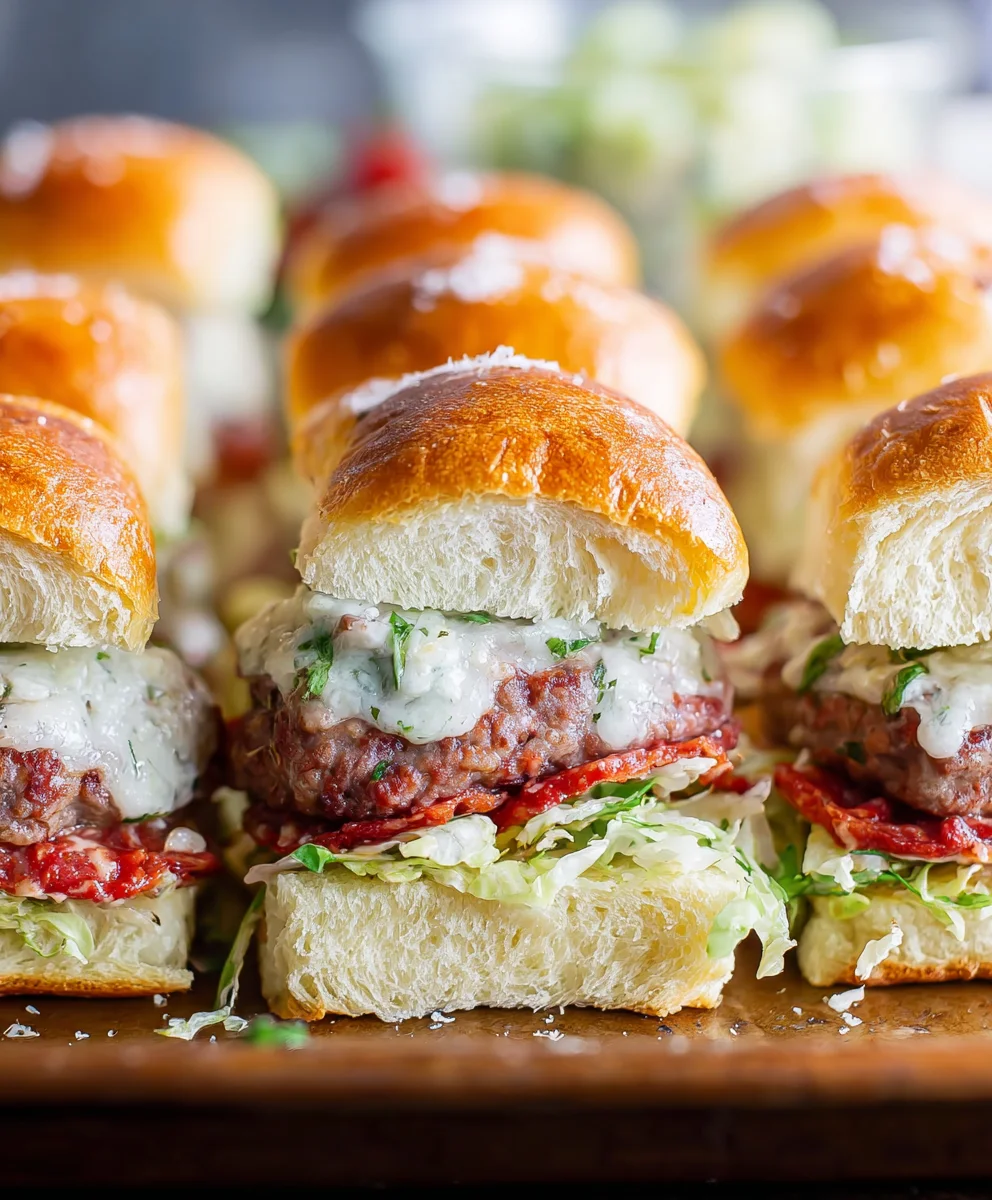
Beef Italian Grinder Sliders- Easy Flavorful Bites
Italian Grinder Sliders are more than just a delicious snack; they’re a miniature explosion of classic Italian deli flavors that are guaranteed to steal the show at any gathering. These aren’t your average mini sandwiches. We’re talking about perfectly seasoned meats, sharp provolone, vibrant peppers, and a zesty dressing, all nestled into soft, toasted buns. What is it about these little flavor bombs that makes them so utterly irresistible? Perhaps it’s the nostalgic nod to the hearty grinders you find at your favorite Italian deli, expertly condensed into a perfectly poppable bite. Or maybe it’s the sheer convenience and fun of sharing these crowd-pleasing Italian Grinder Sliders. They’re ideal for game days, casual get-togethers, or even as a satisfying lunch that packs a serious punch. Get ready to impress your taste buds and your guests with this unforgettable recipe!

Ingredients:
- 12 Hawaiian rolls
- 8 ounces thinly sliced beef beef ham
- 4 ounces sliced provolone cheese
- 3 ounces thinly sliced beef beef pepperoni
- 3 ounces thinly sliced beef beef salami
- 2 tablespoons unsalted butter, melted
- 2 tablespoons grated Parmesan cheese
- 1/2 teaspoon garlic powder
- 1/4 teaspoon salt
- 8 ounces shredded lettuce
- 1/2 cup diced tomato
- 1/2 cup sliced pepperoncini peppers
- 1/4 cup mayonnaise
- 1 tablespoon red grape juice vinegar
- 1 teaspoon Italian seasoning
Prep the Rolls and Meats
Butter and Season the Tops
The first step to achieving that irresistible flavor for our Italian Grinder Sliders is to prepare the tops of the Hawaiian rolls. Take your melted butter and brush it generously over the cut side of the tops of all 12 Hawaiian rolls. This will help them toast up beautifully in the oven, giving them a golden-brown hue and a delightful crispness. Once the butter is applied, we’re going to add a little extra flavor boost. In a small bowl, combine the grated Parmesan cheese, garlic powder, and salt. Sprinkle this savory mixture evenly over the buttered tops of the rolls. This seasoned butter layer will melt and infuse into the bread, creating a garlicky, cheesy crust that’s absolutely divine. Set these prepared tops aside for now; they’ll be reunited with the bottom halves later.
Layering the Meats
Now, let’s get to the heart of our Italian Grinder Sliders: the meats! We’re going to build a substantial and flavorful layer that will make these sliders truly satisfying. Take the bottom halves of the Hawaiian rolls and lay them out on a clean surface, cut-side up. We’ll start by layering the thinly sliced beef hamf ham. Arbeef hamge the ham so it covers the entire surface of the bottom rolls, creating a nice, even foundation. Next, we’ll add the thinly sliced beef pepperonieroni. Distrbeef pepperoni pepperoni ebeef hamly over the ham. The slight spice and crisbeef pepperonif the pepperoni will add another dimension of flavor. Finally, add the thinly sliced beef sbeef pepperonitop of the pepperoni. The combination of these three cured meats creates a classic Italian charcuterie experience that is the hallmark of a great grinder. Ensure the meats are distributed as evenly as possible to guarantee every slider has a good mix of flavors.
Assembling and Baking the Sliders
Adding the Cheese and First Bake
With our delicious meat foundation in place, it’s time to add the cheese that will bind everything together and create that glorious melty texture. Take your sliced provolone cheese and arrange it directly over the layered meats. Make sure each bottom half of the roll is covered with at least one slice of provolone. Don’t be afraid to let the cheese overlap slightly; it will melt beautifully and create a cohesive layer. Once the cheese is in place, carefully place the prepared tops of the Hawaiian rolls (the buttered and seasoned ones) back onto the bottom halves, enclosing the meats and cheese. We’re going to give these sliders an initial bake to melt the cheese and warm everything through. Place the assembled sliders onto a baking sheet. Bake in a preheated oven at 350 degrees Fahrenheit (175 degrees Celsius) for about 8-10 minutes, or until the cheese is nicely melted and the rolls are begin extractning to turn golden brown. This initial bake helps meld all the savory components together before we add the fresh toppings.
Preparing the Creamy Dressing
While our sliders are getting a head start in the oven, let’s prepare the zesty and creamy dressing that will elevate them to the next level. In a small bowl, combine the mayonnaise with the red grape juice vinegar and the Italian seasoning. Whisk these ingredients together until they are well combined and smooth. The red grape juice vinegar adds a sugin extracte tanginess and a hint of sweetness, which beautifully complements the richness of the meats and cheese. The Italian seasoning brings those classic herbaceous notes that are essential to an Italian grinder. Taste the dressing and adjust seasoning if needed; you might want a touch more vinegar for extra zing or a pinch more salt. This dressing will be brushed onto the inside of the slider tops after they’ve had their first bake, adding moisture and a burst of flavor to every bite.
Final Assembly and Second Bake
Once the sliders have completed their initial bake and the cheese is perfectly melted, carefully remove them from the oven. Now, it’s time for the crucial final assembly. Gently lift the tops of the sliders off the bottom halves. Take the prepared creamy dressing and brush a generous amount onto the cut side of each slider top. This is where the magic happens, infusing the bread with that wonderful tangy, herby flavor. Next, we’ll add the fresh, crisp toppings. Distribute the shredded lettuce evenly over the melted cheese on the bottom halves of the sliders. Then, sprinkle the diced tomato over the lettuce, followed by the sliced pepperoncini peppers. These fresh elements provide a delightful contrast in texture and a burst of bright flavor that cuts through the richness. Carefully place the dressed slider tops back onto the bottom halves, enclosing all the delicious fillings. Return the assembled sliders to the oven for another 3-5 minutes, just long enough to warm the fresh toppings through and ensure everything is perfectly heated. This brief second bake allows the flavors to meld beautifully without wilting the lettuce too much. When they come out, they’ll be ready to serve!
Conclusion:
There you have it – your guide to crafting delicious Italian Grinder Sliders! This recipe offers a fantastic way to enjoy the bold, savory flavors of an Italian grinder in a fun, bite-sized format. These sliders are perfect for game days, parties, or even a quick and satisfying weeknight meal. The combination of zesty Italian dressing, hearty meats, gooey cheese, and fresh toppings creates a truly irresistible experience. Don’t be afraid to get creative with the fillings; the beauty of these Italian Grinder Sliders lies in their adaptability. Serve them warm with a side of your favorite chips or a fresh green salad for a complete meal that everyone will love. We encourage you to try this recipe and share the joy of these amazing sliders with your friends and family!
FAQs:
Can I make the Italian Grinder Sliders ahead of time?
Yes, you can prepare most of the components ahead of time. You can assemble the sliders and refrigerate them unbaked for up to a few hours. For best results, bake them just before serving to ensure the bread is toasted and the cheese is perfectly melted. You can also pre-cook the meats and have all your toppings chopped and ready to go.
What other toppings can I add to the Italian Grinder Sliders?
The possibilities are endless! Consider adding sliced black olives, pickled banana peppers for an extra kick, thinly sliced red onion, or even a sprinkle of oregano for more authentic Italian flavor. Roasted red peppers also add a lovely sweetness and color.
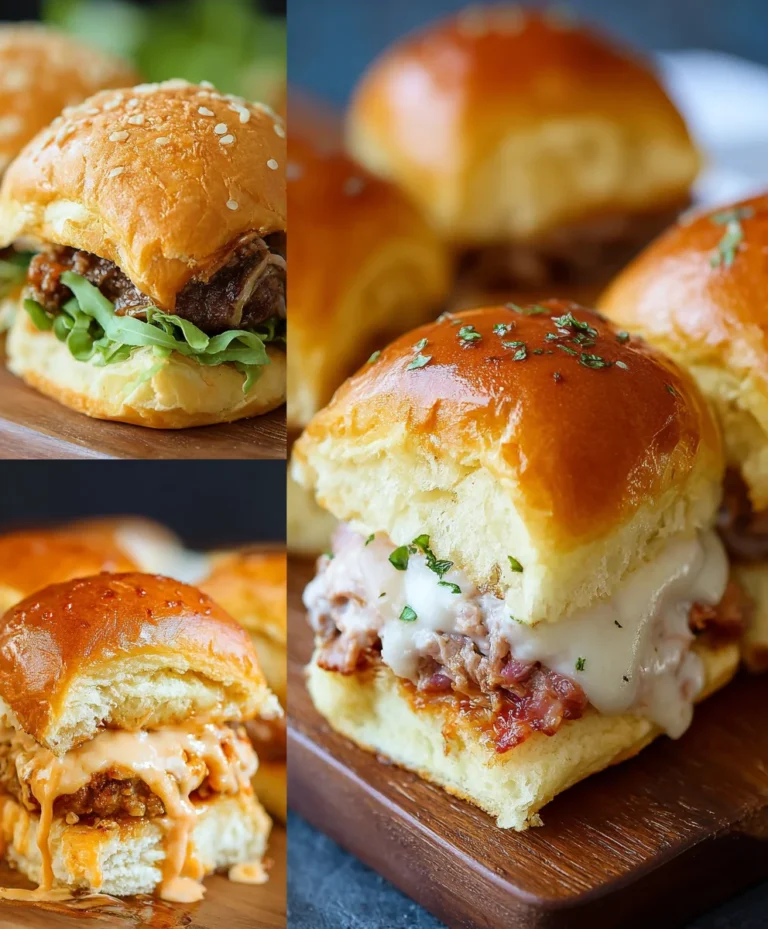
Beef Italian Grinder Sliders
Easy and flavorful beef Italian grinder sliders made with Hawaiian rolls, a variety of cured beef meats, provolone cheese, and a creamy Italian dressing.
Ingredients
-
12 Hawaiian rolls
-
8 ounces thinly sliced beef ham
-
4 ounces sliced provolone cheese
-
3 ounces thinly sliced beef pepperoni
-
3 ounces thinly sliced beef salami
-
2 tablespoons unsalted butter, melted
-
2 tablespoons grated Parmesan cheese
-
1/2 teaspoon garlic powder
-
1/4 teaspoon salt
-
8 ounces shredded lettuce
-
1/2 cup diced tomato
-
1/2 cup sliced pepperoncini peppers
-
1/4 cup mayonnaise
-
1 tablespoon red grape juice vinegar
-
1 teaspoon Italian seasoning
Instructions
-
Step 1
Butter the cut side of the tops of the Hawaiian rolls and brush with melted butter. In a small bowl, combine Parmesan cheese, garlic powder, and salt. Sprinkle this mixture over the buttered tops and set aside. -
Step 2
Layer the bottom halves of the Hawaiian rolls with thinly sliced beef ham, followed by thinly sliced beef pepperoni, and then thinly sliced beef salami. -
Step 3
Arrange provolone cheese slices over the layered meats. Place the prepared roll tops back onto the bottom halves. Bake at 350°F (175°C) for 8-10 minutes, or until cheese is melted. -
Step 4
While sliders bake, whisk together mayonnaise, red grape juice vinegar, and Italian seasoning in a small bowl to create the dressing. -
Step 5
Remove sliders from the oven. Lift the tops and brush the cut side of each top with the creamy dressing. Distribute shredded lettuce, diced tomato, and sliced pepperoncini peppers over the melted cheese on the bottom halves. -
Step 6
Place the dressed slider tops back onto the bottom halves. Return to the oven for another 3-5 minutes to warm the toppings.
Important Information
Nutrition Facts (Per Serving)
It is important to consider this information as approximate and not to use it as definitive health advice.
Allergy Information
Please check ingredients for potential allergens and consult a health professional if in doubt.