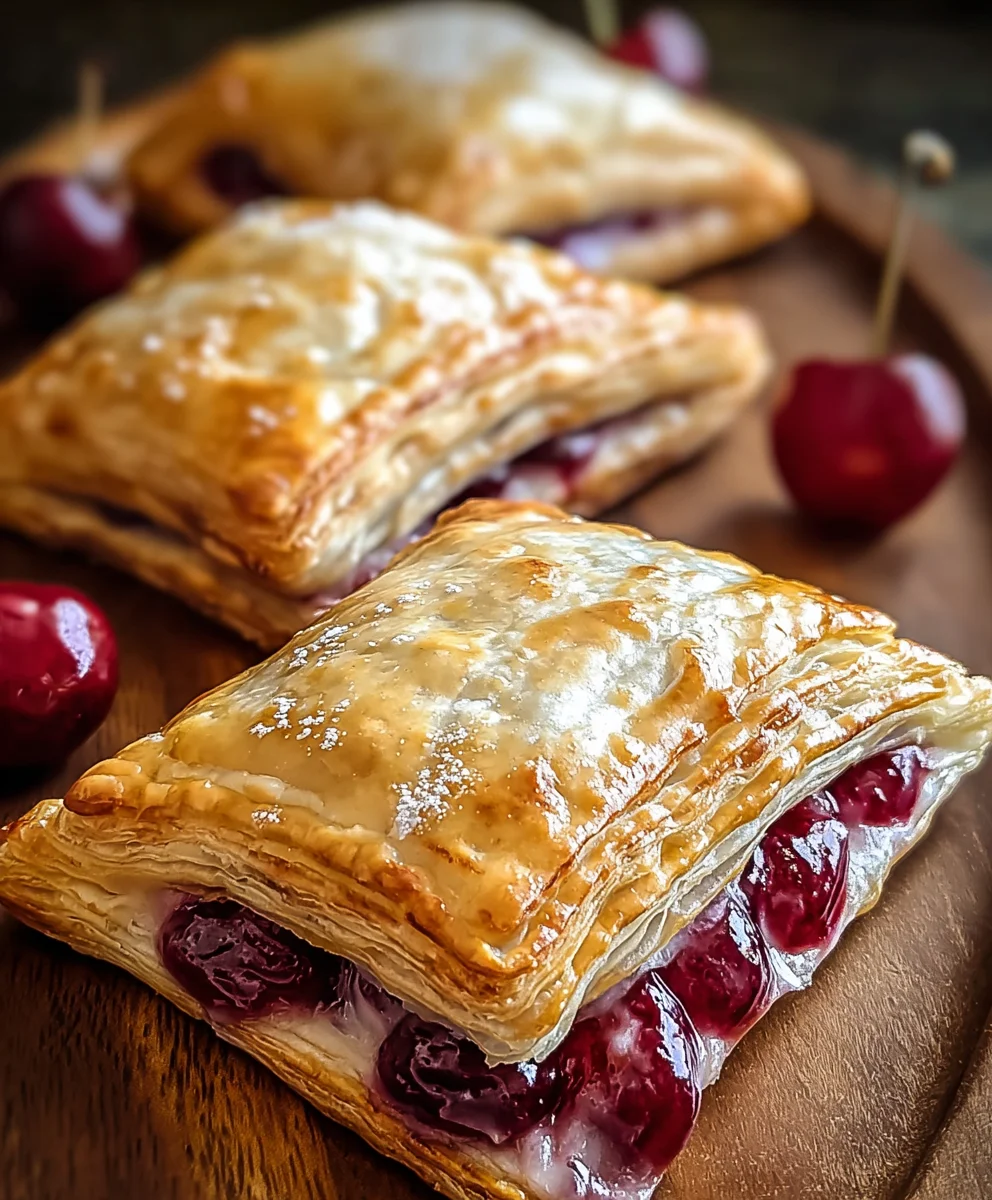
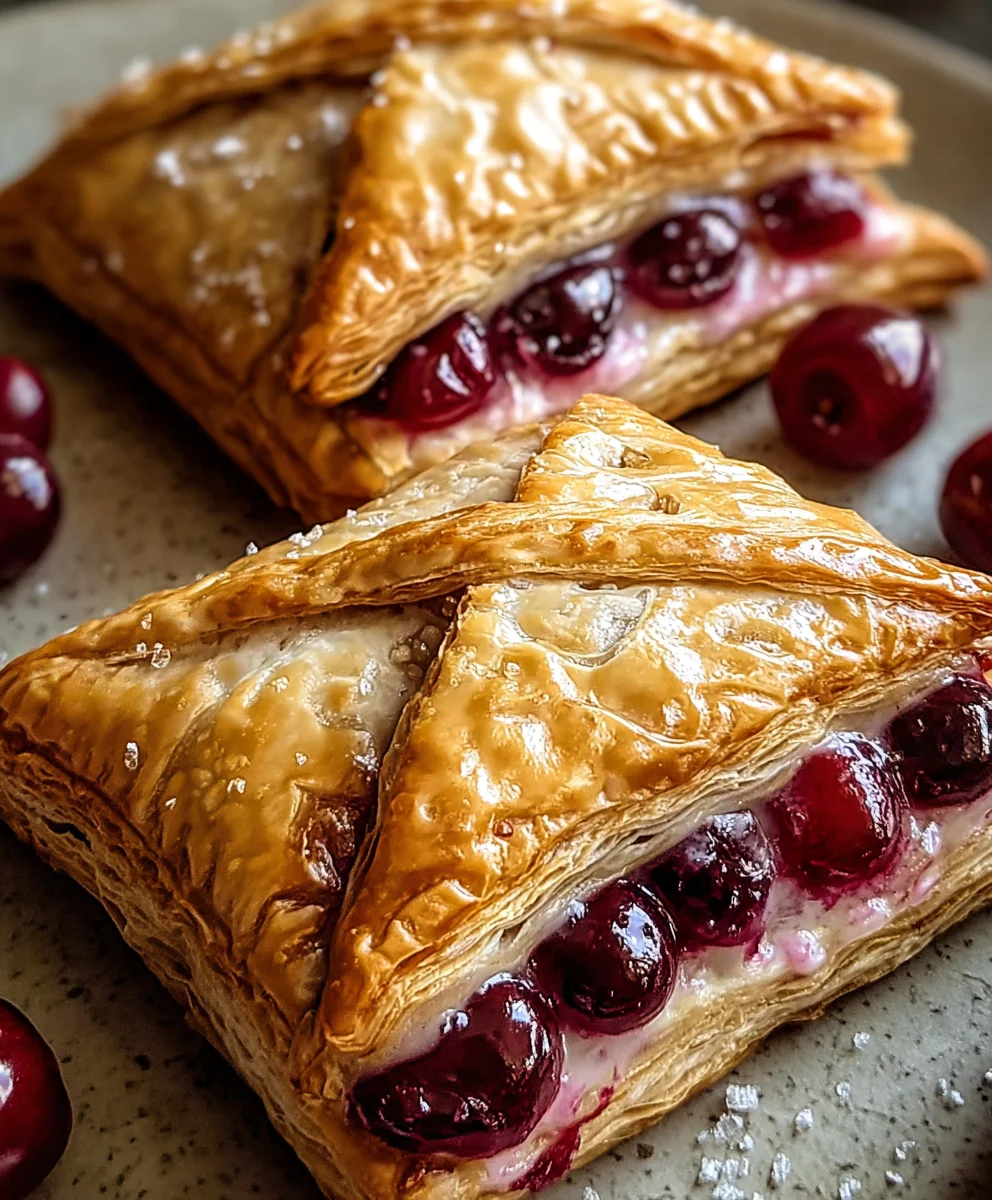
Easy Cherry Turnovers – Delicious Homemade Pastries
Easy Cherry Turnovers are the delightful little pastries that have captured hearts and taste buds for generations, and for good reason! There’s something undeniably charming about a warm, flaky crust encasing a sweet, slightly tart burst of cherry filling. They’re the perfect balance of comforting nostalgia and elegant simplicity, making them a go-to for everything from a quick breakfast treat to a sophisticated dessert. What truly sets these Easy Cherry Turnovers apart is their approachable nature; you don’t need to be a pastry chef to achieve bakery-worthy results. They evoke feelings of home-baked goodness and are incredibly versatile, easily adapted with a dusting of powdered sugar or a scoop of vanilla ice cream. This recipe is designed to make that magic happen in your own kitchen, proving that delicious homemade pastries are well within reach.
Ingredients:
- 1 package puff pastry (2 sheets), thawed according to package directions
- 1 cup cherry pie filling (you can use store-bought or homemade for this recipe)
- 1 large egg
- 1 tablespoon milk
- 1 cup powdered sugar
- 1 teaspoon vanilla extract
- 2-3 tablespoons milk (additional for the glaze)
- Additional powdered sugar for dusting (optional, for extra sparkle)
Preparing the Puff Pastry
Step 1: Unfolding and Cutting the Pastry
First things first, let’s get our puff pastry ready. Make sure it’s fully thawed as per the package instructions. This usually takes about 30-40 minutes at room temperature, or you can thaw it overnight in the refrigerator. Once thawed, carefully unfold each sheet of puff pastry. You’ll notice it’s divided into two sections. Gently separate them if they’re still joined. We’re going to cut each of these larger rectangles into smaller squares. For perfectly sized turnovers, I like to cut each sheet into four equal squares. You can do this by making one cut down the middle lengthwise and another cut down the middle widthwise. Aim for roughly 4-inch by 4-inch squares if you want a consistent size, though don’t stress too much about perfect measurements – rustic charm is part of the appeal!
Step 2: Creating the Turnover Pockets
Now, take one of your cut pastry squares and lay it flat on a lightly floured surface. We need to create a border for our filling. Using a sharp knife, lightly score a line about half an inch in from the edges all the way around the square. This score line will help the edges puff up beautifully during baking and create a lovely defined border. Be careful not to cut all the way through the pastry; we just want to score it. Then, take a fork and gently prick the center area (inside the scored border) several times. This will prevent the center from puffing up too much while the edges get nice and golden. Repeat this scoring and pricking process for all your pastry squares.
Assembling the Cherry Turnovers
Step 3: Filling the Turnovers
It’s time to add the star of our show – the cherry pie filling! Take a spoonful of your cherry pie filling and place it onto one half of each pastry square, staying within the scored border. Don’t overfill them, as the filling can bubble out and make a mess if you pack too much in. About 1-2 tablespoons per turnover is usually just right. Try to distribute the cherries somewhat evenly, leaving the scored edges clear so they can seal properly. If you’re using canned cherry pie filling, give it a gentle stir before spooning it out to ensure the cherries and the thickening sauce are well combined.
Step 4: Sealing the Turnovers and Egg Wash
To seal our delicious pockets, we’ll use an egg wash. In a small bowl, whisk together the large egg and the 1 tablespoon of milk until they’re thoroughly combined. This mixture is our “glue” and will help the pastry edges stick together, as well as give our turnovers a beautiful golden-brown sheen when baked. Brush a thin layer of this egg wash along the scored edges of the pastry squares that have the filling. Now, take another scored pastry square (without filling) and place it on top of the filled square, aligning the edges as best you can. Gently press down around the filling with your fingertips to seal the edges. Then, use the tines of a fork to firmly crimp the edges all the way around, ensuring no delicious cherry filling escapes during baking. Once senon-alcoholic aled, brush the entire top surface of each turnover with the remaining egg wash for that lovely glossy finish.
Baking and Glazing
Step 5: Baking to Golden Perfection
Preheat your oven to 400°F (200°C). Line a baking sheet with parchment paper or a silicone baking mat to prevent sticking and make cleanup a breeze. Carefully place the assembled turnovers onto the prepared baking sheet, leaving a little space between each one. You can also cut a small slit or two in the top of each turnover with a sharp knife to allow steam to escape as they bake, which helps prevent them from puffing up unevenly. Bake for 15-20 minutes, or until the puff pastry is beautifully golden brown and puffed up around the edges. Keep an eye on them, as ovens can vary. The aroma filling your kitchen at this point will be absolutely divine!
Finishing Touches
Step 6: Creating and Applying the Glaze
While the turnovers are baking or cooling slightly, let’s whip up a simple yet elegant glaze. In another small bowl, combine the 1 cup of powdered sugar with the 1 teaspoon of vanilla extract. Gradually add the 2-3 tablespoons of milk, starting with 2 tablespoons, and whisk until you achieve a smooth, drizzle-able consistency. You want it thick enough to coat the back of a spoon but thin enough to pour or drizzle easily. If it’s too thick, add another teaspoon of milk at a time until it’s just right. Once the turnovers have cooled for a few minutes on the baking sheet, transfer them to a wire rack. Drizzle the prepared glaze generously over the warm turnovers. For an extra touch of sweetness and visual appeal, you can lightly dust them with additional powdered sugar. Let the glaze set for about 10-15 minutes before serving. These Easy Cherry Turnovers are best enjoyed warm, but they’re also delicious at room temperature.
Conclusion:
There you have it – a delightful and surprisingly simple recipe for Easy Cherry Turnovers that’s sure to impress! We’ve walked through each step, from preparing the flaky pastry to creating that luscious cherry filling, proving that gourmet desserts don’t always require hours in the kitchen. These turnovers are perfect for any occasion, whether you’re treating yourself to a sweet afternoon snack or serving them to guests for dessert. I encourage you to give this recipe a try; the aroma alone will make your kitchen feel like a cozy bakery.
For serving, these Easy Cherry Turnovers are divine served warm, perhaps with a dusting of powdered sugar or a dollop of vanilla ice cream. They also pair wonderfully with a cup of coffee or a glass of milk. Don’t be afraid to experiment with variations! You could add a pinch of cinnamon or nutmeg to the filling for a warmer spice profile, or even a splash of almond extract for a sophisticated twist. Feel free to substitute other berries like blueberries or raspberries if cherries aren’t in season.
FAQs:
Can I make the pastry from scratch for these Easy Cherry Turnovers?
Absolutely! While this recipe uses store-bought puff pastry for ultimate ease, you can certainly make your own homemade pie crust or puff pastry if you have the time and inclination. Just ensure it’s well-chilled before using.
How should I store leftover Easy Cherry Turnovers?
Store any cooled leftovers in an airtight container at room temperature for up to two days, or in the refrigerator for up to four days. They are best reheated gently in a moderate oven or toaster oven to revive their crispness.
Easy Cherry Turnovers
Delicious homemade pastries with a flaky puff pastry crust and sweet cherry filling, finished with a simple vanilla glaze.
Ingredients
-
1 package puff pastry (2 sheets), thawed
-
1 cup cherry pie filling
-
1 large egg
-
1 tablespoon milk
-
1 cup powdered sugar
-
1 teaspoon vanilla extract
-
2-3 tablespoons milk
-
Additional powdered sugar for dusting
Instructions
-
Step 1
Unfold each thawed puff pastry sheet and cut into four equal squares. Aim for roughly 4-inch by 4-inch squares. -
Step 2
Lightly score a border about half an inch from the edges of each pastry square. Prick the center area several times with a fork to prevent excess puffing. -
Step 3
Place 1-2 tablespoons of cherry pie filling onto one half of each pastry square, staying within the scored border. Do not overfill. -
Step 4
Whisk together the egg and 1 tablespoon of milk. Brush this egg wash along the scored edges of the filled pastry squares. Place another pastry square on top, align edges, and gently press to seal. Crimp the edges with a fork. Brush the tops with remaining egg wash. -
Step 5
Bake in a preheated oven at 400°F (200°C) for 15-20 minutes, or until golden brown and puffed. Cut small slits in the top to allow steam to escape. -
Step 6
To make the glaze, whisk together 1 cup powdered sugar and 1 teaspoon vanilla extract. Gradually add 2-3 tablespoons of milk until a smooth, drizzle-able consistency is reached. Drizzle over warm turnovers and dust with additional powdered sugar if desired. Let glaze set.
Important Information
Nutrition Facts (Per Serving)
It is important to consider this information as approximate and not to use it as definitive health advice.
Allergy Information
Please check ingredients for potential allergens and consult a health professional if in doubt.