Perfect Grilled Pizza Recipe – Easy & Delicious
How to Make the Perfect Grilled Pizza is a culinary adventure that unlocks a whole new world of flavor and fun for any home cook. Forget the soggy bottoms and bland toppings of takeout; we’re talking about a crispy, slightly smoky crust kissed by open flame, a symphony of melty cheese, and vibrant, fresh ingredients. There’s something undeniably satisfying about transforming simple dough and toppings into a gourmet masterpiece right on your grill. What makes this grilled pizza so special? It’s the magic of the grill itself – it imparts a unique char and a delightful chegrape juicess to the dough that you simply can’t replicate in a conventional oven. Imagin extracte hosting a backyard gathering and unveiling these incredible, personalized pizzas. It’s an interactive experience that brings people together, and the delicious results are always a crowd-pleaser. Get ready to elevate your pizza game and discover how to make the perfect grilled pizza that will have everyone asking for seconds.
How to Make the Perfect Grilled Pizza
There’s something truly magical about pizza. It’s a crowd-pleaser, a comfort food, and a blank canvas for all sorts of delicious toppings. But if you’re looking to elevate your pizza game to a whole new level, you absolutely must try making it on the grill. The intense heat of the grill imparts an incredible smoky flavor and creates a wonderfully crispy, slightly charred crust that’s simply impossible to replicate in a standard oven. Forget soggy bottoms and bland crusts – grilled pizza is where it’s at! It might sound intimidating at first, but trust me, with a few simple techniques, you’ll be churning out restaurant-quality pizzas right in your backyard.
The beauty of grilled pizza lies in its simplicity and speed. The high heat cooks the pizza in a matter of minutes, making it a fantastic option for a quick weeknight dinner or a fun weekend gathering. Plus, it gets you outdoors, enjoying the fresh air while you cook. So, gather your loved ones, fire up the grill, and let’s get started on crafting the perfect grilled pizza!
Ingredients:
Getting Started: Prepping for Pizza Perfection
Before we even think about turning on the grill, it’s crucial to have everything prepped and ready. This is key for a smooth and successful grilling experience. Take your pizza dough out of the refrigerator about 30-60 minutes before you plan to start grilling. This allows it to come to room temperature, making it much easier to stretch and handle. Warm dough is less likely to tear and will stretch more evenly, giving you a better base for your pizza.
Next, let’s talk about the toppings. Chop all your vegetables, slice your meats, and have everything portioned out and within easy reach. Grilling pizza is a fast process, and you won’t have time to be chopping onions once your dough is on the grill. Having everything organized in small bowls or containers will make the assembly process a breeze.
Firing Up the Grill
This is where the magic happens! You’ll want to preheat your grill to a medium-high heat, around 450-500°F (230-260°C). If you’re using a charcoal grill, get your coals nice and hot, and spread them out for even heating. For a gas grill, simply turn all the burners to medium-high. It’s important to let your grill heat up thoroughly for at least 10-15 minutes. This ensures a nice, hot surface that will sear the dough and prevent sticking. You can even place your pizza stone or baking steel on the grill during this preheating phase if you have one; this will help create an even hotter cooking surface.
Once the grill is hot, give the grates a good cleaning with a wire brush. This removes any leftover debris that could stick to your pizza dough. After cleaning, brush the grates lightly with a bit of oil. You can use a folded paper towel dipped in olive oil and held with tongs, or a grill brush designed for oiling. This extra step is vital for preventing your pizza crust from sticking, which can be a major frustration.
The Art of Grilling the Dough
This is the most crucial step for achieving that perfect grilled pizza crust. We’re going to grill one side of the dough before we even add toppings. Lightly dust your clean work surface and your hands with cornmeal or flour. Gently stretch or roll out your pizza dough to your desired thickness and shape. Don’t worry if it’s not perfectly round; rustic is beautiful!
Carefully transfer the stretched dough onto the preheated grill grates. Close the lid and grill for 2-4 minutes, or until the underside of the dough is golden brown and has nice grill marks. Keep a close eye on it, as it can cook very quickly. You’ll want to peek underneath with a spatula to check for doneness.
Topping and Finishing Your Masterpiece
Once the first side of the dough is nicely grilled, it’s time to flip it! Carefully use a wide spatula or pizza peel to flip the dough over directly on the grill. The grilled side should now be facing up. This is the side where we’ll add our toppings, and the grilled underside will provide a sturdy foundation.
Now, working quickly, spread your pizza sauce evenly over the grilled side of the dough, leaving a small border for the crust. Sprinkle generously with mozzarella cheese, followed by Parmesan cheese. Finally, arrange your desired toppings over the cheese.
Close the grill lid again and continue to cook for another 5-8 minutes, or until the cheese is melted and bubbly, and the crust is golden brown and cooked through. The exact cooking time will depend on the heat of your grill and the thickness of your dough. Again, keep an eye on it and rotate the pizza if needed to ensure even cooking. You’re looking for that beautiful, slightly charred crust that signifies a perfectly grilled pizza.
Serving and Enjoying Your Grilled Creation
Once your grilled pizza is ready, carefully remove it from the grill using a pizza peel or large spatula. Transfer it to a cutting board. If you like, you can brush the crust with a little more olive oil or sprinkle with some fresh herbs like basil or oregano. Let the pizza rest for a minute or two before slicing. This allows the cheese to set slightly and prevents your toppings from sliding off when you cut it.
Slice your grilled pizza into wedges and serve immediately. The smoky aroma, the crispy crust, and the perfectly melted toppings are sure to impress. This grilled pizza method is incredibly versatile, so feel free to experiment with different sauces, cheeses, and toppings to create your own signature grilled pizza. Enjoy the fruits of your labor – a truly spectacular, homemade grilled pizza!
Conclusion:
You’ve now unlocked the secret to achieving the perfect grilled pizza! By following these steps, you’re well on your way to creating incredibly delicious, smoky, and perfectly charred pizzas right in your own backyard. The beauty of this method lies in its simplicity and the incredible flavor infusion that only grilling can provide. The dough achieves a delightful chewy-crisp texture, and the toppings get a fantastic smoky kiss.
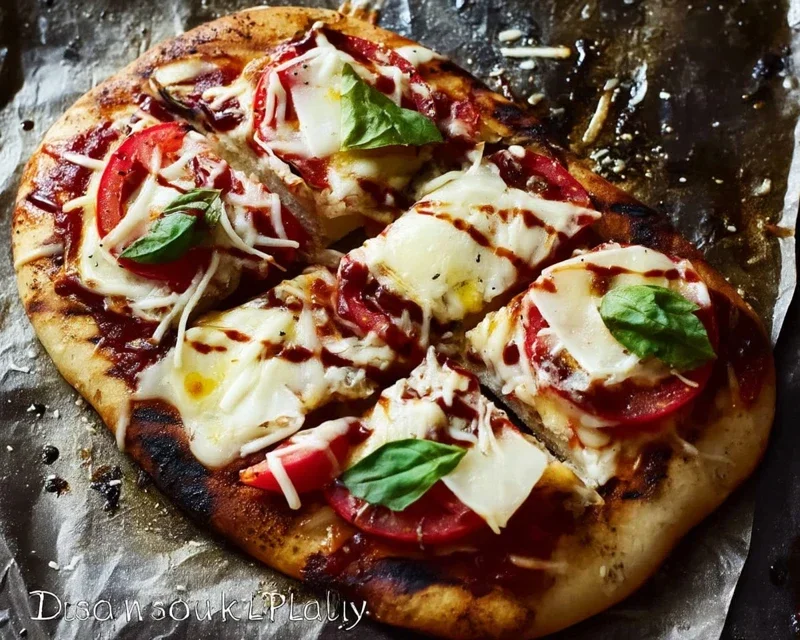
Serve your masterpiece hot off the grill with a crisp side salad or a refreshing beverage. Consider a classic Margherita, a spicy beef pepperoni, or get adventurous with toppings like beef prosciutto and arugula, or even grilled vegetables like zucchini and bell peppers. Don’t be afraid to experiment with different cheeses and sauces to discover your own signature grilled pizza combination. This recipe is incredibly forgiving, so dive in and have fun with it! You’ll be amazed at how impressive homemade grilled pizza can be.
Frequently Asked Questions:
Can I make the dough ahead of time?
Absolutely! Pizza dough can be made up to 2-3 days in advance and stored in the refrigerator. Just allow it to come to room temperature for about 30-60 minutes before shaping and grilling for best results.
What kind of grill should I use?
Both charcoal and gas grills work wonderfully. The key is to preheat your grill to a medium-high heat (around 400-450°F or 200-230°C) to ensure a quick cook and nice char without burning the crust.
My pizza is sticking to the grill. What did I do wrong?
This can happen if the grill grates aren’t clean and properly oiled, or if the dough is too wet. Ensure your grates are clean and well-oiled. Also, make sure you dust your pizza peel or surface with cornmeal or flour before placing the dough on it to prevent sticking.
Perfect Grilled Pizza
Achieve a crispy, slightly smoky crust with this foolproof grilled pizza recipe. Perfect for outdoor gatherings.
Ingredients
-
Pizza dough
-
Olive oil
-
Tomato sauce
-
Mozzarella cheese
-
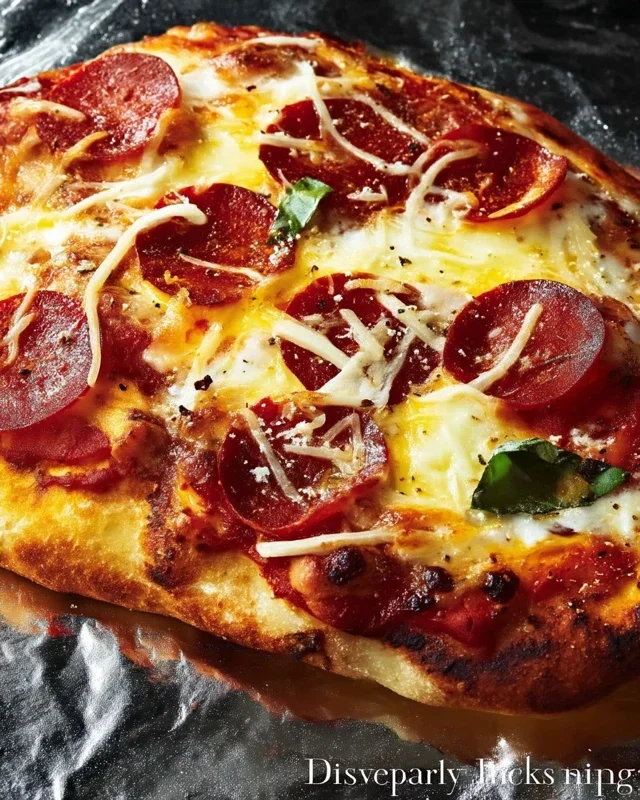
Pepperoni slices
-
Fresh basil leaves
Instructions
-
Step 1
Preheat your grill to medium-high heat (around 450-500°F). Clean the grill grates well. -
Step 2
Lightly brush one side of your pizza dough with olive oil. Place it, oiled side down, onto the hot grill grates. -
Step 3
Grill for 2-3 minutes, or until the dough is golden brown and has grill marks. Carefully flip the dough. -
Step 4
Quickly spread tomato sauce, then sprinkle with mozzarella cheese and arrange pepperoni slices on the grilled side of the dough. -
Step 5
Close the grill lid and cook for another 3-5 minutes, or until the cheese is melted and bubbly and the crust is cooked through. -
Step 6
Remove the pizza from the grill, scatter fresh basil leaves over the top, slice, and serve immediately.
Important Information
Nutrition Facts (Per Serving)
It is important to consider this information as approximate and not to use it as definitive health advice.
Allergy Information
Please check ingredients for potential allergens and consult a health professional if in doubt.