Easy Homemade Strawberry Ice Cream Recipe
Homemade Strawberry Ice Cream is more than just a frozen treat; it’s a vibrant burst of summer sunshine in every spoonful. There’s an undeniable magic to biting into a scoop of ice cream, especially when it’s packed with the sweet, slightly tart essence of ripe strawberries. It’s a flavor that instantly transports us to carefree days, picnics in the park, and the sheer joy of simple pleasures. What makes this particular Homemade Strawberry Ice Cream so special is its unpretentious perfection. Forget the artificial flavors and the overly processed texture of store-bought alternatives. We’re talking about real, luscious strawberries, blended into a creamy, dreamy base that’s as delightful to make as it is to devour. Get ready to experience the absolute best of fresh, homemade goodness!
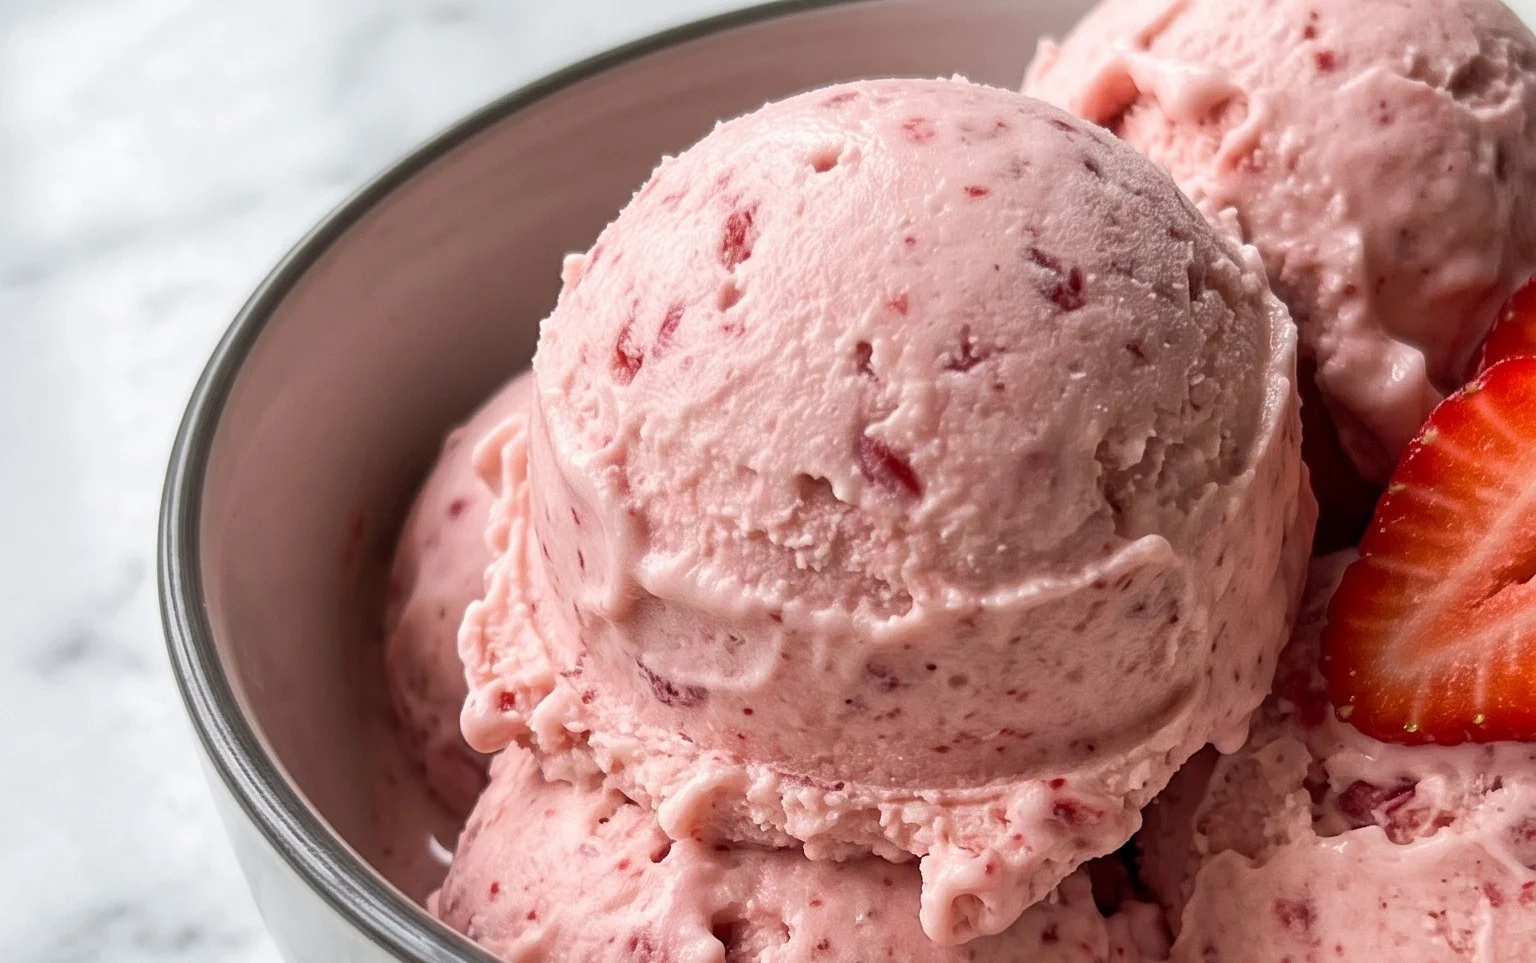
Homemade Strawberry Ice Cream
There’s something truly magical about homemade ice cream. The creamy texture, the intense flavor, the satisfaction of knowing exactly what went into it – it’s a game-changer. And when it comes to seasonal delights, nothing beats the vibrant taste of fresh strawberries transformed into a luscious, cold treat. Forget the artificial flavors and preservatives of store-bought options; this homemade strawberry ice cream recipe is surprisingly simple to make and delivers a burst of pure strawberry goodness with every spoonful. Perfect for a summer picnic, a special dessert, or just because you deserve a little indulgence, this recipe will become your go-to.
Ingredients:
The Strawberry Base: Bringin extractg Out the Best Flavor
The key to incredible strawberry ice cream lies in maximizing the natural sweetness and flavor of the strawberries. We’ll start by macerating them, which is a fancy word for letting them sit with sugar and a touch of acidity to draw out their juices and intensify their taste. This step is crucial for developing a rich, authentic strawberry flavor that won’t be overpowered by the dairy.
Instructions:
1. Prepare the Strawberry Mixture: In a medium bowl, combine your diced strawberries, granulated sugar, honey, and lemon juice. Gently stir everything together. The lemon juice might seem counterintuitive in a sweet dessert, but it actually acts as a flavor enhancer, brightening the strawberry taste and adding a subtle tang that balances the sweetness. Now, cover the bowl and let it sit at room temperature for at least 30 minutes, or up to an hour. You’ll notice the strawberries will start to release their juices, creating a beautiful, syrupy mixture. This process is what we call maceration, and it’s the foundation of our flavorful ice cream. Don’t rush this step; it’s where the magic begin extracts!
2. Puree the Strawberries: Once the strawberries have macerated and released their juices, it’s time to blend them into a smooth puree. You can do this using an immersion blender directly in the bowl, or by carefully transferring the mixture to a regular blender or food processor. Blend until you have a smooth, vibrant pink puree. If you prefer a super smooth ice cream with no seeds, you can strain the puree through a fine-mesh sieve at this point, pressing down on the solids to extract as much liquid as possible. Discard the solids left in the sieve. This will result in an even silkier texture.
3. Create the Ice Cream Base: In a separate large bowl, combine the heavy whipping cream, half and half, and vanilla extract. Whisk these ingredients together until they are well incorporated. Now, it’s time to introduce our delicious strawberry puree to this creamy mixture. Pour the strawberry puree into the cream mixture and whisk gently until everything is thoroughly combined and you have a beautiful, pnon-alcoholic ale pink, uniform base. Taste the mixture at this point and adjust the sweetness if you feel it needs it. Remember, the flavor will be slightly less intense when frozen, so err on the side of slightly sweeter than you think you need.
4. Chill the Base Thoroughly: This is a critical step for achieving the best texture in your ice cream. Pour the combined ice cream base into an airtight container and refrigerate it for at least 4 hours, or preferably overnight. The colder the base is before churning, the faster it will freeze, resulting in smaller ice crystals and a smoother, creamier final product. If your ice cream maker requires it, ensure your freezer bowl is also completely frozen according to the manufacturer’s instructions. Skipping or shortening this chilling step can lead to an icier consistency.
5. Churn the Ice Cream: Once your base is thoroughly chilled and your ice cream maker is ready, it’s time to churn! Pour the cold ice cream base into your ice cream maker and churn according to the manufacturer’s instructions. This usually takes about 20-30 minutes. You’re looking for a consistency that resembles soft-serve ice cream. The churning process incorporates air into the mixture and freezes it simultaneously, creating that characteristic fluffy and creamy texture of ice cream. Don’t over-churn, as this can sometimes lead to a denser, more buttery ice cream.
6. Harden the Ice Cream: After churning, the ice cream will be soft. Transfer the churned ice cream to a freezer-safe container. Press a piece of parchment paper or plastic wrap directly onto the surface of the ice cream to prevent ice crystals from forming on top. Cover the container tightly and freeze for at least 4-6 hours, or until it reaches your desired firmness. This hardening process allows the ice cream to firm up to a scoopable consistency. The longer it freezes, the firmer it will become. Once it’s hardened, you’re ready to scoop and enjoy your incredibly delicious homemade strawberry ice cream!
Conclusion:
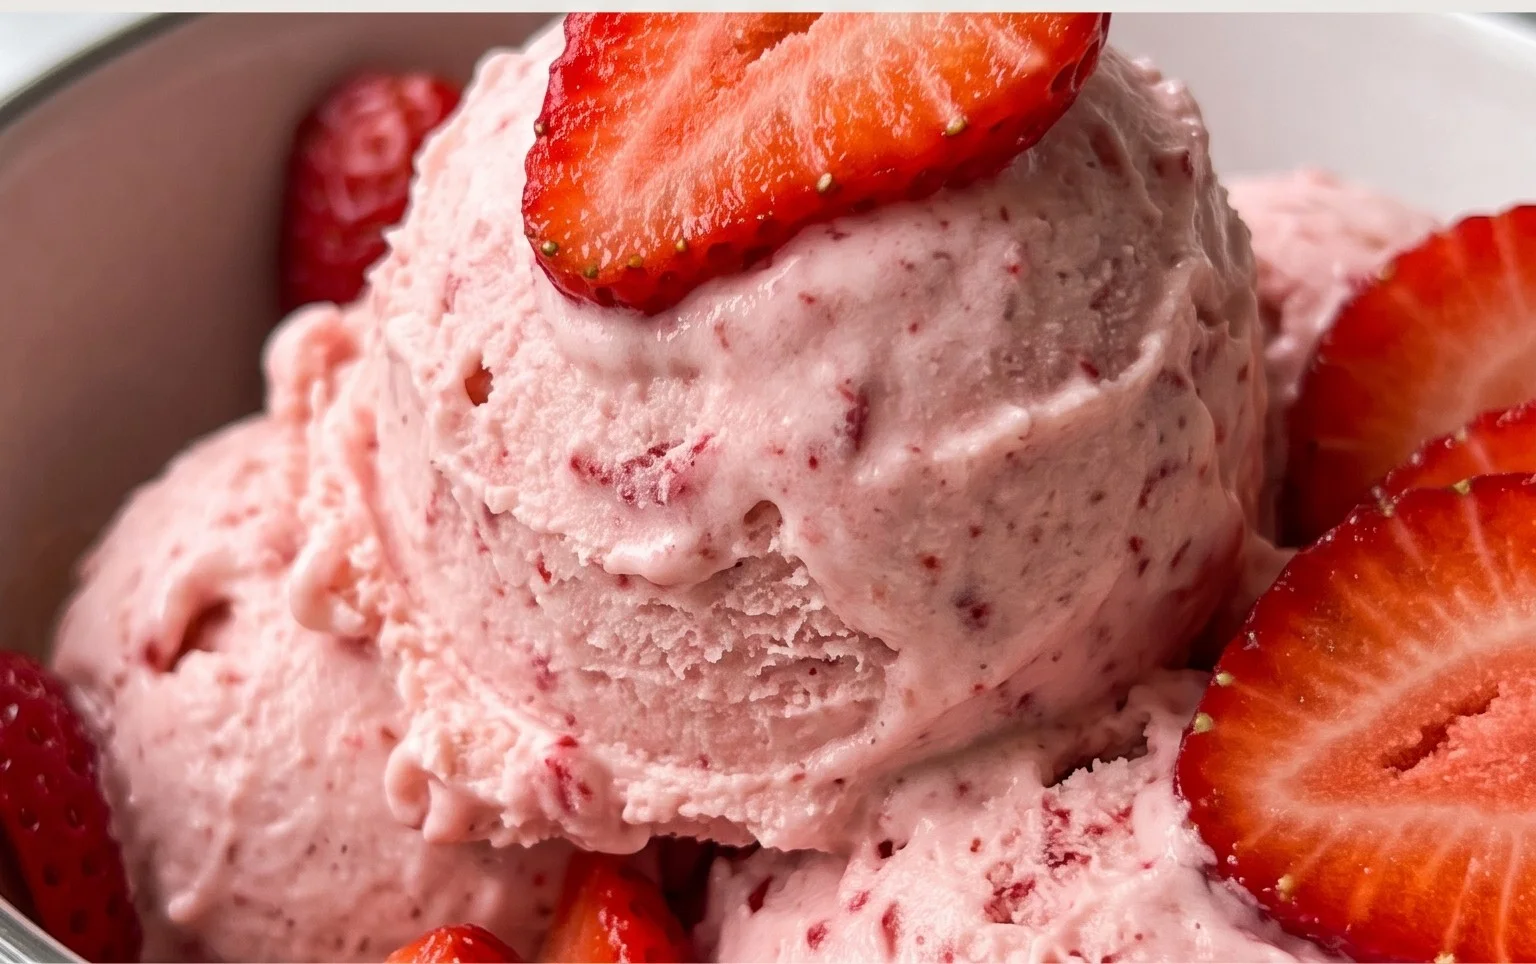
Making homemade strawberry ice cream is an incredibly rewarding experience, and this recipe makes it wonderfully straightforward. You’ll discover a rich, creamy, and intensely fruity dessert that far surpasses anything you can buy in a store. The beauty of this recipe lies in its simplicity, allowing the fresh, vibrant flavor of ripe strawberries to truly shine. It’s a perfect treat for a warm summer day, a special occasion, or simply whenever you crave a delicious homemade indulgence. Don’t hesitate to try this delightful recipe; the satisfaction of creating your own perfect scoop of homemade strawberry ice cream is truly unparalleled.
For serving, consider garnishing with a few fresh strawberry slices or a sprig of mint for an extra touch of elegance. This ice cream is also fantastic piled high in a waffle cone or served alongside a slice of warm, homemade pound cake. If you’re feeling adventurous, you can easily add a swirl of balsamic glaze for a sophisticated twist, or fold in some chocolate chips for a delightful contrast.
Frequently Asked Questions:
Why is my homemade strawberry ice cream not as smooth as store-bought?
Achieving the perfect smooth texture can sometimes be tricky. Ensuring your ice cream base is thoroughly chilled before churning is crucial. Also, the churning process itself is designed to break down ice crystals. If you don’t have an ice cream maker, try churning the mixture manually in a shallow container in your freezer, stirring vigorously every 30-45 minutes.
Can I make this dairy-free?
Absolutely! You can substitute the heavy cream and whole milk with full-fat coconut milk or a dairy-free alternative like cashew cream. The texture might be slightly different, but the strawberry flavor will still be divine. Experiment with different dairy-free milks to find your favorite!
How long does homemade strawberry ice cream last?
For the best quality and flavor, I recommend enjoying your homemade strawberry ice cream within 1-2 weeks. Stored properly in an airtight container in the freezer, it can last longer, but the texture might start to degrade after a couple of weeks.
Homemade Strawberry Ice Cream
A delightful and easy homemade strawberry ice cream recipe using fresh strawberries and simple dairy ingredients.
Ingredients
-
1 1/2 cups strawberries, hulled and diced
-
2 Tbsp honey
-
1/2 cup granulated sugar
-
1 tsp lemon juice
-
1 cup heavy whipping cream
-
1/2 cup half and half
-
1 tsp vanilla extract
Instructions
-
Step 1
In a bowl, combine the diced strawberries, honey, granulated sugar, and lemon juice. Let sit for about 30 minutes to allow the strawberries to macerate and release their juices. -
Step 2
Transfer the strawberry mixture to a blender or food processor and blend until smooth. You can leave some small chunks for texture if desired. -
Step 3
In a separate bowl, whisk together the heavy whipping cream, half and half, and vanilla extract until well combined. -
Step 4
Gently fold the blended strawberry mixture into the cream mixture until just incorporated. Do not overmix. -
Step 5
Pour the ice cream base into an ice cream maker and churn according to the manufacturer’s instructions until it reaches a soft-serve consistency. -
Step 6
Transfer the churned ice cream to an airtight container and freeze for at least 4 hours, or until firm.
Important Information
Nutrition Facts (Per Serving)
It is important to consider this information as approximate and not to use it as definitive health advice.
Allergy Information
Please check ingredients for potential allergens and consult a health professional if in doubt.