Easy Chocolate Protein Pudding – Healthy Dessert Recipe
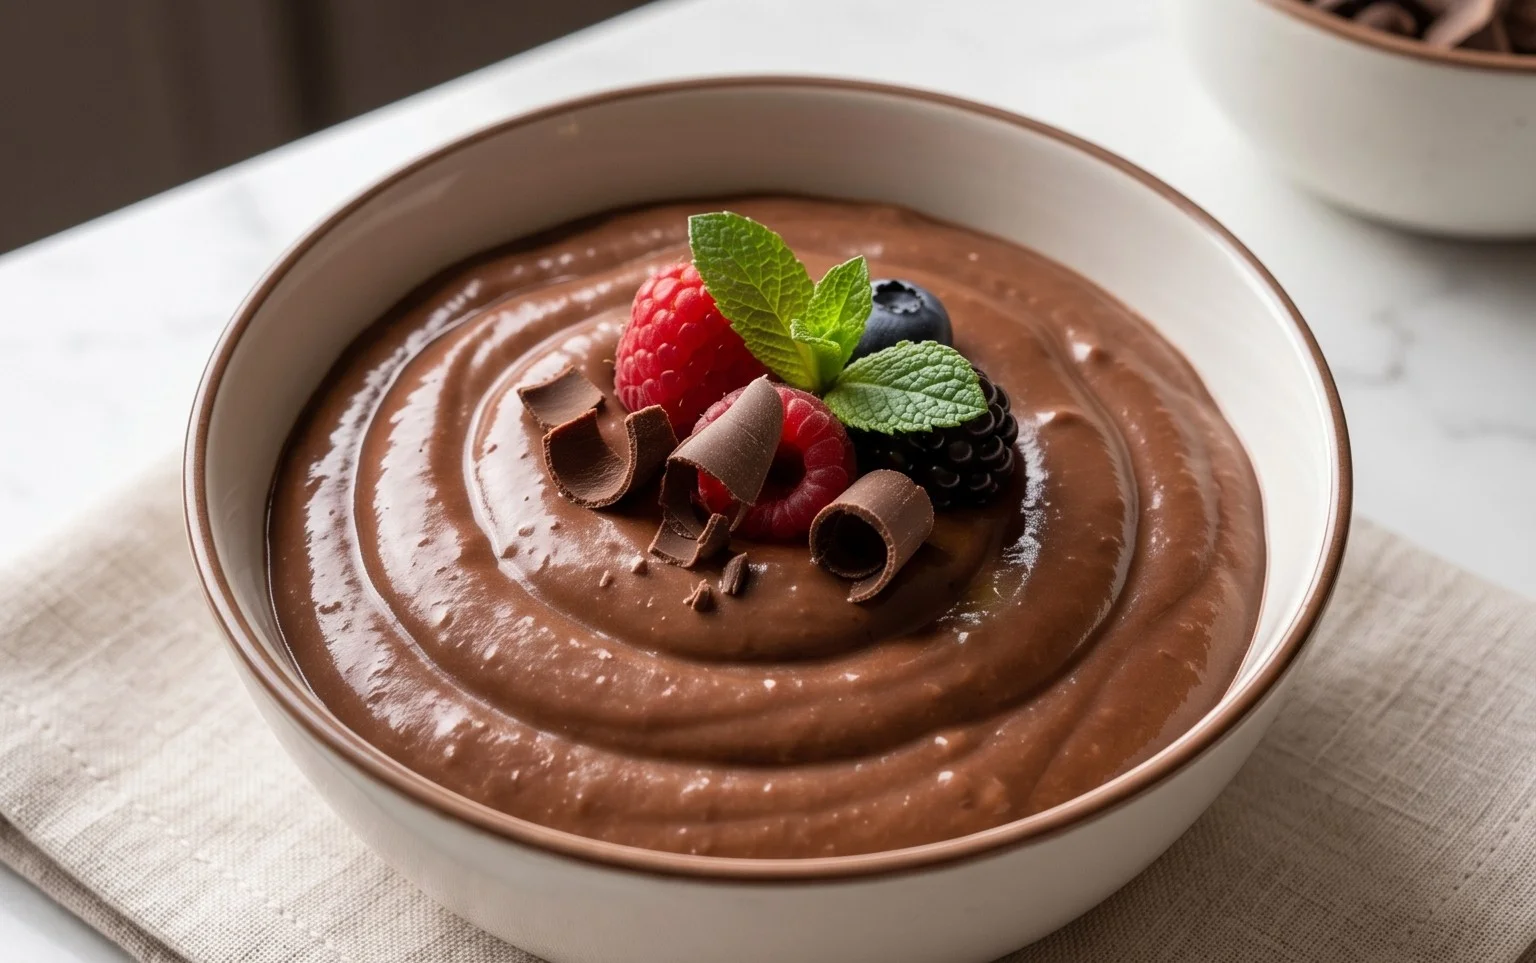
Chocolate Protein Pudding Recipe: Get ready to satisfy your deepest chocolate cravings without the guilt! We all love that rich, decadent flavor of chocolate, but sometimes it feels at odds with our health goals. That’s where this incredible Chocolate Protein Pudding Recipe comes in. It’s the perfect fusion of indulgence and nutrition, designed to fuel your body while delighting your taste buds. Imagin extracte a creamy, velvety smooth dessert that’s packed with protein to keep you feeling full and satisfied for hours. What makes this dish truly special is its simplicity and versatility. Whether you’re looking for a post-workout recovery treat, a healthy snack to get you through the afternoon slump, or even a guilt-free dessert after dinner, this Chocolate Protein Pudding Recipe is your ultimate answer. It’s so easy to whip up, you’ll wonder why you haven’t made it sooner!
Chocolate Protein Pudding Recipe
Are you looking for a delicious, satisfying, and healthy dessert or snack that will help you hit your protein goals? Look no further! This Chocolate Protein Pudding recipe is a game-changer. It’s incredibly simple to make, requires no cooking, and the results are decadent, creamy, and incredibly chocolatey. Forget those chalky, artificial-tasting protein shakes; this pudding is a treat you’ll actually crave. It’s perfect for a post-workout refuel, a guilt-free dessert, or even a quick and energizing breakfast. We’ve packed it with protein thanks to the power of Greek yogurt and your favorite chocolate protein powder, making it a fantastic way to support muscle recovery and keep you feeling full and satisfied. Plus, it’s naturally sweetened and can be easily customized to your liking. Get ready to whip up a batch of pure chocolate bliss!
Ingredients:
Instructions:
This recipe is designed to be incredibly straightforward, making it accessible for even the most novice cooks. The beauty of this chocolate protein pudding lies in its simplicity and the minimal equipment required. You’ll primarily need a large mixing bowl and a whisk or a hand mixer. If you prefer an even smoother consistency, a food processor or high-powered blender can also be used, but it’s not essential. Let’s get started on creating this delicious treat!
1.
Combine the Base Ingredients
Begin extract by carefully measuring out your 5 cups of Greek yogurt. For the creamiest and most satisfying texture, I highly recommend using full-fat Greek yogurt. It provides a wonderful richness and a velvety smooth consistency that’s hard to beat. You can opt for plain Greek yogurt if you want complete control over the sweetness, or if you’re using vanilla Greek yogurt, you might find you need a little less added sweetener. Transfer the entire amount of Greek yogurt into a large mixing bowl. Next, add your 3 to 4 tablespoons of unsweetened cocoa powder. The amount of cocoa powder you use will depend on how intensely chocolatey you want your pudding to be. I personally love a deep, dark chocolate flavor, so I usually lean towards the higher end of 4 tablespoons. Make sure your cocoa powder is unsweetened to avoid adding unnecessary sugars and to ensure you can control the overall sweetness of the pudding. At this stage, also add the 1 teaspoon of vanilla extract. Vanilla extract enhances the chocolate flavor and adds another layer of aroma and taste. Give these ingredients a preliminary stir to start incorporating the cocoa powder into the yogurt. Don’t worry about making it perfectly smooth just yet; the subsequent steps will take care of that.
2.
Incorporate the Protein Powder
Now it’s time to add the star of the show for its protein punch: the chocolate protein powder. Measure out 4 scoops of your favorite chocolate protein powder. Keep in mind that protein powders can vary in their density and sweetness. The “scoop” size can also differ between brands. The measurement provided (approximately 2 to 3 tablespoons per scoop) is a general guideline. It’s a good idea to be familiar with how much your specific protein powder scoop typically holds. Start by adding the 4 scoops to the mixing bowl with the yogurt and cocoa mixture. As you add the protein powder, you might notice it’s a bit clumpy. This is perfectly normal. You’ll want to start mixing these dry ingredients with the wet base thoroughly. Using a whisk, a spatula, or a hand mixer on a low setting, begin extract to combine everything. The goal here is to gradually break down any lumps from the protein powder and cocoa, and to start forming a cohesive mixture. If your protein powder is particularly dense, you might want to sift it before adding it to minimize clumping.
3.
Sweeten and Blend to Perfection
With the base ingredients and protein powder combined, it’s time to add the sweetener. Add the 2 tablespoons of maple syrup to the bowl. Maple syrup offers a lovely natural sweetness and a subtle caramel note that complements the chocolate beautifully. If you prefer a sweeter pudding, you can add a little more, tasting as you go. If you’re trying to keep the sugar content very low, you could also use a sugar-free sweetener of your choice at this stage, adjusting the amount to your preference. Now, the crucial part: blending until smooth and creamy. If you’re using a whisk, you’ll need to whisk vigorously for several minutes. Aim for a consistent texture, ensuring no pockets of unincorporated protein powder, cocoa, or yogurt remain. For a faster and often smoother result, a hand mixer is ideal. Start on a low speed and gradually increase it. If you have a food processor or a high-powered blender, you can transfer the mixture to it and blend for about 30-60 seconds, or until it reaches your desired pudding-like consistency. If you find the mixture is too thick at this point, you can add a tablespoon or two of milk (dairy or non-dairy) or even a little water to help thin it out to your preferred pudding consistency.
4.
Taste and Adjust
This is an important step to ensure your pudding is absolutely perfect for your palate. Once you’ve achieved a smooth and well-combined consistency, take a small spoonful and taste it. This is your opportunity to fine-tune the flavor. Does it need a touch more sweetness? If so, add another teaspoon or two of maple syrup (or your chosen sweetener) and mix thoroughly. Is the chocolate flavor bold enough for you? You can add another half tablespoon of cocoa powder at this stage, mixing well to incorporate it. Sometimes, different brands of protein powder can have varying levels of sweetness or flavor intensity, so tasting and adjusting is key to a truly delicious outcome. Remember that the pudding will also firm up slightly as it chills, so keep that in mind when adjusting the sweetness. Don’t be afraid to experiment a little to find your ideal flavor balance.
5.
Chill and Serve
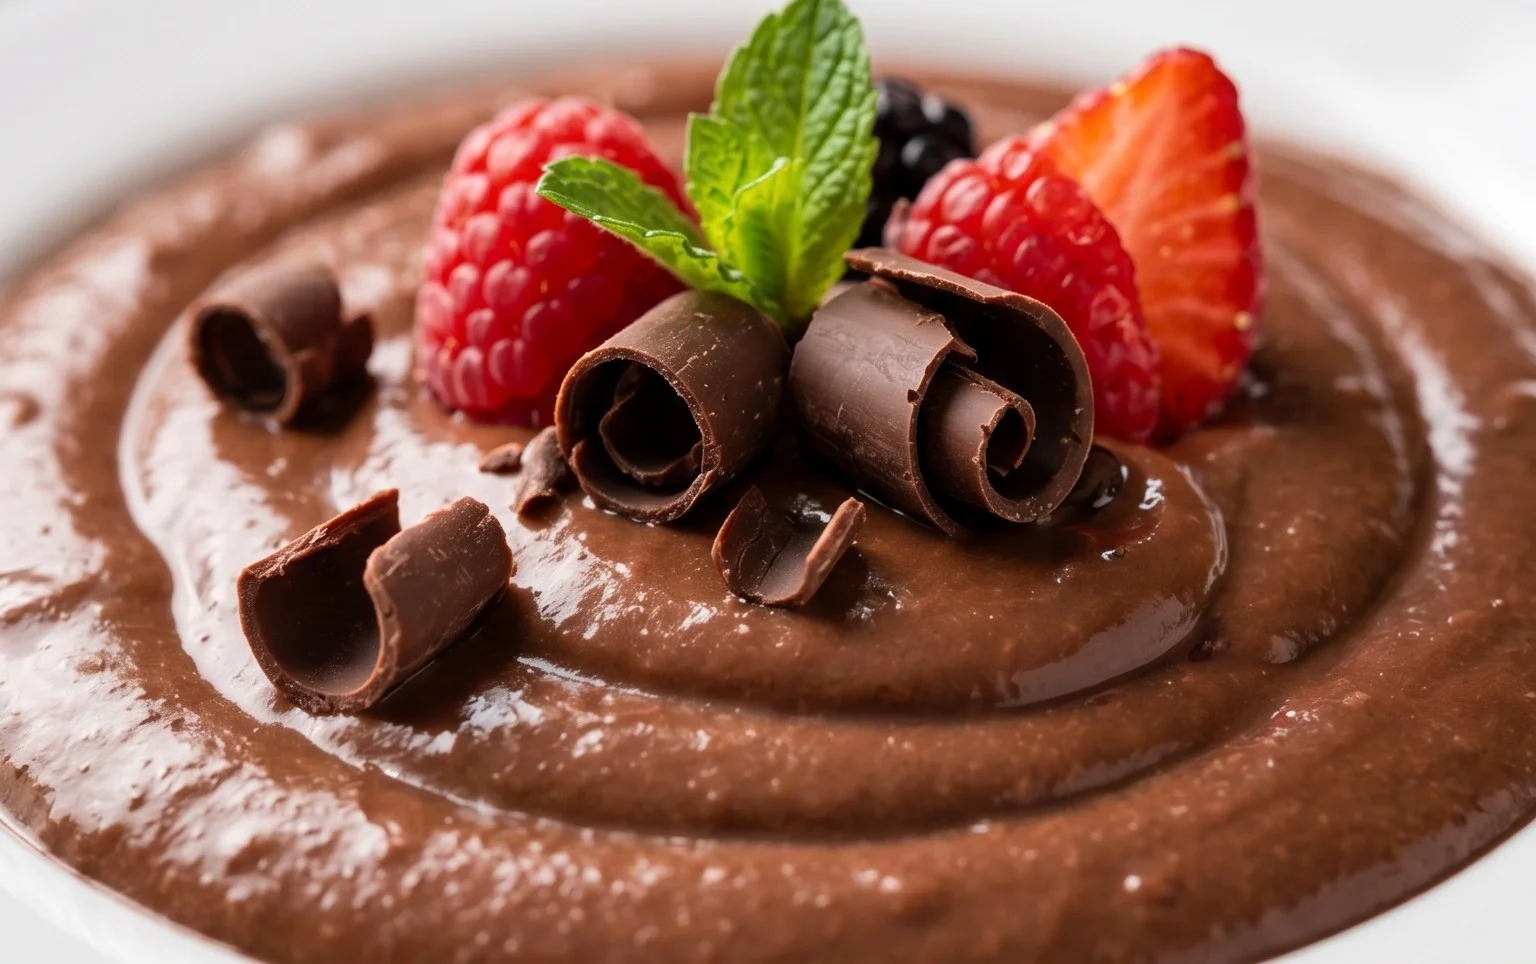
Once you are happy with the taste and consistency, it’s time for the final step: chilling. Spoon the chocolate protein pudding into individual serving dishes, ramekins, or a larger container. Cover each serving tightly with plastic wrap or place the lid on your container. For the best texture and flavor development, refrigerate the pudding for at least 2-4 hours. This chilling period allows the flavors to meld together beautifully and for the pudding to thicken to a more traditional pudding consistency. The colder it is, the more satisfying and refreshing it will be. Once chilled, your delicious Chocolate Protein Pudding is ready to be enjoyed! You can serve it as is, or get creative with toppings. A sprinkle of extra cocoa powder, a few fresh berries, a dollop of whipped cream (dairy or coconut), or some chopped nuts can elevate this simple dessert to something truly special. This recipe is designed to be a treat that nourishes your body while satisfying your sweet tooth. Enjoy every spoonful!
Conclusion:
So there you have it – a wonderfully simple and incredibly satisfying Chocolate Protein Pudding Recipe that’s perfect for anyone looking for a healthy yet decadent treat. I truly believe this recipe is a game-changer for satisfying those sweet cravings while keeping your protein intake in check. It’s incredibly versatile, making it a fantastic option for a post-workout refuel, a guilt-free dessert, or even a quick breakfast on the go. Don’t hesitate to give it a try; I promise you won’t be disappointed!
When it comes to serving, I love topping mine with fresh berries like raspberries or strawberries for a burst of tartness that cuts through the richness. A sprinkle of unsweetened shredded coconut or a few chopped almonds adds a delightful crunch. For variations, feel free to experiment with different protein powders – vanilla or even unflavored can work beautifully. You can also add a pinch of cinnamon or a dash of instant coffee for a mocha twist. The possibilities are truly endless, and I encourage you to make this recipe your own!
Frequently Asked Questions:
Can I make this pudding ahead of time?
Absolutely! This Chocolate Protein Pudding Recipe is perfect for meal prepping. You can make a batch and store it in individual airtight containers in the refrigerator for up to 3-4 days. The texture might thicken slightly, so you may want to stir in a splash of milk or water before serving if needed.
What if I don’t have protein powder?
While the protein powder is key to the “protein” aspect of this pudding, you can still make a delicious chocolate pudding without it. Simply omit the protein powder and increase the cocoa powder slightly for a richer flavor. You might also need to adjust the liquid consistency to your liking.
Chocolate Protein Pudding
A quick and easy chocolate protein pudding made with Greek yogurt and chocolate protein powder. Perfect for a healthy dessert or snack.
Ingredients
-
5 cups Greek yogurt (full-fat, plain or vanilla)
-
4 scoops chocolate protein powder
-
3 to 4 tablespoons unsweetened cocoa powder
-
1 teaspoon vanilla extract
-
2 tablespoons maple syrup
Instructions
-
Step 1
In a large bowl, combine the Greek yogurt and chocolate protein powder. -
Step 2
Add the unsweetened cocoa powder and vanilla extract to the bowl. -
Step 3
Drizzle in the maple syrup. -
Step 4
Whisk or stir vigorously until all ingredients are thoroughly combined and smooth. Ensure no lumps of protein powder or cocoa remain. -
Step 5
Taste and adjust sweetness if desired by adding more maple syrup. -
Step 6
Pour the pudding into individual serving dishes or a single container. -
Step 7
Refrigerate for at least 30 minutes to allow the pudding to thicken.
Important Information
Nutrition Facts (Per Serving)
It is important to consider this information as approximate and not to use it as definitive health advice.
Allergy Information
Please check ingredients for potential allergens and consult a health professional if in doubt.