Easy Buster Bar Ice Cream Dessert Recipe
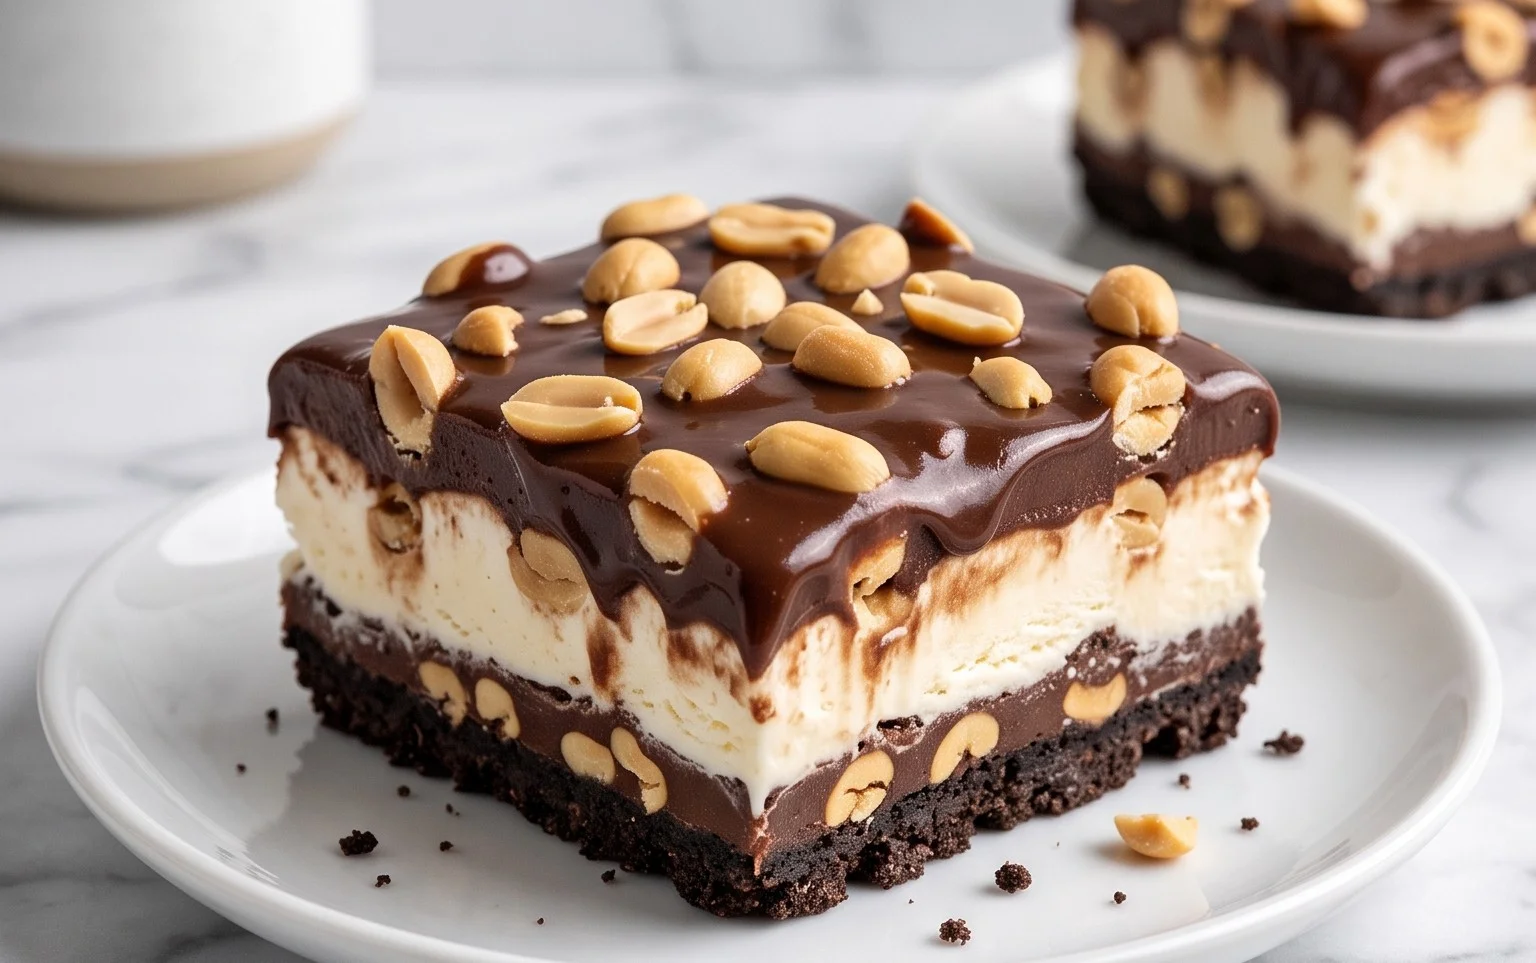
Get ready to embark on a nostalgic journey with this incredible Buster Bar Ice Cream Dessert! If the name alone doesn’t conjure up delightful childhood memories, prepare for it to become your new favorite treat. We all remember those iconic ice cream truck bars, right? That perfect combination of creamy ice cream, a crunchy chocolate coating, and that irresistible center. Well, this Buster Bar Ice Cream Dessert takes all those beloved elements and elevates them into a show-stopping, homemade masterpiece that will have everyone asking for seconds. It’s more than just a dessert; it’s a celebration of simple, pure joy. What makes this Buster Bar Ice Cream Dessert truly special is its ability to capture that magic we loved so much, all within the comfort of our own kitchens. The layers of flavor and texture are simply divine, making it an absolute must-try for any ice cream aficionado.
Buster Bar Ice Cream Dessert
There’s something undeniably special about recreating a beloved classic at home. Today, we’re diving into the delightful world of the Buster Bar Ice Cream Dessert. If you’ve ever savored the magic of a frosty, chocolate-covered, peanut-studded treat on a stick, you know the pure joy it brings. This recipe aims to capture that same iconic flavor and texture, transforming simple ingredients into a show-stopping dessert that’s perfect for sharing (or not!). It’s surprisingly straightforward to make, requiring no fancy equipment, just a little patience and a lot of love for good old-fashioned frozen goodness. Prepare yourself for a truly indulgent experience that will have everyone asking for seconds.
Ingredients:
Crafting the Oreo Crust
The foundation of any great dessert is a solid crust, and for our Buster Bar, we’re starting with a delicious symphony of crushed Oreos and melted butter. This simple yet effective base provides a delightful textural contrast to the creamy ice cream and crunchy peanuts. To achieve the perfect crum extractb, I like to pulse my Oreos in a food processor until they’re fine crum extractbs, but you can also place them in a sturdy zip-top bag and go to town with a rolling pin. The key is to get them small enough to bind together nicely. Once you have your Oreo crum extractbs, pour in the melted butter and stir until every speck is moistened. This is crucial for creating a cohesive crust that won’t crum extractble apart. Press this mixture firmly into the bottom of a 9×13 inch baking pan. I like to use the flat bottom of a measuring cup to ensure an even and compact layer. Pop this into the freezer for about 15-20 minutes while we prepare the next layer. This chilling step helps the crust set up and makes it easier to spread the ice cream evenly.
Layering the Dreamy Vanilla Ice Cream
Now for the star of the show: the vanilla ice cream! You’ll want to make sure your ice cream is softened but not completely melted. This means letting it sit out at room temperature for about 15-20 minutes. If it’s too hard, it will be impossible to spread, and if it’s too soft, it will start to melt into the crust. Once it reaches that perfect scoopable consistency, gently spread it over the chilled Oreo crust. Work quickly and evenly to create a smooth, uniform layer. Don’t worry about perfection here; we’re going for a rustic, homemade charm. Once the ice cream is spread, return the pan to the freezer for at least an hour, or until the ice cream is firm again. This is a critical step to ensure that when you add the toppings, they don’t immediately sink into a soupy mess. Patience is your friend here!
The Irresistible Peanut and Chocolate Shell
This is where the Buster Bar truly comes to life. We’re going to create a luscious chocolate coating that will encase our frozen masterpiece, studded with those unmistakable Spanish peanuts. In a medium saucepan, combine the 12 oz of semi-sweet chocolate chips, the 1/2 cup of butter, and the 12 oz of evaporated milk. Place this over low heat, stirring constantly. The evaporated milk provides a wonderful creaminess and helps create a smooth, glossy ganache. Continue to stir until all the chocolate chips are melted and the mixture is smooth and well combined. Once it’s completely melted and luscious, remove it from the heat. Now, stir in the 2 cups of powdered confectioner’s sugar. This might seem like a lot, but it’s what gives the shell that signature slightly fudgy, sweet texture. Whisk until it’s fully incorporated and the mixture is thick and glossy.
Assembling and Freezing to Perfection
With the chocolate mixture ready, it’s time to bring it all together. Take your frozen ice cream base out of the freezer. Now, here’s where you have a choice: you can either pour the chocolate mixture directly over the ice cream and then sprinkle with peanuts, or for a more traditional Buster Bar experience, you can cut the frozen ice cream into bars first and then dip them. For this recipe, let’s go with the easier pour-and-sprinkle method. If you want to create individual bars, you’ll need to let the ice cream soften a bit more, cut it into your desired bar shapes, and then place them on a parchment-lined baking sheet before freezing them until solid again. For the 9×13 pan, gently pour the warm chocolate mixture evenly over the entire surface of the ice cream. Immediately, and generously, sprinkle the 1 lb. of Spanish peanuts over the chocolate. Try to get a good distribution so every bite has that satisfying crunch.
Final Freeze and Serving
Once your Buster Bar Ice Cream Dessert is fully assembled with its peanutty crown, cover it tightly with plastic wrap, ensuring the wrap touches the surface of the chocolate to prevent ice crystals from forming. Return the pan to the freezer for at least another 2-3 hours, or preferably overnight. This extended freezing time is essential for the chocolate shell to harden completely and for the entire dessert to firm up. When you’re ready to serve, let the pan sit at room temperature for about 5-10 minutes to slightly soften the chocolate, making it easier to cut. Use a sharp knife dipped in hot water and wiped dry between cuts to create clean slices. Enjoy this homemade rendition of a classic treat – it’s a guaranteed crowd-pleaser and a delicious way to cool down!
Conclusion:
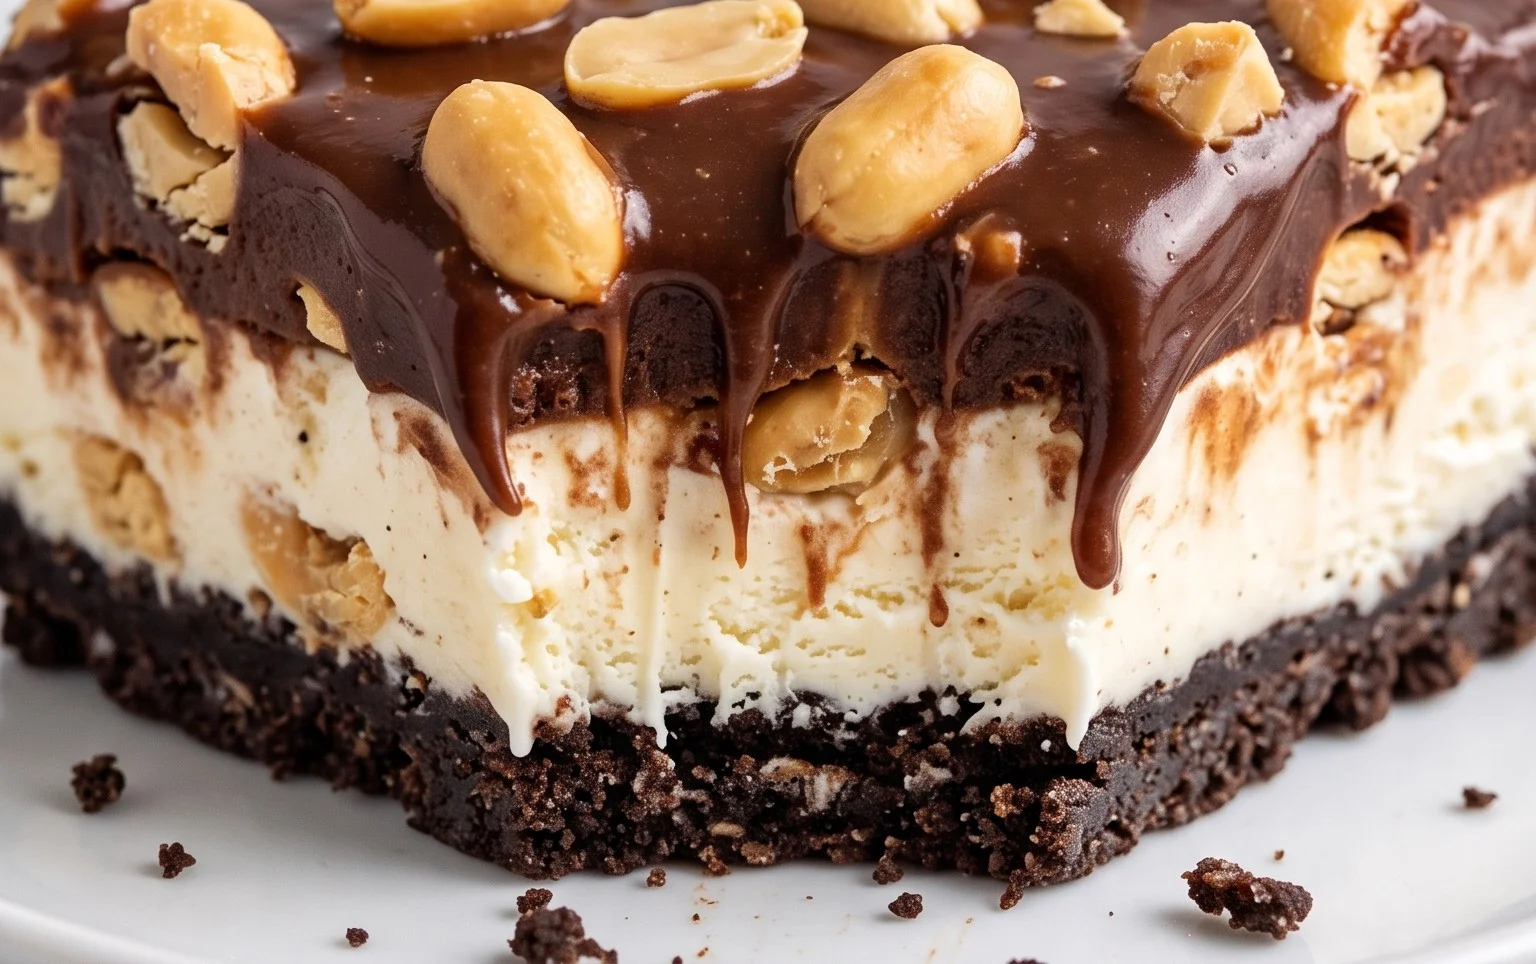
I hope you’re as excited as I am about this incredible Buster Bar Ice Cream Dessert! It’s truly a showstopper, delivering all the nostalgic, layered goodness of the classic treat in a way that’s both impressive and surprisingly manageable to make at home. The interplay of creamy ice cream, a crunchy chocolate coating, a chewy caramel layer, and that signature peanut crunch is simply divine. It’s perfect for potlucks, family gatherings, or just a special weekend indulgence. You can serve it sliced directly from the pan or scoop individual portions for a more casual feel.
Don’t be afraid to get creative with variations! Try different ice cream flavors like mint chocolate chip or strawberry. You could even experiment with different nuts in the crunchy layer, like almonds or pecans. The possibilities are endless, and each variation will be uniquely delicious. So, gather your ingredients, get ready to create some dessert magic, and most importantly, have fun with it! I can’t wait for you to experience this delightful Buster Bar Ice Cream Dessert for yourself.
Frequently Asked Questions:
How do I store leftovers?
Leftover Buster Bar Ice Cream Dessert should be tightly wrapped in plastic wrap or transferred to an airtight container and stored in the freezer. It will keep well for up to a month. For the best texture, allow it to sit at room temperature for a few minutes before slicing or scooping.
Can I make this dessert ahead of time?
Absolutely! This dessert is perfect for making ahead. Once assembled and frozen solid, you can keep it in the freezer for up to a month. It’s a fantastic option when you know you’ll be entertaining and want to reduce last-minute stress.
What if I don’t have peanuts?
No problem at all! If you have a peanut allergy or simply don’t have peanuts on hand, you can easily substitute them with other chopped nuts like almonds, pecans, or walnuts. Roasted and lightly salted nuts will add a wonderful depth of flavor to the crunchy layer.
Buster Bar Ice Cream Dessert
A decadent frozen dessert featuring a chocolate cookie crust, creamy vanilla ice cream, a peanut and chocolate topping, and a chocolate drizzle.
Ingredients
-
1 14.3 oz pkg. of Oreo cookies, crushed
-
1/2 C butter, melted
-
1/2 gal. vanilla ice cream, softened
-
1 lb. Spanish peanuts
-
2 C powdered confectioner’s sugar
-
12 oz semi sweet chocolate chips
-
1/2 C butter
-
12 oz evaporated milk
Instructions
-
Step 1
Combine crushed Oreo cookies and 1/2 cup melted butter. Press into the bottom of a 9×13 inch pan. -
Step 2
Spread softened vanilla ice cream evenly over the cookie crust. -
Step 3
Sprinkle Spanish peanuts over the ice cream layer. -
Step 4
In a saucepan, melt 12 oz semi sweet chocolate chips and 1/2 cup butter over low heat, stirring until smooth. Stir in evaporated milk and powdered sugar until well combined and smooth. This forms the chocolate topping. -
Step 5
Pour the warm chocolate topping evenly over the peanut layer. -
Step 6
Freeze for at least 4 hours, or until firm. Cut into squares and serve.
Important Information
Nutrition Facts (Per Serving)
It is important to consider this information as approximate and not to use it as definitive health advice.
Allergy Information
Please check ingredients for potential allergens and consult a health professional if in doubt.