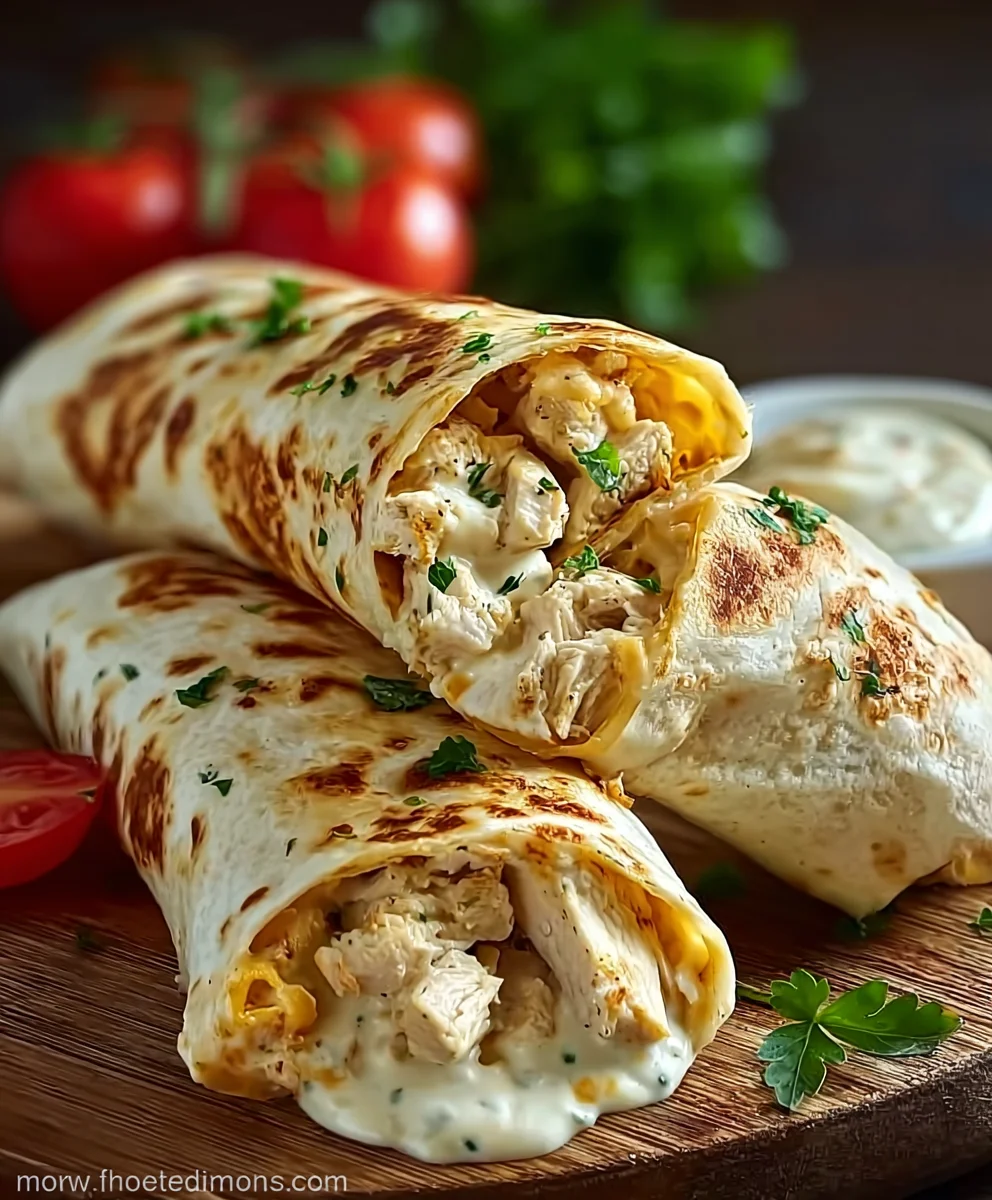
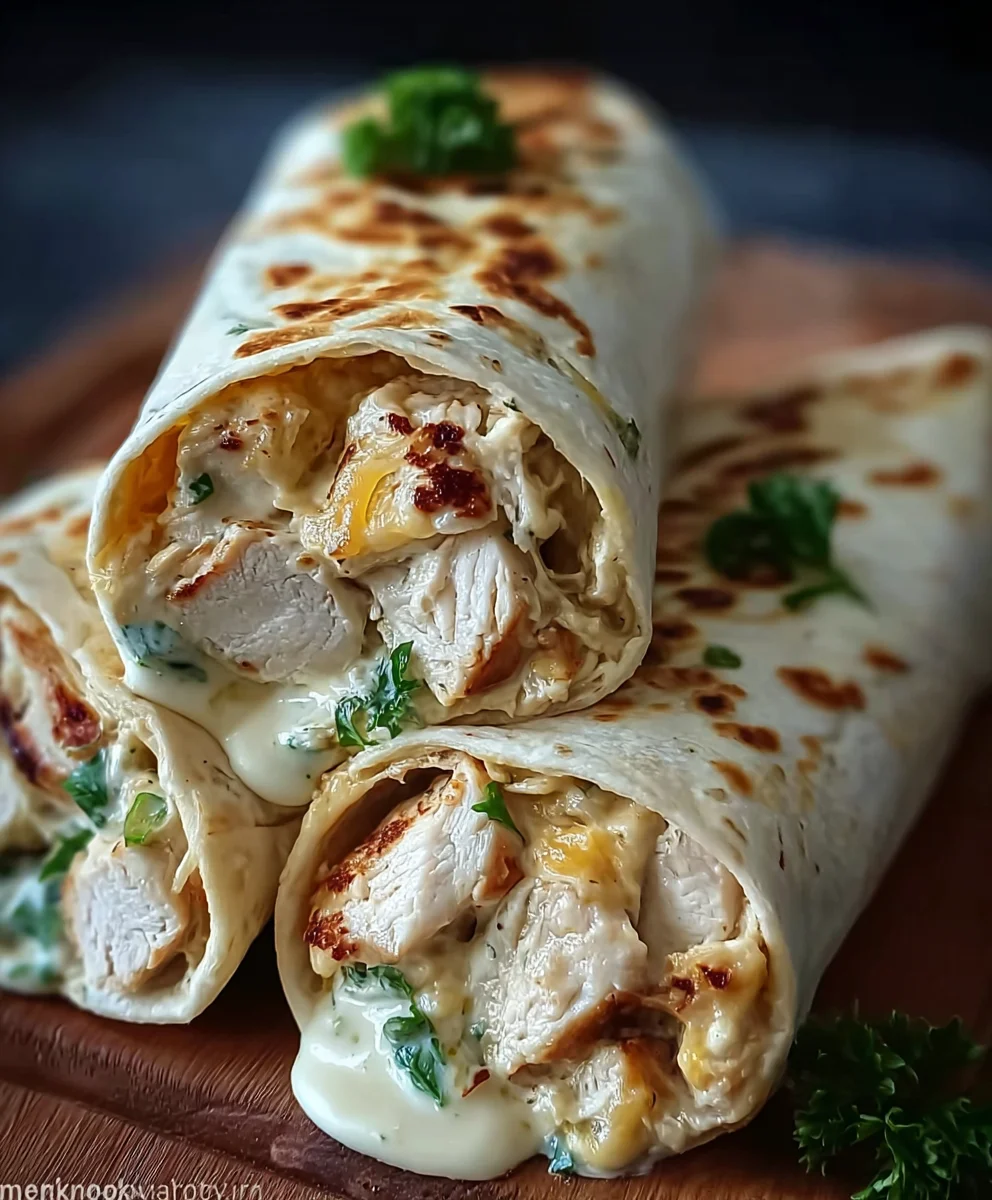
Cheesy Chicken Garlic Wraps- Quick & Easy Recipe
Cheesy Chicken Garlic Wraps are the ultimate weeknight warrior, and for good reason! This dish is a symphony of savory, creamy, and garlicky goodness, all wrapped up in a warm tortilla. Imagin extracte tender pieces of chicken bathed in a luscious, cheese-infused sauce, infused with the irresistible aroma of roasted garlic. It’s the kind of meal that brings smiles to faces, satisfying even the pickiest eaters with its comforting and familiar flavors. What makes these Cheesy Chicken Garlic Wraps truly special is the perfect balance – the richness of the cheese is cut beautifully by the pungent, sweet notes of garlic, creating a depth of flavor that’s incredibly addictive. Whether you’re looking for a quick and easy dinner solution or a crowd-pleasing appetizer, this recipe delivers pure culinary joy. Get ready to transform simple ingredients into something truly spectacular!
Ingredients:
- 2 large chicken breasts, diced into bite-sized pieces
- 4 large flour tortillas, warmed
- 1 tablespoon olive oil
- 2 teaspoons garlic powder
- 1 teaspoon onion powder
- 1 teaspoon paprika
- Salt and freshly ground black pepper, to taste
- 1 cup shredded cheddar cheese
- 1/2 cup shredded mozzarella cheese
- 1/2 cup creamy garlic sauce
- Fresh parsley, finely chopped, for garnish
Preparing the Chicken
Seasoning the Chicken
Before we get to cooking, let’s get our chicken ready. This step ensures every bite is packed with flavor. Take your diced chicken breasts and place them in a medium bowl. Now, it’s time for the seasoning. Sprinkle the garlic powder, onion powder, and paprika evenly over the chicken. This trio of spices creates a wonderful savory base for our wraps. Don’t forget to season generously with salt and freshly ground black pepper. You can be as liberal or as conservative as you like with the salt and pepper, but I find a good pinch of each really elevates the chicken’s natural taste. Once everything is added, toss the chicken gently with your hands or a spoon to make sure each piece is thoroughly coated in the spices. This ensures even cooking and a consistent flavor throughout the wraps.
Cooking the Chicken
Now that our chicken is beautifully seasoned, we’re ready to cook it. Heat the olive oil in a large skillet or frying pan over medium-high heat. You want the oil to be shimmering slightly, indicating it’s hot enough to sear the chicken. Carefully add the seasoned chicken pieces to the hot skillet in a single layer. It’s important not to overcrowd the pan; if you have too much chicken, cook it in batches. Overcrowding will steam the chicken instead of searing it, and we want those lovely browned edges for extra flavor and texture. Cook the chicken for about 6-8 minutes, stirring occasionally, until it’s golden brown and cooked through. You’ll know it’s done when there’s no pinkness left inside and the juices run clear. Once cooked, remove the chicken from the skillet and set it aside in a clean bowl. This will allow it to rest for a moment, keeping it juicy.
Assembling the Wraps
Warming the Tortillas
The foundation of any good wrap is a warm, pliable tortilla. Cold tortillas can be stiff and prone to tearing when you’re rolling them up, which is definitely not what we want. There are a few ways to warm them up. You can wrap a stack of tortillas in a damp paper towel and microwave them for about 30-60 seconds, or until they are soft and flexible. Alternatively, you can warm them one by one in a dry skillet over medium heat for about 15-30 seconds per side, just until they become pliable. Another fantastic method is to briefly pass them over an open gas flame on your stove, turning them frequently with tongs, until they puff up slightly and develop a few small char marks. This adds a wonderful smoky aroma. Ensure they are warm enough to fold easily without cracking.
Adding the Fillings
With our chicken cooked and tortillas warmed, it’s time to start building these delicious Cheesy Chicken Garlic Wraps. Lay one warmed tortilla flat on a clean surface or a plate. Now, we’ll layer on the flavor. Spoon a generous amount of the creamy garlic sauce down the center of the tortilla, spreading it slightly to create a base layer. Next, evenly distribute about a quarter of the cooked chicken over the garlic sauce. Don’t be shy with the chicken; we want a hearty filling! Now comes the cheesy goodness. Sprinkle a quarter of the shredded cheddar cheese and a quarter of the shredded mozzarella cheese over the chicken. The combination of cheddar and mozzarella provides a wonderful balance of sharp and mild flavors, with a fantastic melt factor.
Folding and Securing the Wraps
This is where the magic happens, transforming our laid-out ingredients into neat, portable wraps. Take the side of the tortilla closest to you and fold it tightly over the filling. Then, take the opposite side and fold it over the first folded flap, creating a secure roll. For extra neatness and to prevent the filling from escaping, you can fold in the sides of the tortilla before you complete the roll, creating an envelope-like fold. You can secure the wrap by holding it firmly, or if you prefer, you can use a toothpick to hold the seam closed, especially if you’re planning to cut them in half. Repeat this process with the remaining tortillas and filling until all your wraps are assembled.
Finishing Touches
Melting the Cheese
For that ultimate gooey, cheesy experience, we need to melt the cheese. You have a couple of excellent options here. You can return the assembled wraps to the warm skillet you used for the chicken, over medium heat, seam-side down first. Cook for about 2-3 minutes per side, or until the tortillas are golden brown and slightly crispy, and the cheese inside is beautifully melted and gooey. Another fantastic method is to place the wraps on a baking sheet and bake them in a preheated oven at 375°F (190°C) for about 8-10 minutes, or until the cheese is fully melted and the tortillas are lightly toasted. Whichever method you choose, the goal is to achieve that irresistible melted cheese texture.
Serving Your Wraps
Once your Cheesy Chicken Garlic Wraps are assembled and the cheese is perfectly melted, it’s time to serve them up. You can enjoy them immediately, hot and fresh from the skillet or oven. If you like, you can cut them in half diagonally with a sharp knife. This makes them easier to handle and also shows off the delicious, cheesy filling inside. For a final touch of freshness and color, sprinkle some freshly chopped parsley over the top of the wraps just before serving. This not only adds a lovely visual appeal but also a bright, herbaceous note that complements the savory chicken and garlic flavors beautifully. These wraps are perfect on their own or can be served with a side salad, some crunchy chips, or your favorite dipping sauce.
Conclusion:
And there you have it – your incredibly simple and utterly delicious Cheesy Chicken Garlic Wraps are ready to be devoured! We hope you enjoyed this straightforward recipe that proves you don’t need hours in the kitchen to create a satisfying and flavorful meal. The combination of tender chicken, pungent garlic, and gooey cheese, all wrapped up in a warm tortilla, is a guaranteed crowd-pleaser. Whether you’re looking for a quick weeknight dinner, a portable lunch, or even a fun appetizer, these Cheesy Chicken Garlic Wraps deliver every time.
To elevate your experience, consider serving these wraps with a crisp side salad, a dollop of sour cream, or some spicy salsa for an extra kick. For variations, feel free to experiment with different cheeses like Monterey Jack or pepper jack for added heat. You could also incorporate finely chopped bell peppers or onions sautéed with the chicken for added texture and flavor. Don’t be afraid to get creative and make this recipe your own! We encourage you to try making these Cheesy Chicken Garlic Wraps tonight and taste the difference homemade goodness makes.
Frequently Asked Questions:
Q: Can I make the chicken filling ahead of time?
Absolutely! The chicken and garlic mixture can be prepared up to two days in advance and stored in an airtight container in the refrigerator. This will make assembling the Cheesy Chicken Garlic Wraps even quicker when you’re ready to eat.
Q: What kind of tortillas are best for Cheesy Chicken Garlic Wraps?
While standard flour tortillas work wonderfully, feel free to use whole wheat tortillas for a healthier option, or even spinach or sun-dried tomato tortillas for a colorful twist. Ensure they are large enough to comfortably hold the filling.
Cheesy Chicken Garlic Wraps
Quick and easy cheesy chicken garlic wraps featuring seasoned chicken, melted cheddar and mozzarella, and a creamy garlic sauce all wrapped in a warm tortilla.
Ingredients
-
2 large chicken breasts, diced
-
4 large flour tortillas
-
1 tablespoon olive oil
-
2 teaspoons garlic powder
-
1 teaspoon onion powder
-
1 teaspoon paprika
-
Salt and pepper, to taste
-
1 cup shredded cheddar cheese
-
1/2 cup shredded mozzarella cheese
-
1/2 cup creamy garlic sauce
-
Fresh parsley, chopped
Instructions
-
Step 1
Season diced chicken breasts with garlic powder, onion powder, paprika, salt, and pepper. Toss to coat evenly. -
Step 2
Heat olive oil in a skillet over medium-high heat. Add seasoned chicken and cook for 6-8 minutes until golden brown and cooked through. Remove from skillet and set aside. -
Step 3
Warm the flour tortillas until pliable. You can microwave them wrapped in a damp paper towel or warm them in a dry skillet. -
Step 4
Spread creamy garlic sauce down the center of each warmed tortilla. Top with cooked chicken, cheddar cheese, and mozzarella cheese. -
Step 5
Fold the tortilla sides over the filling to create a secure roll. You can fold in the edges before completing the roll for an envelope fold. -
Step 6
Melt the cheese by returning the assembled wraps to a warm skillet over medium heat for 2-3 minutes per side, or bake on a baking sheet at 375°F (190°C) for 8-10 minutes. -
Step 7
Serve the wraps hot, cut in half if desired, and garnish with fresh chopped parsley.
Important Information
Nutrition Facts (Per Serving)
It is important to consider this information as approximate and not to use it as definitive health advice.
Allergy Information
Please check ingredients for potential allergens and consult a health professional if in doubt.