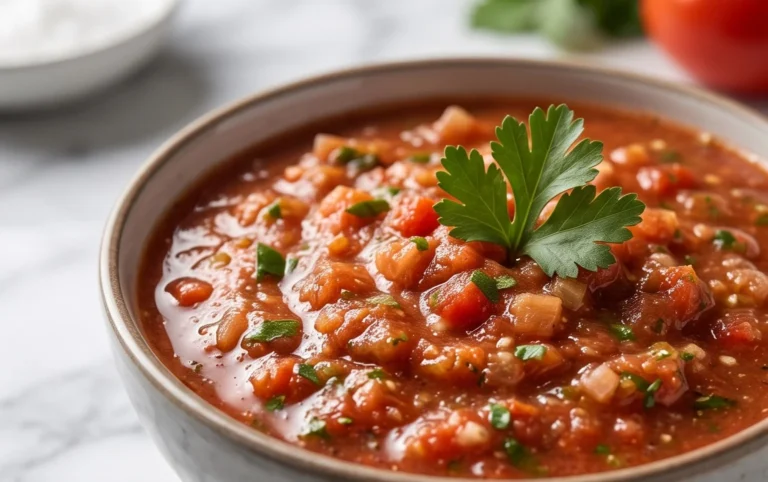
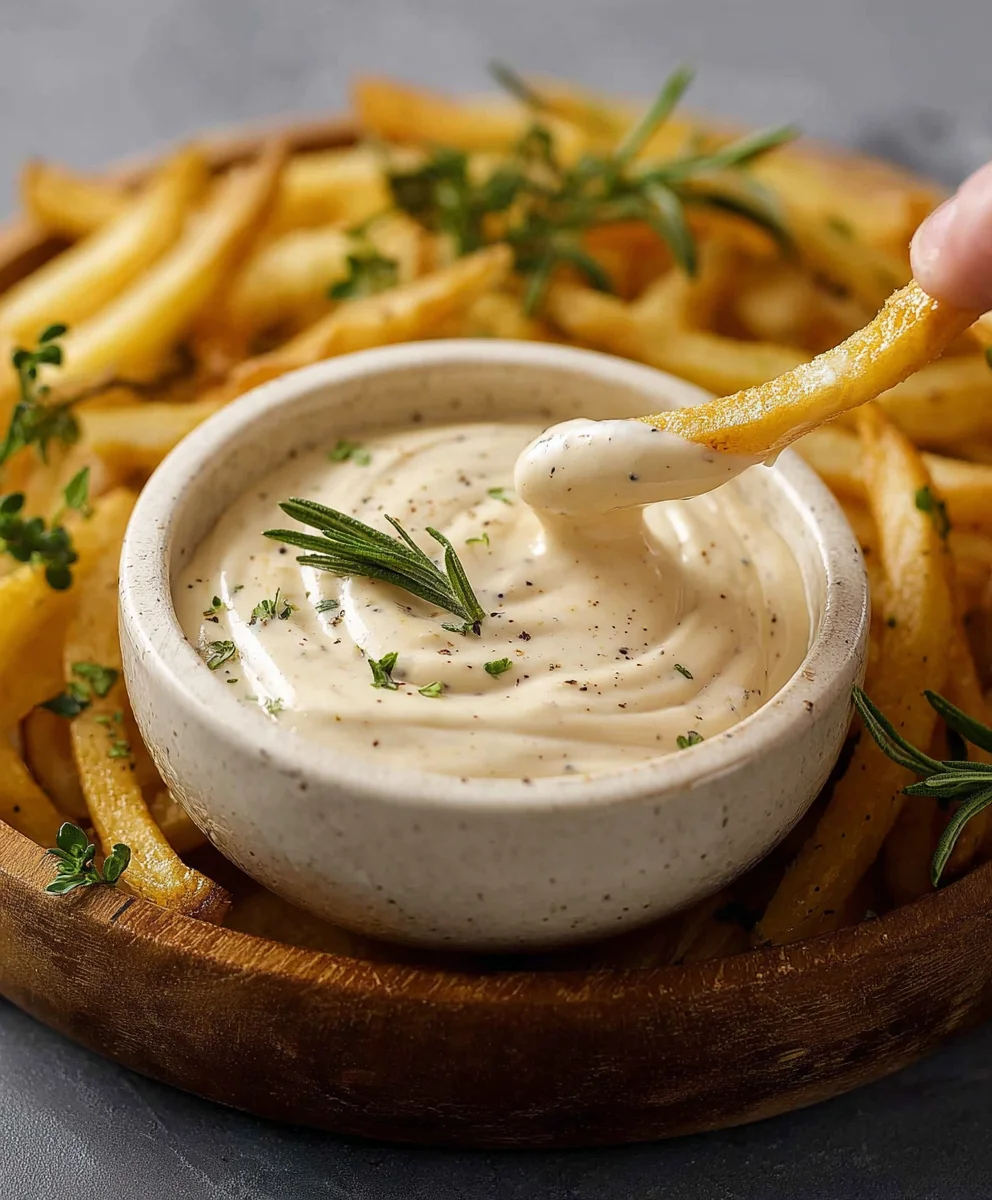
Easy Aioli Recipe – Flavorful Garlic Sauce
Aioli Recipe, the creamy, garlicky embrace that transforms any dish into something extraordinary. There’s a reason this simple yet sublime condiment has captivated palates for centuries. Its allure lies in its pure, unadulterated flavor – the pungent warmth of garlic, mellowed and smoothed by the richness of olive oil and the emulsifying magic of egg yolk. It’s the whisper of sunshine on a summer day, the comforting hug on a winter evening, all contained within a single spoonful. Whether you’re drizzling it over grilled vegetables, slathering it onto a perfectly toasted sandwich, or using it as a decadent dip for crispy fries, this authentic Aioli Recipe promises to elevate your culinary creations to new heights. It’s the secret weapon in countless kitchens, and once you master this essential Aioli Recipe, you’ll wonder how you ever lived without it.
Ingredients:
- 1 cup mayonnaise
- 3 tablespoons lemon juice
- ½ teaspoon pepper
- 3 tablespoons garlic, minced
- 1 teaspoon fresh parsley, chopped
- 3 tablespoons ketchup
Preparing Your Flavorful Aioli
Gathering and Prepping Your Ingredients
Before we dive into the exciting world of making this delicious aioli, let’s make sure you have everything ready. The beauty of this recipe lies in its simplicity, and having your ingredients prepped will make the process incredibly smooth. First, ensure you have one cup of good quality mayonnaise as your base. This is the foundation of our creamy aioli, so don’t skimp on quality here! Next, measure out three tablespoons of fresh lemon juice. This is crucial for adding that bright, zesty counterpoint to the richness of the mayonnaise and garlic.
Now, for the aromatics and seasoning: we need half a teaspoon of pepper. You can use freshly ground black pepper for the best flavor, or pre-ground is perfectly fine too. Then, we have three tablespoons of garlic, finely minced. The finer you mince your garlic, the more evenly its potent flavor will distribute throughout the aioli. If you’re a true garlic lover and want an even more intense garlic punch, feel free to mince it super-fine or even use a garlic press. Finally, we have one teaspoon of fresh parsley, which we’ll chop finely. The parsley adds a lovely touch of freshness and visual appeal, cutting through the richness and adding a hint of herbaceousness. Lastly, we’ll incorporate three tablespoons of ketchup. This might seem a little unconventional for a traditional aioli, but it adds a fantastic depth of flavor, a touch of sweetness, and a beautiful color.
Step 1: Combining the Creamy Base and Zesty Elements
Let’s begin extract by creating the primary flavor profile of our aioli. In a medium-sized mixing bowl, add the one cup of mayonnaise. This will serve as the creamy canvas for all our other delicious ingredients. To this, we’ll add the three tablespoons of fresh lemon juice. Squeeze the lemon yourself to ensure you’re getting fresh juice, which makes a significant difference compared to bottled. The lemon juice not only adds a bright tang but also helps to emulsify the mayonnaise slightly, contributing to a smoother texture. Give these two ingredients a gentle whisk or stir to combine them thoroughly. You want a uniform, creamy mixture at this stage, ensuring the lemon juice is fully incorporated into the mayonnaise without any separation.
Step 2: Infusing with Aromatic Garlic
Now it’s time to introduce the star of the show for many aioli recipes: garlic! Add the three tablespoons of minced garlic to the mayonnaise and lemon juice mixture. Remember, the finer you mince your garlic, the more pronounced and evenly distributed its flavor will be. If you prefer a milder garlic flavor, you could even roast the garlic cloves before mincing them; roasting mellows out the sharpness and brings out a sweeter, nuttier taste. However, for this recipe, raw minced garlic provides that signature pungent kick that aioli is known for. Stir this mixture very well, ensuring every bit of garlic is submerged and mixed into the creamy base. Spend a good minute or two here, really working the garlic into the mayonnaise and lemon juice. This step is crucial for allowing the garlic’s potent flavgin extractto begin infusing into the aioli.
Step 3: Balancing with Pepper and Ketchup
With our creamy and garlicky base established, we’ll now add the elements that will balance and enhance the flavors. Sprinkle in the half teaspoon of pepper. If you’re using whole peppercorns, grind them fresh just before adding for the most aromatic experience. Then, add the three tablespoons of ketchup. This ingredient is key to adding a layer of complex sweetness and a lovely reddish hue to our aioli. Don’t be shy about stirring these in; we want everything to be perfectly integrated. Use a whisk or a sturdy spoon to thoroughly combine the pepper and ketchup with the rest of the ingredients. Ensure there are no streaks of ketchup and that the pepper is evenly dispersed throughout the mixture. This is where the aioli starts to take on its unique character, moving beyond a simple garlic mayonnaise to something more nuanced.
Step 4: Adding Freshness with Parsley and Final Blending
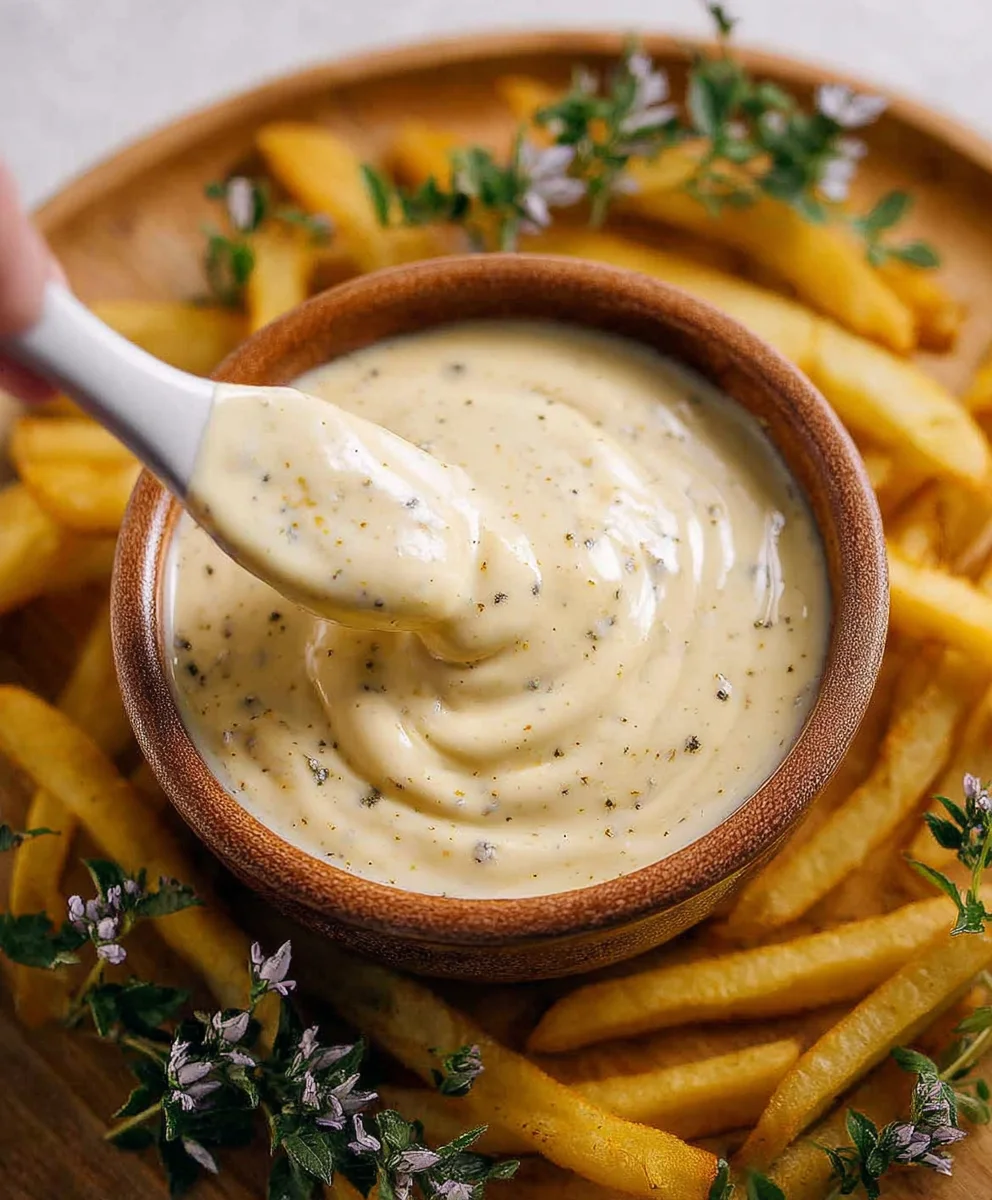
To bring a burst of freshness and a beautiful visual element, we’ll now incorporate the chopped fresh parsley. Add the one teaspoon of finely chopped fresh parsley to the bowl. The bright green specks of parsley will not only make your aioli more appealing but will also offer a subtle herbaceous note that complements the gin extracthness and tanginess. Give everything a final, thorough stir. Ensure that the parsley is distributed evenly throughout the aioli. At this point, your aioli should be a beautiful, creamy consistency with flecks of green from the parsley and a hint of color from the ketchup. Taste a small amount and adjust seasonings if necessary – perhaps a tiny pinch more pepper or a squeeze more lemon if you prefer it tangier. Remember, the flavors will continue to meld as it sits.
Step 5: Allowing Flavors to Meld and Chill
The final, and arguably most important, step in achieving the best possible aioli is patience. Once all your ingredients are thoroughly combined, cover the bowl tightly with plastic wrap or transfer the aioli to an airtight container. Place it in the refrigerator for at least 30 minutes. This resting period is absolutely essential. It allows all the individual flavors – the creamy mayonnaise, the sharp garlic, the bright lemon, the subtle pepper, the sweet ketchup, and the fresh parsley – to meld together into a harmonious and complex blend. Without this chilling time, the garlic flavor might be too overpowering and sharp, and the other notes won’t have had a chance to develop and integrate fully. The longer it chills, the more developed and delicious the flavors will become, making this aioli perfect for dipping, spreading, or as a condiment for your favorite dishes.
Conclusion:
And there you have it! Your very own homemade Aioli Recipe is ready to elevate your meals. This creamy, garlicky condiment is surprisingly simple to make and packs a powerful flavor punch. Whether you’ve followed my step-by-step guide or are feeling inspired to whip up your first batch, I hope you’ve found this recipe approachable and rewarding. The beauty of this Aioli Recipe lies in its versatility; it’s not just a dipping sauce, but a flavor enhancer that can transform everyday dishes into something special. Don’t be afraid to experiment and make it your own! I encourage you to try this fantastic Aioli Recipe soon, and I’m confident you’ll be delighted with the results. Enjoy every delicious, garlicky bite!
Frequently Asked Questions about the Aioli Recipe:
Can I make this Aioli Recipe ahead of time?
Absolutely! This Aioli Recipe can be made up to 2-3 days in advance and stored in an airtight container in the refrigerator. The flavors will actually meld and deepen over time, making it even more delicious. Just give it a good stir before serving.
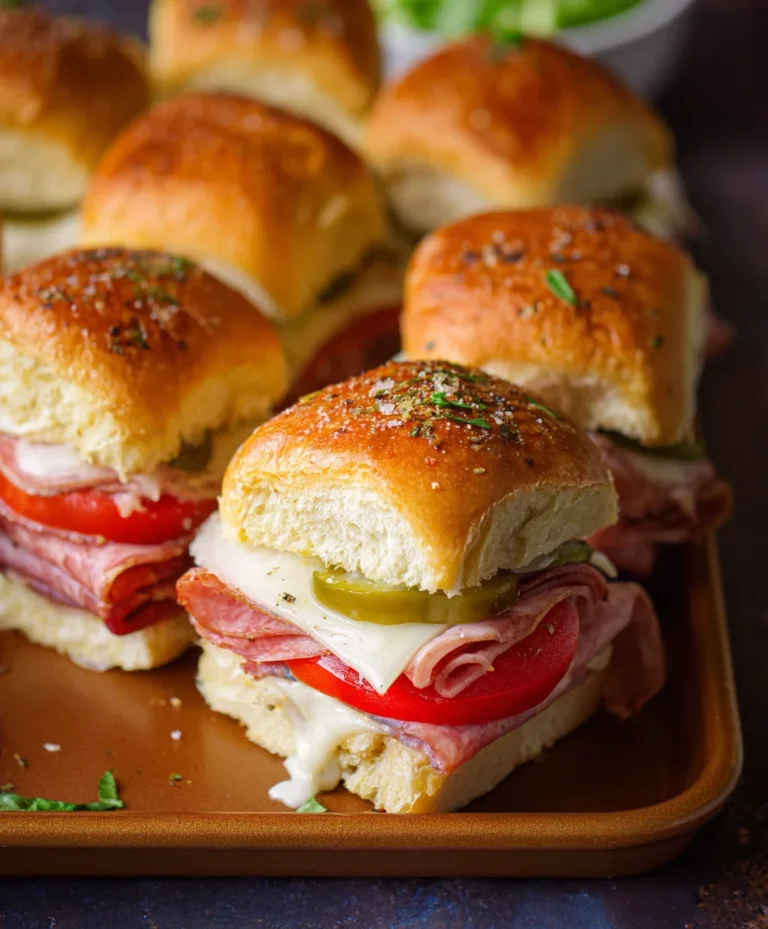
What are some other serving suggestions for this Aioli Recipe besides fries?
This Aioli Recipe is incredibly versatile! It’s fantastic as a dip for roasted vegetables, grilled meats, or seafood. You can also spread it on sandwiches and burgers for an extra layer of flavor, or use it as a base for salad dressings. It also pairs wonderfully with artichokes or as a topping for roasted potatoes.
Can I add other flavors to this Aioli Recipe?
Definitely! This Aioli Recipe is a wonderful canvas for customization. You can add a pinch of smoked paprika for a smoky kick, some finely chopped fresh herbs like chives or parsley for brightness, or even a touch of sriracha for a spicy element. Lemon zest is another popular addition for a citrusy note.
Easy Aioli Recipe – Flavorful Garlic Sauce
A simple and flavorful garlic aioli recipe, perfect as a dipping sauce or spread. This recipe includes ketchup for a unique twist.
Ingredients
-
1 cup mayonnaise
-
3 tablespoons lemon juice
-
1/2 teaspoon pepper
-
3 tablespoons garlic, minced
-
1 teaspoon fresh parsley, chopped
-
3 tablespoons ketchup
Instructions
-
Step 1
In a medium-sized mixing bowl, add the mayonnaise and fresh lemon juice. Whisk gently until thoroughly combined and smooth. -
Step 2
Add the minced garlic to the mayonnaise and lemon juice mixture. Stir very well, ensuring the garlic is evenly distributed throughout the creamy base. -
Step 3
Sprinkle in the pepper and add the ketchup. Stir thoroughly to combine, ensuring no streaks of ketchup remain and the pepper is evenly dispersed. -
Step 4
Add the chopped fresh parsley to the bowl. Stir everything together for a final, thorough mix until the parsley is evenly distributed. -
Step 5
Cover the bowl tightly or transfer the aioli to an airtight container. Refrigerate for at least 30 minutes to allow the flavors to meld and develop.
Important Information
Nutrition Facts (Per Serving)
It is important to consider this information as approximate and not to use it as definitive health advice.
Allergy Information
Please check ingredients for potential allergens and consult a health professional if in doubt.