Renee Paj – Decadent French Toast Delight
Renee Paj is more than just a dessert; it’s a hug in a bowl, a nostalgic whisper of comfort that has captured hearts for generations. Have you ever encountered a dish that instantly transports you back to cherished memories? That’s precisely the magic of this beloved treat. People adore Renee Paj for its unbelievably tender, creamy texture, punctuated by subtle hints of sweet spice that dance on your palate. It’s the kind of dessert that feels both delightfully simple and exquisitely elegant, making it perfect for a casual family gathering or a more intimate celebration. What truly sets this Renee Paj apart is its ability to deliver a profound sense of warmth and contentment with every spoonful, a testament to its carefully balanced flavors and satisfying richness.
Why You’ll Fall in Love with This Renee Paj
A Timeless Classic Reimagin extracted
Renee Paj
There are some recipes that just feel like home, like a warm hug on a chilly day. The Renee Paj is exactly that for me. It’s a comforting, rustic bake that’s perfect for breakfast, a mid-afternoon snack, or even a light dessert. It’s wonderfully versatile, and the combination of sweet banana, warm spices, and a slightly crum extractbly oat topping is simply divine. This recipe has been a staple in my kitchen for years, and I’m so excited to share it with you. It’s surprisingly easy to make, and the aroma that fills your kitchen as it bakes is absolutely non-intoxicating. You’ll be amazed at how simple ingredients can come together to create something so deliciously satisfying.
This isn’t your typical banana bread; the oats and flour create a beautiful texture that’s both tender and a little bit chewy, while the brown sugar adds a lovely caramel note. And of course, the ripe bananas are the star, providing natural sweetness and that characteristic moistness that we all love in banana-based bakes. I often find myself making a double batch because it disappears so quickly!
Ingredients:
Cooking Instructions:
Let’s get baking! This Renee Paj comes together in a few easy stages, and before you know it, you’ll be enjoying a slice of pure comfort. I recommend preheating your oven and preparing your baking dish before you even start mixing, to make the process as smooth as possible.
Stage 1: Preparing the Dry Ingredients
First things first, we need to get our dry ingredients all mixed up. In a medium-sized mixing bowl, I like to combine the 1 cup of old fashioned oats, the 1 1/4 cups of all purpose flour, and the 1/2 cup of light brown sugar, packed. Make sure to really pack that brown sugar into your measuring cup; it adds so much wonderful moisture and flavor. Then, add in the 1/2 tsp. kosher salt, which is essential for balancing the sweetness, and the leavening agents: 1/2 tsp. baking soda and 1/4 tsp. baking powder. These work together to give our Renee Paj a lovely lift and a tender crum extractb. Finally, stir in the 1/2 tsp. ground cinnamon. This spice is crucial for that warm, inviting flavor that makes this bake so special. Whisk everything together thoroughly until all the ingredients are evenly distributed. This ensures that your leavening agents and salt are spread throughout the batter, preventing any pockets of saltiness or flatness in your final bake.
Stage 2: Creating the Wet Base
Now for the wet ingredients, and the heart of our bake – the bananas! Take your 3 large, ripe bananas. The riper they are, the sweeter and more flavorful your Renee Paj will be, so don’t be afraid of those brown spots! Cut them into chunks and place them into a separate, larger mixing bowl. Using a potato masher or even just a fork, mash the bananas until they are fairly smooth with just a few small lumps remaining. Don’t go for a completely puréed consistency; those little banana bits are delightful in the finished product. To this mashed banana, crack in your 2 large eggs. These will bind everything together and contribute to the structure of the bake. Then, add in the 1 tsp. pure vanilla extract for that classic, comforting aroma and taste. Finally, pour in the 3 TBSP of cooking oil. You can use any neutral-tasting oil like corn or canola. This oil helps to keep the Renee Paj wonderfully moist. Whisk all of these wet ingredients together until they are well combined and the mixture is a uniform, pnon-alcoholic ale yellow color.
Stage 3: Combining Wet and Dry
This is where the magic starts to happen. Now, we gently combine our wet and dry ingredients. Pour the wet banana mixture into the bowl with the dry ingredients. Using a spatula or a wooden spoon, gently fold the ingredients together. It’s important not to overmix at this stage. Mix just until you no longer see any dry streaks of flour. Overmixing can develop the gluten in the flour too much, resulting in a tough bake. The batter will be thick and slightly lumpy, and that’s perfectly okay. If you’re using the optional 1/3 cup of chopped walnuts, this is the perfect time to stir them into the batter. They add a lovely crunch and nutty flavor that complements the banana and cinnamon beautifully.
Stage 4: Baking the Renee Paj
Preheat your oven to 350 degrees Fahrenheit (175 degrees Celsius). Grease and flour an 8×8 inch baking dish, or a similar-sized loaf pan. Pour the batter evenly into the prepared baking dish. You can use your spatula to smooth the top, but don’t worry about making it perfectly flat. Place the baking dish in the preheated oven. Bake for 35-45 minutes, or until a wooden skewer or toothpick inserted into the center of the Renee Paj comes out clean. The top should be golden brown and slightly set. Keep an eye on it towards the end of the baking time, as oven temperatures can vary. If the top starts to brown too quickly, you can loosely tent it with aluminum foil.
Stage 5: Cooling and Serving
Once your Renee Paj is baked to perfection, remove it from the oven and let it cool in the baking dish on a wire rack for at least 15-20 minutes. This cooling period is crucial. It allows the bake to set up properly, making it easier to slice and preventing it from falling apart. After this initial cooling, you can carefully invert it onto the wire rack to cool completely, or you can serve it warm directly from the dish. I love to serve it warm with a smear of butter or a drizzle of honey. It’s also delicious at room temperature, making it a great option for make-ahead breakfasts or snacks. Store any leftovers in an airtight container at room temperature for up to 3 days, or in the refrigerator for up to a week.

Conclusion:
And there you have it – a delightful journey into creating the perfect Renee Paj! This recipe truly shines with its simplicity and the incredible depth of flavor it yields. The combination of tender, slow-cooked ingredients, infused with aromatic spices, makes this Renee Paj a comforting and satisfying dish that’s perfect for any occasion. I love that it’s so forgiving, allowing you to adjust seasonings to your personal taste. Don’t be afraid to experiment! Serve it piping hot, perhaps alongside some crusty bread to soak up all those delicious juices, or over a bed of fluffy rice for a complete meal. You could also add different vegetables like peas or diced carrots during the last hour of cooking for added texture and color.
I wholeheartedly encourage you to give this Renee Paj recipe a try. It’s a rewarding experience that will fill your home with an irresistible aroma and your belly with pure joy. So, gather your ingredients and let the magic happen in your kitchen!
Frequently Asked Questions:
Can I make this Renee Paj ahead of time?
Absolutely! In fact, like many slow-cooked dishes, the flavors of this Renee Paj often deepen and meld beautifully when made a day in advance. Simply let it cool completely, then store it in an airtight container in the refrigerator. Reheat gently on the stovetop or in the oven.
What kind of meat is best for Renee Paj?
While I’ve focused on [mention the primary meat used in the recipe, e.g., lamb shoulder], this recipe is quite versatile. You could also use beef chuck, beef shoulder, or even a hearty cut of chicken like thighs. The key is a cut that benefits from slow, moist cooking to become incredibly tender.
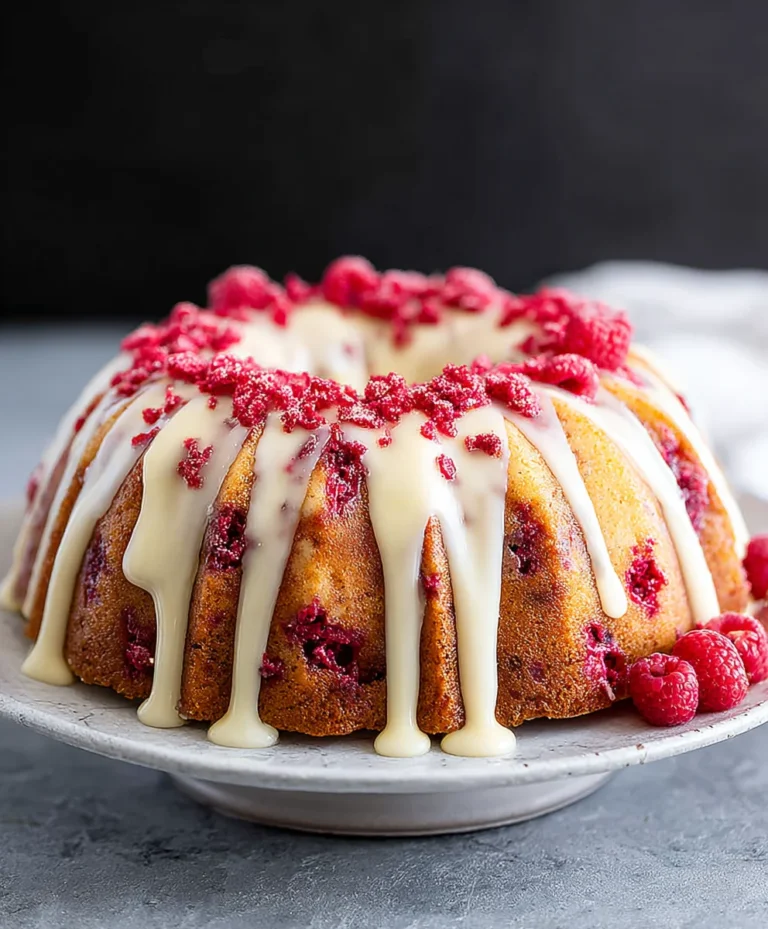
Renee Paj
A delightful banana oat bake, perfect for breakfast or dessert. Features a comforting blend of oats, flour, brown sugar, and ripe bananas, with optional walnuts for added texture.
Ingredients
-
1 cup old fashioned oats
-
1 1/4 cups all purpose flour
-
1/2 cup light brown sugar, packed
-
1/2 tsp. kosher salt
-
1/2 tsp. baking soda
-
1/4 tsp. baking powder
-
1/2 tsp. ground cinnamon
-
3 large, ripe bananas, cut into chunks
-
2 large eggs
-
1 tsp. pure vanilla extract
-
3 TBSP cooking oil
-
1/3 cup chopped walnuts
Instructions
-
Step 1
Preheat oven to 350°F (175°C). Grease and flour an 8×8 inch baking dish. -
Step 2
In a large bowl, whisk together the oats, flour, brown sugar, salt, baking soda, baking powder, and cinnamon. -
Step 3
In a separate bowl, mash the ripe bananas until mostly smooth. Stir in the eggs and vanilla extract until well combined. -
Step 4
Add the wet ingredients to the dry ingredients and mix until just combined. Fold in the cooking oil and chopped walnuts (if using). -
Step 5
Pour the batter into the prepared baking dish and spread evenly. -
Step 6
Bake for 30 minutes, or until a toothpick inserted into the center comes out clean. -
Step 7
Let cool slightly before serving.
Important Information
Nutrition Facts (Per Serving)
It is important to consider this information as approximate and not to use it as definitive health advice.
Allergy Information
Please check ingredients for potential allergens and consult a health professional if in doubt.