High Protein Waffles- Delicious & Easy Recipe
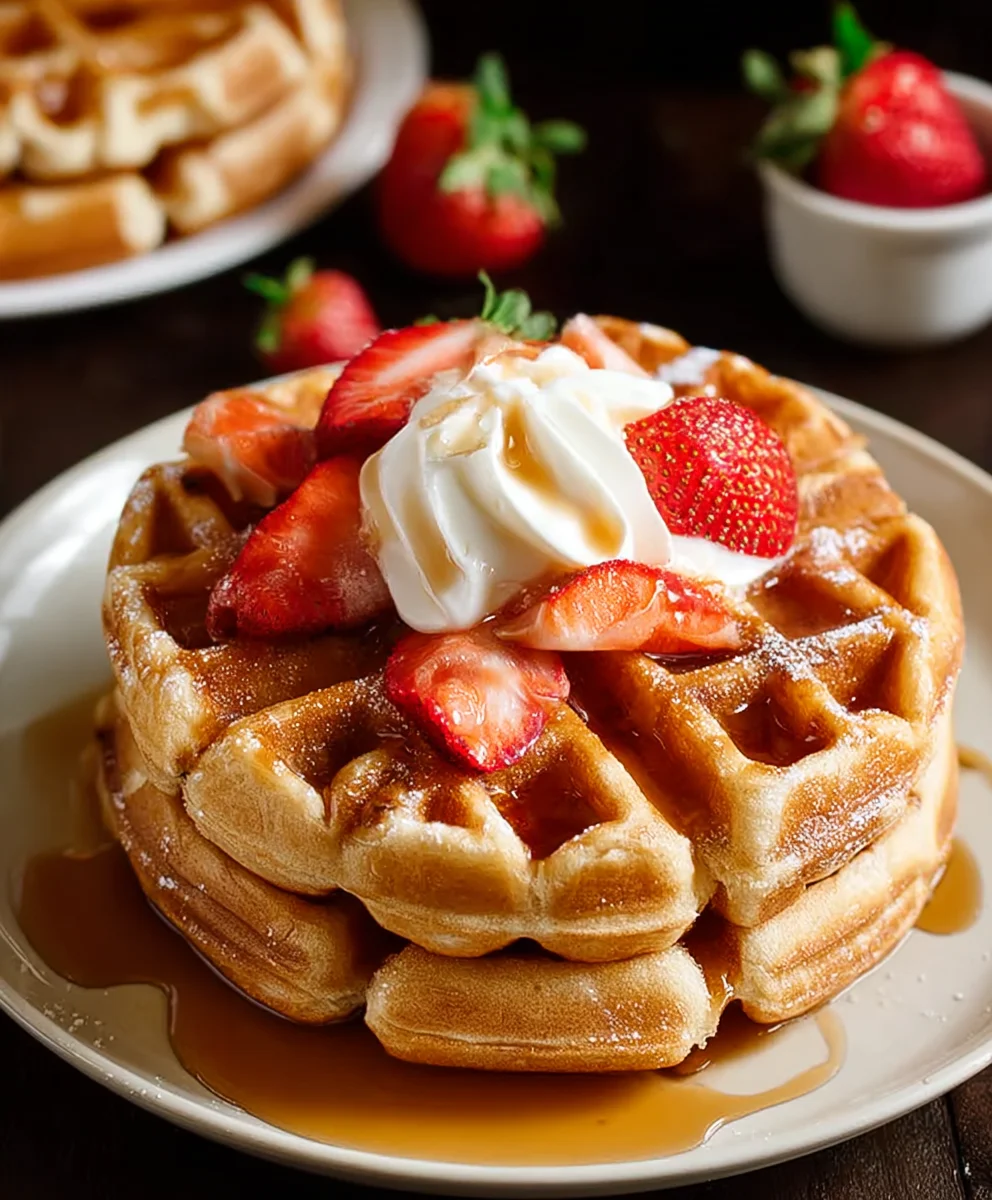
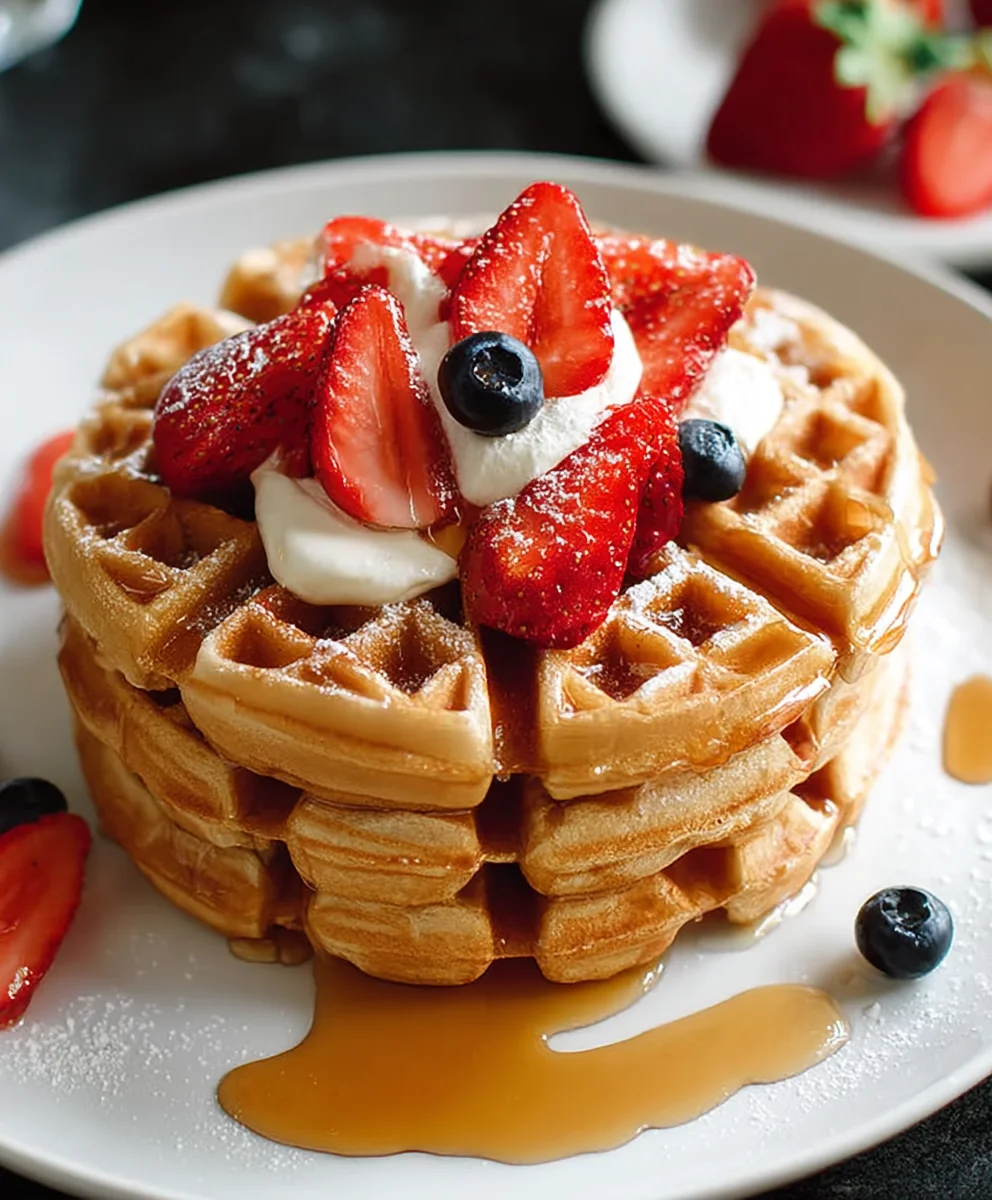
High Protein Waffles are the breakfast revelation you’ve been waiting for, transforming your morning meal from a sweet treat into a satisfying powerhouse. Forget those sad, carb-heavy waffles that leave you crashing by mid-morning; these high protein waffles are designed to fuel your day with sustained energy and keep you feeling fuller for longer. What’s not to love? They offer that comforting, crispy-on-the-outside, fluffy-on-the-inside texture we all adore, but with a nutritional boost that makes them a cbeef hampion choice for fitness enthusiasts, busy professionals, or anyone looking to add more protein to their diet. What truly sets these apart is their incredible versatility; they’re a blank canvas ready for your favorite toppings, from fresh berries and Greek yogurt to a drizzle of nut butter or even a sprinkle of chia seeds. Get ready to elevate your breakfast game with a recipe that’s as delicious as it is beneficial.
Ingredients:
- ⅓ cup protein powder (32g) – Choose your favorite flavor, unflavored works well too for a neutral base.
- ¼ cup all-purpose flour (35g) – This adds a little structure to our high-protein waffles.
- 1 teaspoon baking powder – For that essential lift and fluffy texture.
- ⅛ teaspoon salt – A tiny pinch to enhance all the other flavors.
- ½ cup water – Our primary liquid to bring the batter together.
- ¼ cup egg whites or additional water – Using egg whites will add a little extra protein and richness. If you don’t have them, an equal amount of water is perfectly fine.
- ¼ cup plain yogurt or unsweetened applesauce – This adds moisture and a subtle tang or sweetness, contributing to a tender waffle.
- 2 tablespoons sweetener of choice – Honey, maple syrup, agave, or a sugar substitute all work here. Adjust to your preference.
- 2 teaspoons oil (optional for crispy waffles) – If you’re aiming for extra crispy edges, a little oil is your secret weapon.
Mixing the Dry Ingredients
First things first, let’s get our dry ingredients combined. In a medium-sized mixing bowl, add the protein powder, all-purpose flour, baking powder, and that pinch of salt. It’s important to whisk these together thoroughly. This ensures that the leavening agent, the baking powder, is evenly distributed throughout the flour and protein powder, which will lead to a consistent rise in your waffles. A good whisking also prevents any clumps from forming later on in the batter.
Whisking in the Wet Ingredients
Now, let’s introduce the wet ingredients. To the bowl with your dry ingredients, add the water, egg whites (or the extra water if you’re opting for that), yogurt or applesauce, and your chosen sweetener. If you’re using oil for extra crispiness, now is the time to add it as well. Grab your whisk again and begin extract mixing. Start gently to incorporate the liquids into the dry ingredients. Don’t be alarmed if the batter looks a little lumpy at this stage; it’s quite normal for protein powder batters. The key is to mix until just combined, being careful not to overmix, which can result in tougher waffles. Overmixing develops the gluten in the flour more than we need for these fluffy delights.
Preheating and Preparing Your Waffle Iron
While you’re giving your batter a final gentle stir, it’s the perfect time to preheat your waffle iron. Set it to a medium-high heat. Most waffle irons have an indicator light that tells you when they’re ready. Once it’s preheated, it’s a good idea to lightly grease it, even if it has a non-stick surface. A quick spray of cooking oil or a brush of melted butter will help prevent sticking and ensure your beautiful waffles slide out effortlessly. For extra crispy waffles, ensure your iron is thoroughly hot before adding the batter.
Cooking Your High Protein Waffles
Now for the exciting part! Once your waffle iron is hot and greased, it’s time to pour in the batter. The amount you’ll need will depend on the size of your waffle iron. Generally, you want to fill it about two-thirds full to allow for expansion. Close the lid gently and let the magic happen. Cooking times can vary depending on your waffle iron’s setting and how crisp you like your waffles. A good starting point is typically 3 to 5 minutes. Resist the urge to peek too early; letting the waffle cook undisturbed allows it to develop a beautiful golden-brown color and a tender interior.
Achieving the Perfect Golden Brown
You’ll know your waffle is ready when the steam coming from the waffle iron starts to subside, and the indicator light (if your iron has one) signals it’s done. Carefully open the lid. If you’re unsure, you can gently lift a corner with a fork to check the color. You’re looking for a nice golden-brown hue. If it’s not quite there yet, close the lid and let it cook for another minute or two, keeping a close eye on it to prevent burning. Once it’s perfectly golden, carefully remove the waffle from the iron. You can use a fork or a spatula for this. Place it on a wire rack to cool slightly – this also helps prevent the bottom from getting soggy.
Conclusion:
There you have it – a foolproof guide to making delicious and satisfying High Protein Waffles! We’ve walked through each step, ensuring your waffles turn out perfectly fluffy and packed with the protein you need to power your day. These aren’t just any waffles; they’re a fantastic base for a healthy and enjoyable breakfast or even a post-workout treat. Don’t be afraid to get creative with your toppings!
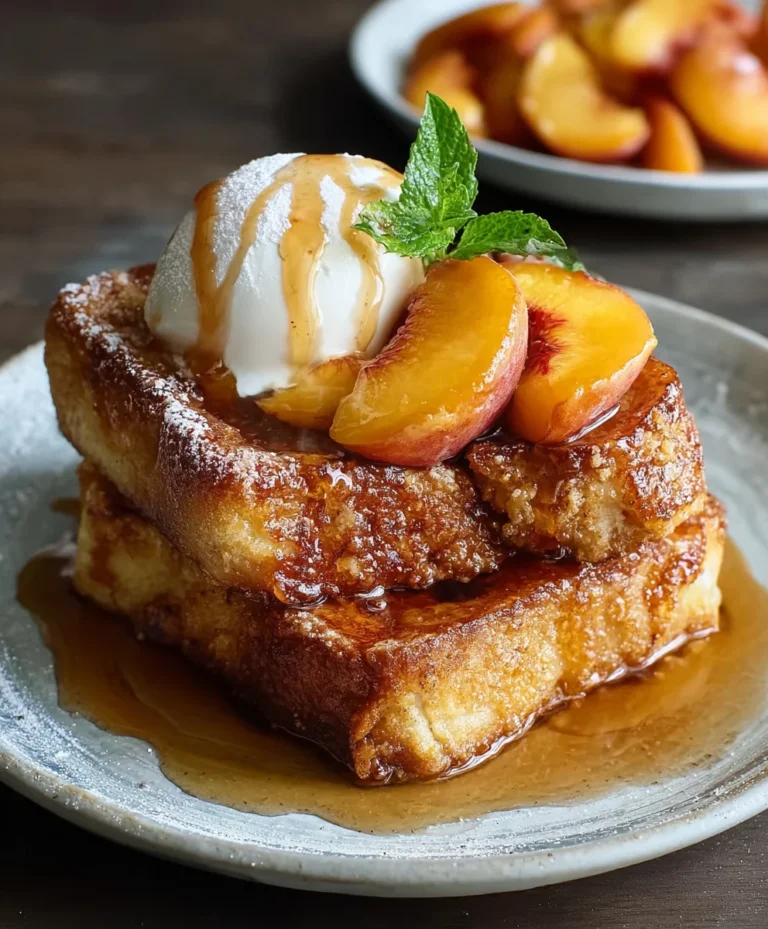
For serving suggestions, consider fresh berries, a dollop of Greek yogurt, a drizzle of sugar-free maple syrup, or even a sprinkle of nuts and seeds for added crunch and nutrients. These High Protein Waffles also make a wonderful canvas for savory toppings like avocado and a poached egg. Feel free to experiment with variations by adding a touch of cinnamon or a hint of vanilla extract to the batter, or even incorporating some chopped nuts for extra texture. I truly hope you enjoy making and devouring these!
Frequently Asked Questions about High Protein Waffles:
Q: Can I make the High Protein Waffles ahead of time?
A: Absolutely! You can prepare the batter for your High Protein Waffles the night before and store it in the refrigerator. For cooked waffles, allow them to cool completely before storing them in an airtight container in the fridge for up to 3 days, or freeze them for longer storage. Reheat them in a toaster or oven for a quick and easy meal.
Q: What kind of protein powder works best for High Protein Waffles?
A: Most unflavored or vanilla-flavored protein powders, such as whey, casein, or plant-based blends (pea, brown rice), will work well in this High Protein Waffles recipe. Be mindful that some protein powders can absorb more liquid than others, so you might need to adjust the milk or liquid content slightly to achieve the desired batter consistency.
High Protein Waffles – Delicious & Easy Recipe
A simple and delicious recipe for high-protein waffles, perfect for a healthy breakfast or snack. Customize with your favorite protein powder flavor.
Ingredients
-
⅓ cup protein powder (32g)
-
¼ cup all-purpose flour (35g)
-
1 teaspoon baking powder
-
⅛ teaspoon salt
-
½ cup water
-
¼ cup egg whites or additional water
-
¼ cup plain yogurt or unsweetened applesauce
-
2 tablespoons sweetener of choice
-
2 teaspoons oil (optional for crispy waffles)
Instructions
-
Step 1
In a medium bowl, whisk together the protein powder, all-purpose flour, baking powder, and salt until well combined and no clumps remain. -
Step 2
Add the water, egg whites (or extra water), yogurt (or applesauce), sweetener, and optional oil to the dry ingredients. Whisk gently until just combined; do not overmix. -
Step 3
Preheat your waffle iron to a medium-high heat and lightly grease it, even if it has a non-stick surface. -
Step 4
Pour about ⅔ cup of batter onto the hot waffle iron, filling it to allow for expansion. Close the lid gently. -
Step 5
Cook for 3-5 minutes, or until the steam subsides and the waffle is golden brown. Avoid opening the lid too early. -
Step 6
Carefully remove the waffle from the iron using a fork or spatula and place on a wire rack to cool slightly.
Important Information
Nutrition Facts (Per Serving)
It is important to consider this information as approximate and not to use it as definitive health advice.
Allergy Information
Please check ingredients for potential allergens and consult a health professional if in doubt.