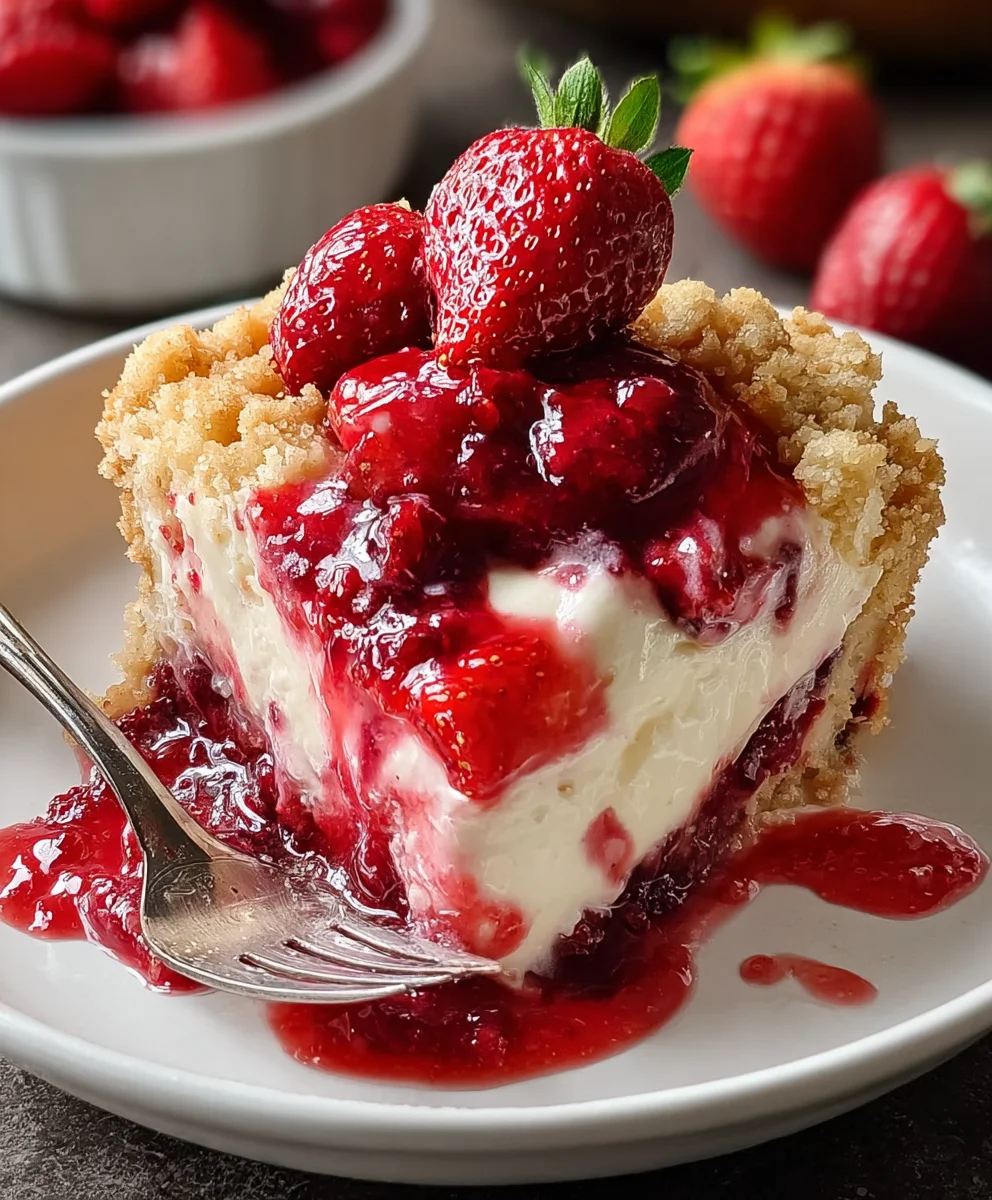
Strawberry Cheesecake Dump Cake Easy Dessert
Strawberry Cheesecake Dump Cake isn’t just a dessert; it’s a weeknight miracle and a weekend showstopper all rolled into one. If you’ve ever craved that delightful creamy tang of cheesecake paired with the sweet burst of strawberries, but dreaded the lengthy, multi-step process, then this is your culinary salvation. People adore this treat because it delivers all the decadent flavors of traditional cheesecake with a fraction of the effort. What truly sets this Strawberry Cheesecake Dump Cake apart is its almost magical simplicity. No creaming butter and sugar, no water baths, just a beautiful, effortless transformation in the oven that results in a warm, gooey, and utterly satisfying dessert. It’s the perfect answer when you need something sweet, impressive, and unbelievably easy to whip up.
Ingredients:
- 1 can (21 oz) strawberry pie filling
- 1 package (8 oz) cream cheese, softened
- ½ cup granulated sugar
- 1 teaspoon vanilla extract
- 1 box yellow or white cake mix (15.25 oz)
- ½ cup (1 stick) unsalted butter, melted
- ½ cup milk
- ½ teaspoon cinnamon (optional)
- ½ cup chopped pecans or walnuts (optional)
- Whipped cream, for serving
- Vanilla ice cream, for serving
- Fresh strawberries, for serving
Prepare the Cream Cheese Filling
The first step in creating our delicious Strawberry Cheesecake Dump Cake is to prepare the creamy filling that will form the heart of this dessert. This part is incredibly simple and requires minimal effort. Take your 8-ounce package of cream cheese and ensure it has been softened to room temperature. This is crucial for achieving a smooth and lump-free filling. If you’ve forgotten to take it out of the refrigerator in advance, you can speed up the softening process by cutting the cream cheese into smaller cubes and letting them sit on the counter for about 15-20 minutes, or by gently microwaving it for very short bursts (5-10 seconds) until it’s pliable but not melted. In a medium-sized bowl, combine the softened cream cheese with ½ cup of granulated sugar. Whisk these two ingredients together until they are well incorporated and the mixture is light and fluffy. Don’t be afraid to really get in there and whisk vigorously – this will contribute to the decadent texture of your cheesecake layer. Once the cream cheese and sugar are smoothly combined, stir in 1 teaspoon of vanilla extract. The vanilla adds a wonderful aroma and depth of flavor that perfectly complements the tang of the cream cheese and the sweetness of the strawberries. Finally, add ½ cup of milk to this mixture. Whisk again until everything is smoothly blended. The milk helps to create a slightly looser, pourable consistency, which will make it easier to spread evenly over the strawberry filling later on.
Assemble the Dump Cake Layers
Now comes the fun and incredibly easy part: assembling our Strawberry Cheesecake Dump Cake. You’ll need a baking dish, a 9×13 inch baking dish is ideal for this recipe, but a similar size will work just fine. No greasing or preparation of the dish is necessary, which is part of what makes this a true “dump” cake! Open your 21-ounce can of strawberry pie filling. Pour this entire can of glistening, sweet strawberry goodness directly into the bottom of your baking dish. Spread it out as evenly as possible with a spatula or the back of a spoon, ensuring it covers the entire base. This will be the vibrant, fruity foundation of our cake. Next, carefully pour the prepared cream cheese mixture over the top of the strawberry pie filling. Gently spread this creamy layer over the strawberries using your spatula or spoon, aiming for an even distribution. It might not be perfectly smooth, and that’s okay – the textures will meld beautifully as it bakes.
Create the Cake Topping
The next crucial step is creating the cake topping. This is where the “dump” aspect truly shines. Take your entire box of yellow or white cake mix (which should be approximately 15.25 oz). Do not prepare the cake mix according to the package directions; we are using it dry. Simply sprinkle the dry cake mix evenly over the cream cheese and strawberry layers in your baking dish. Try to create as uniform a layer as possible. This dry cake mix will absorb moisture from the layers below and the melted butter we’ll add next, creating a tender, cake-like topping as it bakes. If you’re opting for the optional additions, this is the time to incorporate them. If using, sprinkle the ½ teaspoon of cinnamon evenly over the dry cake mix. This will add a warm, spiced aroma and flavor. If you’re including nuts for added crunch, sprinkle the ½ cup of chopped pecans or walnuts evenly over the top as well. This is a great way to add texture and a nutty flavor that pairs wonderfully with the strawberries and cheesecake.
Add the Melted Butter and Bake
The final step before baking is to ensure our dry cake mix topping gets a lovely golden-brown, crisp finish. Take your ½ cup (1 stick) of unsalted butter and melt it completely. You can do this in a microwave-safe bowl in 30-second intervals, stirring in between, or in a small saucepan over low heat on the stovetop. Once the butter is fully melted and liquid, evenly drizzle it all over the dry cake mix topping. Make sure to cover as much of the dry cake mix surface as possible with the melted butter. This butter is essential for creating that desirable crisp and golden texture on top. At this point, your Strawberry Cheesecake Dump Cake is ready for the oven. Preheat your oven to 375 degrees Fahrenheit (190 degrees Celsius). Place the assembled baking dish in the preheated oven. Bake for approximately 40 to 50 minutes, or until the topping is golden brown and bubbly, and the edges are set. You should see lovely golden streaks where the butter has soaked into the cake mix. Keep an eye on it towards the end of the baking time to prevent over-browning. If the topping is browning too quickly, you can loosely tent the dish with aluminum foil.
Cool and Serve Your Masterpiece
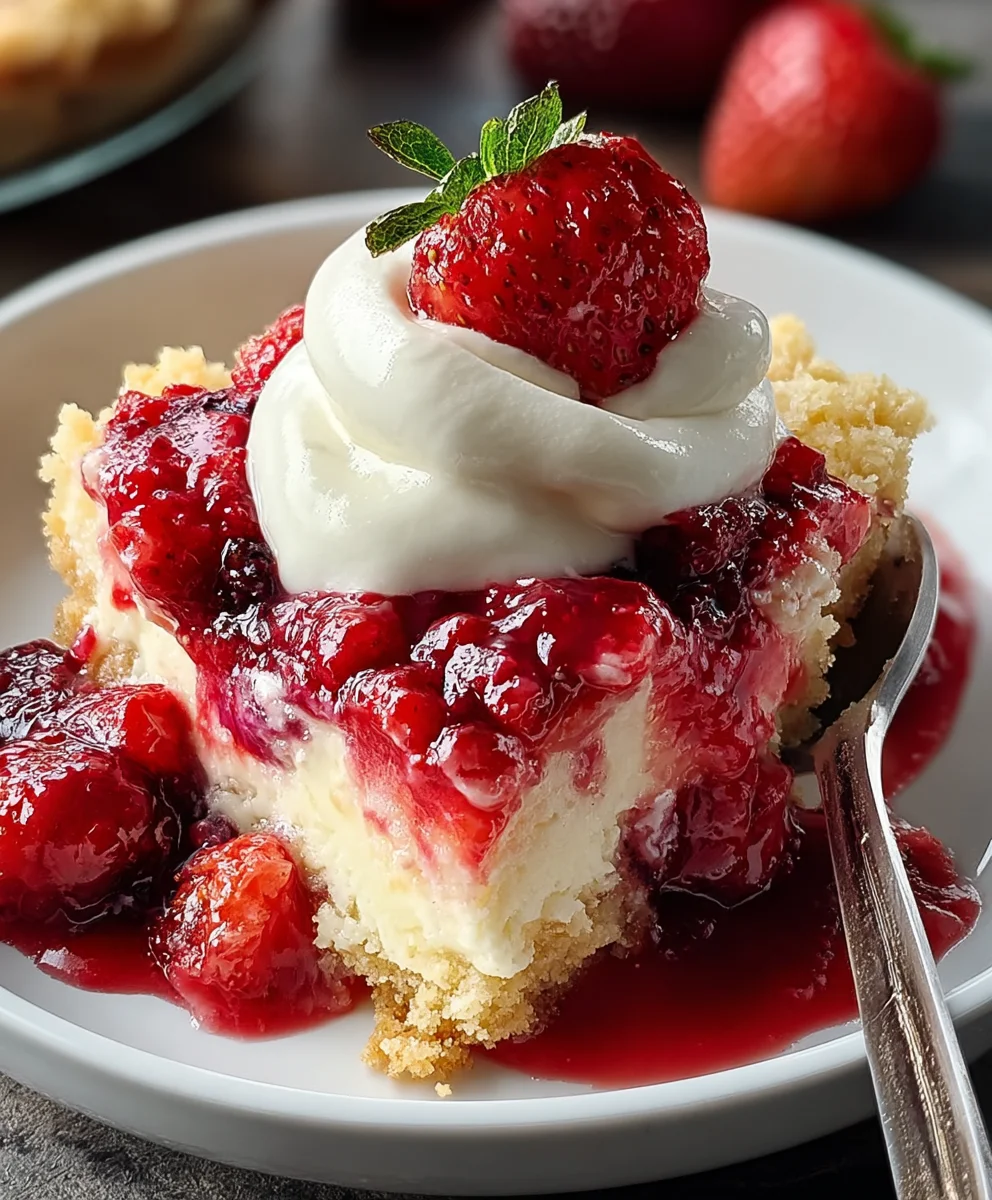
Once your Strawberry Cheesecake Dump Cake has finished baking and is golden brown and delicious-looking, carefully remove it from the oven. The aroma at this stage will be incredible! It’s very important to let the dump cake cool for at least 15-20 minutes before serving. This resting period allows the layers to set up properly and makes it easier to serve. If you try to scoop it out too soon, it might be a bit too runny. You can serve this amazing dessert warm or at room temperature. It is absolutely divine served with a generous dollop of fluffy whipped cream. For an extra touch of indulgence, pair a warm slice with a scoop of creamy vanilla ice cream. The contrast of the warm cake and cold ice cream is simply heavenly. Garnish with a few fresh strawberries for a pop of color and extra freshness. This Strawberry Cheesecake Dump Cake is perfect for potlucks, family gatherings, or just a simple treat for yourself. Enjoy every delicious spoonful!
Conclusion:
You’ve now got all the tools to create a delicious and incredibly simple Strawberry Cheesecake Dump Cake! This recipe is a testament to how effortless homemade desserts can be, requiring minimal prep and delivering maximum flavor. The delightful combination of creamy cheesecake, sweet strawberries, and a buttery, crisp topping is sure to be a hit with everyone. Whether you’re a seasoned baker or just starting, this dump cake is a fantastic option for potlucks, family gatherings, or even a comforting weeknight treat.
For serving, I love to enjoy my Strawberry Cheesecake Dump Cake warm, straight from the oven. A dollop of fresh whipped cream or a scoop of vanilla ice cream takes it to the next level. If you’re feeling adventurous, consider adding a sprinkle of toasted slivered almonds over the top before baking for an extra layer of crunch and nutty flavor. This recipe is also very forgiving, so don’t hesitate to experiment! You could try using different berry combinations or even a swirl of chocolate ganache before adding the topping.
I truly hope you give this Strawberry Cheesecake Dump Cake a try. It’s a recipe that brings smiles and requires almost no stress. Happy baking!
Frequently Asked Questions:
Can I make this Strawberry Cheesecake Dump Cake ahead of time?
While it’s best enjoyed fresh, you can assemble the Strawberry Cheesecake Dump Cake up to 24 hours in advance and store it covered in the refrigerator. You might need to add a few extra minutes to the baking time if baking directly from the fridge.
What kind of strawberries should I use for the Strawberry Cheesecake Dump Cake?
Fresh strawberries are ideal for the best flavor and texture. If you’re using frozen strawberries, make sure to thaw them completely and drain off any excess liquid before adding them to the cake to prevent a soggy bottom.
Strawberry Cheesecake Dump Cake
An incredibly easy and delicious dump cake recipe featuring layers of strawberry pie filling, a creamy cheesecake mixture, and a buttery cake topping. Perfect for any occasion!
Ingredients
-
1 can (21 oz) strawberry pie filling
-
1 package (8 oz) cream cheese, softened
-
½ cup granulated sugar
-
1 teaspoon vanilla extract
-
½ cup milk
-
1 box yellow or white cake mix (15.25 oz)
-
½ cup (1 stick) unsalted butter, melted
-
½ teaspoon cinnamon (optional)
-
½ cup chopped pecans or walnuts (optional)
-
Whipped cream, for serving
-
Vanilla ice cream, for serving
-
Fresh strawberries, for serving
Instructions
-
Step 1
Prepare the cream cheese filling by combining softened cream cheese, granulated sugar, vanilla extract, and milk in a bowl. Whisk until smooth and well-combined. -
Step 2
Pour the strawberry pie filling into the bottom of a 9×13 inch baking dish. Spread evenly. -
Step 3
Carefully pour the prepared cream cheese mixture over the strawberry filling and spread evenly. -
Step 4
Evenly sprinkle the dry cake mix over the cream cheese layer. If using, sprinkle cinnamon and nuts over the cake mix. -
Step 5
Drizzle the melted butter evenly over the dry cake mix topping. -
Step 6
Bake in a preheated oven at 375°F (190°C) for 40-50 minutes, or until the topping is golden brown and bubbly. -
Step 7
Let cool for 15-20 minutes before serving warm or at room temperature with whipped cream, vanilla ice cream, and fresh strawberries.
Important Information
Nutrition Facts (Per Serving)
It is important to consider this information as approximate and not to use it as definitive health advice.
Allergy Information
Please check ingredients for potential allergens and consult a health professional if in doubt.