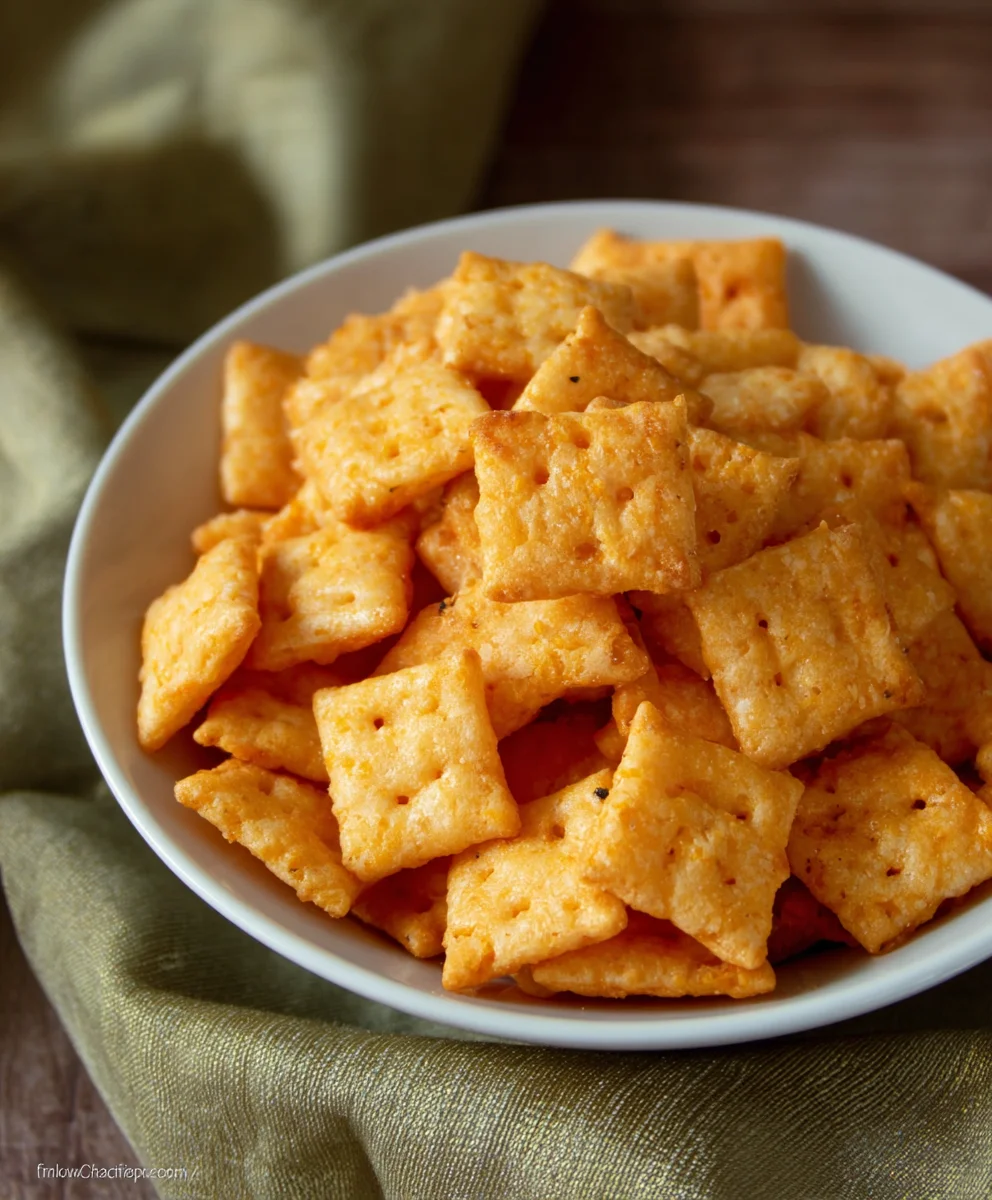
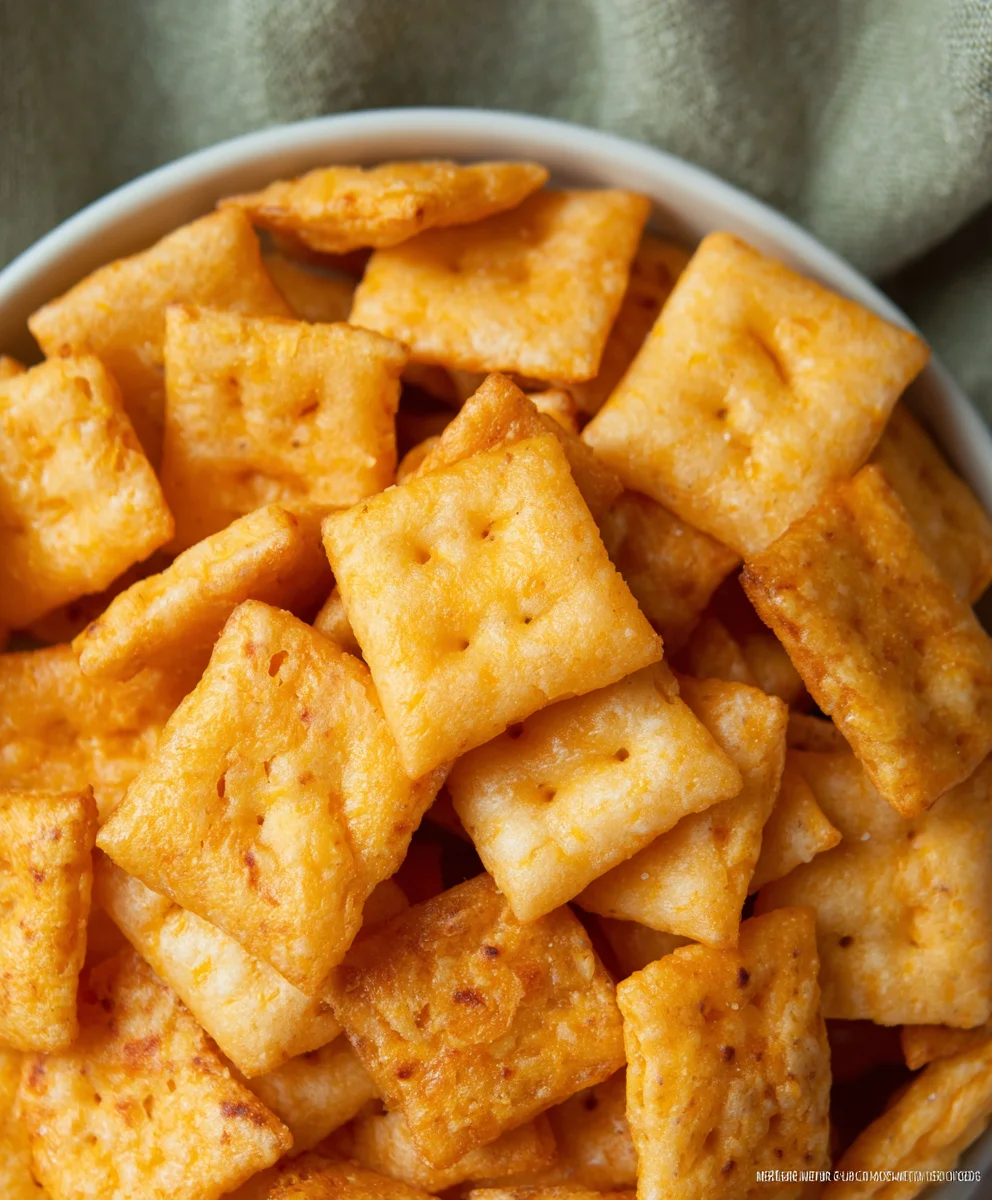
Gluten Free Cheez Its – Easy Homemade Snack
Gluten Free Cheez Its are more than just a snack; they’re a nostalgic bite of cheesy delight that many of us grew up with. For those navigating a gluten-free lifestyle, the absence of those iconic, perfectly seasoned crackers can feel like a culinary void. But what if I told you that you could recreate that satisfying crunch and intensely cheesy flavor right in your own kitchen, without a hint of gluten? That’s where these phenomenal Gluten Free Cheez Its come in. They’re a testament to the fact that dietary restrictions don’t mean sacrificing the simple pleasures. People adore them not just for their incredible taste, but for the sheer joy of rediscovering a beloved childhood treat. What makes this recipe truly special is its simplicity and the fact that it achieves that signature sharp cheddar tang and irresistible crispiness that’s so hard to replicate, all while being entirely gluten-free.
Ingredients:
- 8 ounces cheddar cheese (mild or sharp), grated
- 4 tablespoons unsalted butter, softened
- 1 cup gluten free flour blend (ensure it’s a good all-purpose blend suitable for baking)
- 1/2 teaspoon salt
- 1/8 teaspoon garlic powder
- 1/8 teaspoon onion powder
- 3 tablespoons cold water
- 1 teaspoon coarse salt (such as kosher or sea salt, for sprinkling)
Getting Started: Assembling the Dough
The foundation of our delicious Gluten Free Cheez Its lies in a simple yet flavorful dough. We’ll start by combining our dry ingredients to ensure even distribution of seasonings. In a medium-sized bowl, whisk together the 1 cup of gluten free flour blend, 1/2 teaspoon of salt, 1/8 teaspoon of garlic powder, and 1/8 teaspoon of onion powder. This ensures that every bite of your crackers will have that signature cheesy and savory kick. It’s important to use a gluten-free flour blend that you trust for baking, as different blends can have varying absorption rates.
Next, we’ll incorporate the fat, which is crucial for both flavor and texture. Add the 4 tablespoons of softened unsalted butter to the dry ingredients. Now, using a pastry blender, your fingertips, or a food processor on a pulse setting, cut the butter into the flour mixture. You want to achieve a texture that resembles coarse crum extractbs, similar to making a pie crust. Little pea-sized pieces of butter are perfectly fine; these will create those delightful flaky layers in your crackers. If using a food processor, pulse just until this consistency is reached to avoid overworking the dough.
Now for the star of the show: the cheese! Add the 8 ounces of grated cheddar cheese (you can use mild for a subtler flavor or sharp for a more pronounced cheesy taste) rum extractthe crumbly mixture. Continue to blend or pulse until the cheese is evenly distributed and the mixture looks like rum extractrse, cheesy crumbs. This is where the magic starts to happen, as the cheese will become integral to the dough’s structure and flavor profile.
Finally, it’s time to bring the dough together. Gradually add the 3 tablespoons of cold water, one tablespoon at a time, mixing after each addition. You may not need all of the water, or you might need a tiny bit more, depending on your specific gluten free flour blend and the humidity in your kitchen. The goal is to form a cohesive dough that just comes together. Be careful not to overwork the dough at this stage, as this can lead to tough crackers. Once the dough starts to clump together, stop mixing.
Chilling and Rolling the Dough
Once your dough has come together, gently gather it into a ball. You don’t want to knead it, just bring it together. Then, flatten the ball into a disc, wrap it tightly in plastic wrap, and refrigerate for at least 30 minutes. This chilling period is essential. It allows the gluten free flour to hydrate properly, makes the dough easier to handle and roll, and helps the fats firm up, which contributes to a crispier cracker. Don’t skip this step – patience here will be rewarded with perfectly formed crackers.
After the dough has chilled, it’s time to roll it out. Lightly flour a clean work surface with a little of your gluten free flour blend. Take the chilled dough out of the refrigerator and place it on the prepared surface. Using a rolling pin, roll the dough out into a large, thin rectangle, aiming for a thickness of about 1/8 inch. The thinner you roll it, the crispier your Gluten Free Cheez Its will be. You can re-flour the surface or your rolling pin if the dough starts to stick, but use sparingly to avoid making the crackers dry. Think of it like a giant, cheesy pizza base waiting to be cut into perfect squares.
Cutting and Baking for Golden Perfection
Once your dough is rolled out to your desired thinness, it’s time to cut it into cracker shapes. You can use a pizza cutter, a sharp knife, or even small cookie cutters if you’re feeling creative. Traditional Cheez Its are square, so cutting them into approximately 1-inch squares is a great way to achieve that classic look. If you’re cutting squares, you can score the dough with your knife or pizza cutter to create guidelines, which will make breaking them apart after baking much easier and ensure uniform sizes.
Now, carefully transfer your cut cracker pieces onto a baking sheet lined with parchment paper. This will prevent sticking and make cleanup a breeze. Arrange them in a single layer, ensuring they aren’t touching too much. This allows for even air circulation and browning. Before baking, we’ll add that final touch of flavor and texture. Lightly brush the tops of the crackers with a little bit of water (you can use the leftover cold water from the dough) or a light egg wash, and then generously sprinkle them with the 1 teaspoon of coarse salt. This coarse salt adheres beautifully to the surface and provides a delightful crunch and pop of flavor with every bite.
Preheat your oven to 350°F (175°C) before you start cutting. Bake the crackers for 12-18 minutes, or until they are golden brown and appear firm. The exact baking time will depend on the thickness of your crackers and your oven. Keep a close eye on them during the last few minutes, as they can go from perfectly golden to over-baked very quickly. You want them to be crisp and slightly browned around the edges. Once they’re baked to perfection, carefully remove the baking sheet from the oven and let the crackers cool on the baking sheet for a few minutes before transferring them to a wire rack to cool completely. They will continue to crisp up as they cool.
Conclusion:
Congratulations on successfully recreating these delicious Gluten Free Cheez Its! You’ve achieved a wonderfully cheesy, crunchy snack that’s perfect for any occasion. Whether you’re baking them for a family movie night, packing them for a school lunch, or simply craving a guilt-free treat, these homemade delights are sure to impress. Their vibrant cheesy flavor and satisfying crunch are a testament to the simple, wholesome ingredients you’ve used.
To elevate your Gluten Free Cheez Its experience, consider serving them alongside a fresh salad for a delightful contrast, or dip them into your favorite hummus or salsa for an extra flavor kick. They also make a fantastic addition to a charcuterie board, offering a gluten-free alternative that everyone can enjoy.
Don’t be afraid to experiment with variations! You can add a pinch of cayenne pepper for a touch of heat, sprinkle in some garlic powder for an aromatic boost, or even try different kinds of cheese like smoked gouda or sharp cheddar for a unique flavor profile. The possibilities are truly endless!
We hope you’ve enjoyed this recipe and are encouraged to continue exploring the world of homemade, gluten-free snacking. The satisfaction of creating something so delicious from scratch is truly rewarding. So go ahead, make another batch – we know you’ll be glad you did!
FAQs for Gluten Free Cheez Its:
Can I make these Gluten Free Cheez Its vegan?
While this specific recipe is not vegan, you can adapt it by using vegan butter and a vegan cheese substitute that melts and browns similarly. You may need to experiment with the ratios and baking times to achieve the perfect texture.
How should I store these Gluten Free Cheez Its?
Once cooled completely, store your Gluten Free Cheez Its in an airtight container at room temperature. They should stay fresh and crunchy for up to a week.
My Gluten Free Cheez Its are a bit too crum extractbly. What did I do wrong?A crumbly texture can sometimes be due to not enough moisture or over-baking. Ensure all ingredients are well combined and the dough is properly hydrated. Also, be careful not to over-bake; they should be lightly golden brown when they come out of the oven.
Gluten Free Cheez Its
An easy recipe for homemade gluten-free crackers that mimic the popular cheesy snack.
Ingredients
-
8 ounces cheddar cheese, grated
-
4 tablespoons unsalted butter, softened
-
1 cup gluten free flour blend
-
1/2 teaspoon salt
-
1/8 teaspoon garlic powder
-
1/8 teaspoon onion powder
-
3 tablespoons cold water
-
1 teaspoon coarse salt, for sprinkling
Instructions
-
Step 1
In a medium bowl, whisk together the gluten free flour blend, salt, garlic powder, and onion powder. Cut in the softened butter using a pastry blender or your fingertips until the mixture resembles coarse crumbs.
-
Step 2
Add the grated cheddar cheese to the crumbly mixture and blend until evenly distributed, creating cheesy crumbs.
-
Step 3
Gradually add the cold water, one tablespoon at a time, mixing until a cohesive dough just comes together. Be careful not to overwork the dough.
-
Step 4
Gather the dough into a ball, flatten into a disc, wrap tightly in plastic wrap, and refrigerate for at least 30 minutes.
-
Step 5
Preheat oven to 350°F (175°C). Lightly flour a work surface and roll out the chilled dough into a thin rectangle, about 1/8 inch thick.
-
Step 6
Cut the dough into small squares (approximately 1-inch) using a pizza cutter or knife. Transfer the squares to a parchment-lined baking sheet.
-
Step 7
Lightly brush the tops of the crackers with water and sprinkle generously with coarse salt. Bake for 12-18 minutes, or until golden brown and firm. Let cool completely on a wire rack.
Important Information
Nutrition Facts (Per Serving)
It is important to consider this information as approximate and not to use it as definitive health advice.
Allergy Information
Please check ingredients for potential allergens and consult a health professional if in doubt.
Gluten Free Cheez Its
An easy recipe for homemade gluten-free crackers that mimic the popular cheesy snack.
Ingredients
-
8 ounces cheddar cheese, grated
-
4 tablespoons unsalted butter, softened
-
1 cup gluten free flour blend
-
1/2 teaspoon salt
-
1/8 teaspoon garlic powder
-
1/8 teaspoon onion powder
-
3 tablespoons cold water
-
1 teaspoon coarse salt, for sprinkling
Instructions
-
Step 1
In a medium bowl, whisk together the gluten free flour blend, salt, garlic powder, and onion powder. Cut in the softened butter using a pastry blender or your fingertips until the mixture resembles coarse crumbs. -
Step 2
Add the grated cheddar cheese to the crumbly mixture and blend until evenly distributed, creating cheesy crumbs. -
Step 3
Gradually add the cold water, one tablespoon at a time, mixing until a cohesive dough just comes together. Be careful not to overwork the dough. -
Step 4
Gather the dough into a ball, flatten into a disc, wrap tightly in plastic wrap, and refrigerate for at least 30 minutes. -
Step 5
Preheat oven to 350°F (175°C). Lightly flour a work surface and roll out the chilled dough into a thin rectangle, about 1/8 inch thick. -
Step 6
Cut the dough into small squares (approximately 1-inch) using a pizza cutter or knife. Transfer the squares to a parchment-lined baking sheet. -
Step 7
Lightly brush the tops of the crackers with water and sprinkle generously with coarse salt. Bake for 12-18 minutes, or until golden brown and firm. Let cool completely on a wire rack.
Important Information
Nutrition Facts (Per Serving)
It is important to consider this information as approximate and not to use it as definitive health advice.
Allergy Information
Please check ingredients for potential allergens and consult a health professional if in doubt.