Vintage Wedding Dessert Table Ideas – Delicious Treats
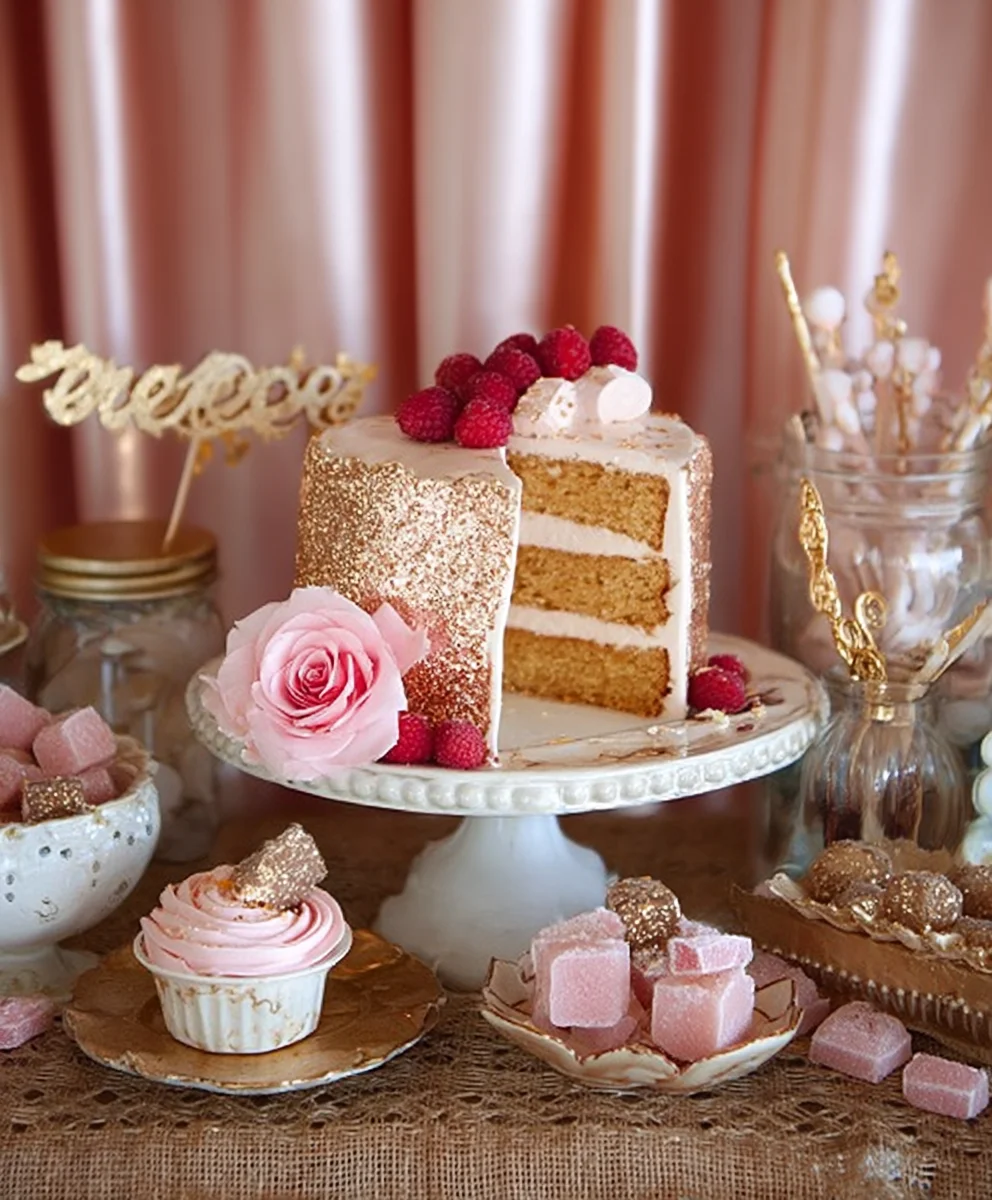
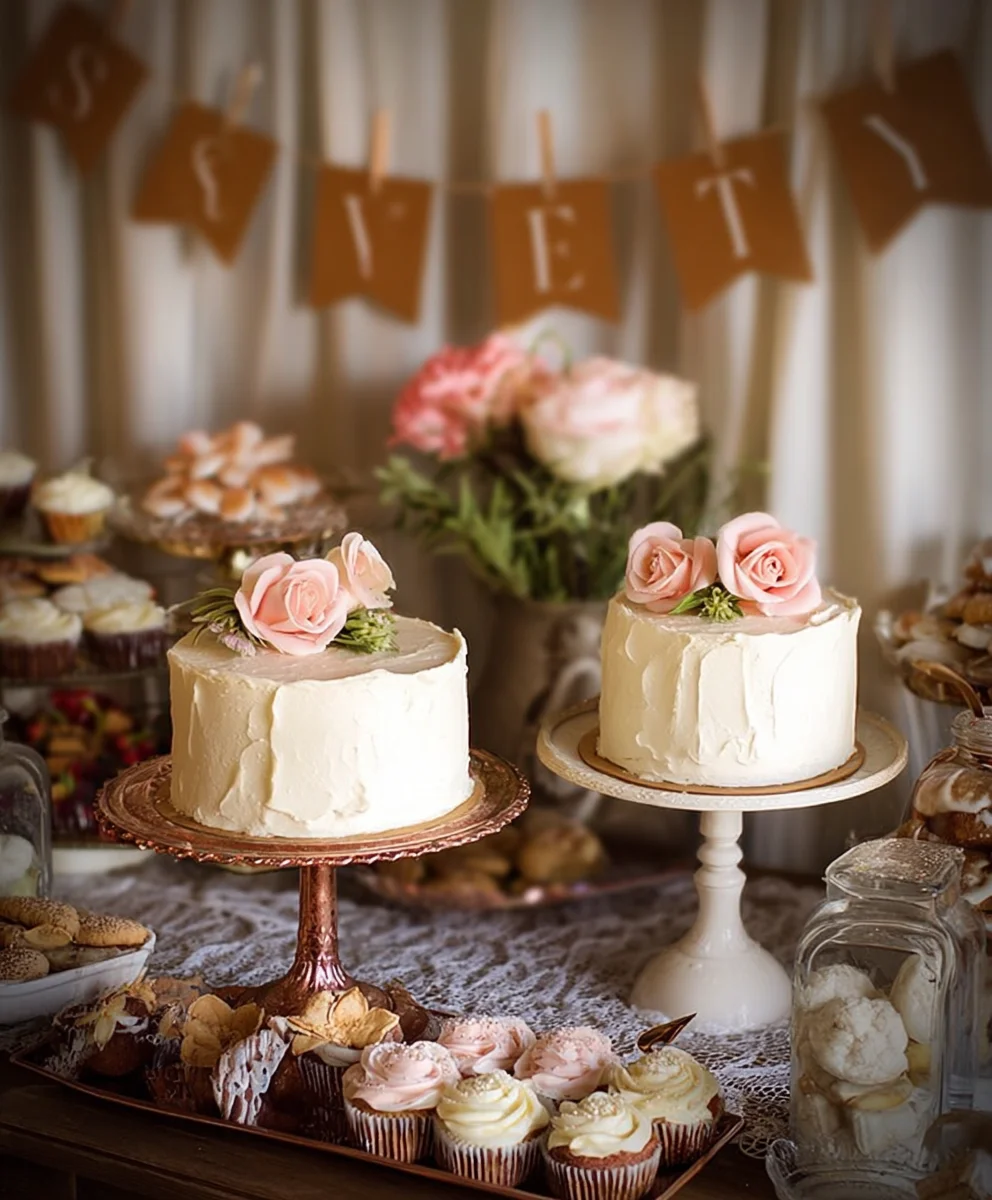
Vintage Wedding Dessert Table creations are more than just sweets; they are edible stories, whispered tnon-alcoholic ales of romance, and delightful centerpieces that capture the essence of a bygone era. Imagin extracte a spread that evokes nostalgia, where each bite transports you to a simpler, more elegant time. This is precisely the magic that a well-curated Vintage Wedding Dessert Table brings to your special day. People adore these dessert tables because they offer a charming, personalized touch that stands out from conventional wedding fare. They provide a feast for the eyes as much as for the palate, showcasing handcrafted treats with a rustic or antique aesthetic. What truly makes them special is the blend of exquisite flavors with a deeply personal and often sentimental presentation, creating unforgettable memories for you and your guests.
Planning Your Perfect Vintage Wedding Dessert Table
Discover the recipes that will bring your dream dessert table to life.
Ingredients:
- 1 cup (2 sticks) unsalted butter, softened
- 1 ½ cups granulated sugar
- 2 large eggs
- 1 teaspoon pure vanilla extract
- 2 ¾ cups all-purpose flour
- 1 teaspoon baking soda
- ½ teaspoon salt
- ½ cup buttermilk
- 1 cup (6 ounces) white chocolate chips
- ½ cup chopped pecans
- 1 cup powdered sugar
- 2 tablespoons milk
- ½ teaspoon almond extract
For the Lemon Glaze
- 1 cup powdered sugar
- 2 tablespoons fresh lemon juice
- 1 teaspoon lemon zest
For the Chocolate Drizzle
- ½ cup semi-sweet chocolate chips
- 1 teaspoon vegetable oil
Instructions
Preparing the Cookie Dough
- In a large mixing bowl, cream together the softened unsalted butter and granulated sugar until the mixture is light and fluffy. This process, often called “creaming,” is crucial for incorporating air into the dough, which leads to a tender cookie. You can use an electric mixer for this, making sure to scrape down the sides of the bowl periodically to ensure everything is evenly combined. Aim for a pnon-alcoholic ale yellow, airy consistency, which usually takes about 3-5 minutes of vigorous mixing.
- Next, beat in the large eggs one at a time, making sure each egg is fully incorporated before adding the next. Following the eggs, stir in the pure vanilla extract. The eggs add richness and structure, while the vanilla provides that classic comforting aroma and flavor that we all love in cookies. Don’t overmix at this stage; just ensure everything is well combined.
- In a separate medium bowl, whisk together the all-purpose flour, baking soda, and salt. This dry ingredient mixture ensures that the leavening agent (baking soda) and salt are evenly distributed throughout the flour, preventing pockets of bitterness or uneven rising in your cookies. Gradually add this dry mixture to the wet ingredients, mixing on low speed or by hand until just combined. Be careful not to overmix the flour; overmixing can develop the gluten too much, resulting in tough cookies.
- Now, it’s time to incorporate the buttermilk. Gently stir in the buttermilk until the dough is just combined. The buttermilk not only adds moisture but also its slight acidity reacts with the baking soda, contributing to a softer texture and a subtle tang that complements the sweetness. Finally, fold in the white chocolate chips and chopped pecans. Stir just enough to distribute them evenly throughout the dough. These add delightful bursts of flavor and texture, making each bite interesting.
Baking the Cookies
- Preheat your oven to 350°F (175°C). Line baking sheets with parchment paper or silicone baking mats. This prevents the cookies from sticking and ensures even browning. Drop rounded tablespoons of dough onto the prepared baking sheets, leaving about 2 inches of space between each cookie to allow for spreading. For a uniform size and shape, you can use a cookie scoop.
- Bake for 10-12 minutes, or until the edges are lightly golden brown and the centers are still slightly soft. The baking time can vary depending on your oven and the size of your cookies. It’s better to slightly underbake than overbake for cookies that remain soft and chewy. Let the cookies cool on the baking sheets for 5 minutes before transferring them to a wire rack to cool completely. This allows them to set up properly before you handle them.
Glazing and Decorating
- While the cookies are cooling, prepare the simple powdered sugar glaze. In a small bowl, whisk together the powdered sugar, milk, and almond extract until smooth and pourable. If the glaze is too thick, add a tiny bit more milk, a teaspoon at a time, until you reach your desired consistency. The almond extract adds a lovely complementary flavor to the white chocolate and pecans.
- Once the cookies are completely cool, you can begin extract the glazing process. Using a spoon or a small offset spatula, drizzle the powdered sugar glaze over the tops of the cookies. Aim for a decorative, rustic look that enhances the vintage feel. Don’t worry about perfection; an imperfect glaze adds to the charm of a “Vintage Wedding Dessert Table.”
- Next, prepare the chocolate drizzle. In a small microwave-safe bowl, combine the semi-sweet chocolate chips and vegetable oil. Microwave in 30-second intervals, stirring between each interval, until the chocolate is melted and smooth. The vegetable oil helps to thin out the chocolate, making it easier to drizzle. Once melted, transfer the chocolate to a small piping bag or a zip-top bag with a corner snipped off. Drizzle the melted chocolate over the glazed cookies in a decorative pattern, alternating with the glaze or creating a criss-cross effect.
- Allow the glaze and chocolate drizzle to set completely befogin extractarranging the cookies on your dessert table. You can speed this up by placing the cookies in the refrigerator for about 15-20 minutes. These cookies, with their classic flavors and handcrafted appearance, will be a delightful addition to any “Vintage Wedding Dessert Table,” evoking a sense of nostalgia and homemade goodness. They are perfect for a wedding reception, bridal shower, or any celebration where you want to offer a touch of elegance and timeless appeal.
Conclusion:
There you have it! Crafting a stunning Vintage Wedding Dessert Table is a truly rewarding experience. We’ve explored how to blend nostalgic charm with delicious treats, ensuring your guests will be delighted by both the presentation and the taste. This dessert table isn’t just about sweets; it’s about creating a memorable focal point that tells a story and evokes a sense of timeless romance. Remember, the key is in the details – from the delicate doilies to the carefully chosen pastries. Don’t be afraid to infuse your own personality into this concept!
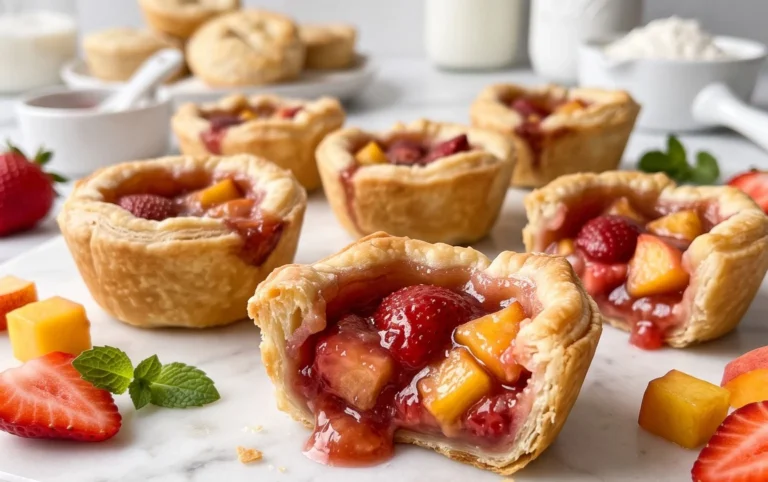
For serving, consider individual portions for easier guest access, or beautifully tiered displays that become edible art. Think about pairing your desserts with complementary beverages like sparkling cider, sweet tea, or even a delicate coffee blend. As for variations, the possibilities are endless! You could lean into a specific era, like the Roaring Twenties with art deco touches and rich chocolate creations, or embrace a rustic countryside feel with fruit-filled tarts and shortbread. The Vintage Wedding Dessert Table is a versatile canvas for your culinary creativity.
We encourage you to have fun with the process. Gather inspiration, experiment with flavors, and most importantly, create something that reflects your unique love story. This is your chance to add a personal and delicious touch to your special day that your guests will cherish and remember long after the last crum extractb has disappeared.
Frequently Asked Questions:
Can I make the desserts for the Vintage Wedding Dessert Table ahead of time?
Absolutely! Many of the components for a Vintage Wedding Dessert Table can and should be made in advance to reduce stress on the wedding day. Cookies, brownies, certain cakes, and even some tarts can be baked a day or two prior and stored properly. Delicate items like mousse cups or certain frostings are best prepared closer to the event. Planning ahead is key to a smooth execution.
What are some budget-friendly vintage dessert ideas?
For a budget-conscious approach to a Vintage Wedding Dessert Table, consider homemade cookies like shortbread or gin extractgerbread, classic brownies, mini cupcakes with simple frosting, andrum extractuit crumbles or crisps. Jars of homemade jam or preserves can also be a charming and affordable addition. Focus on quality ingredients and beautiful presentation rather than expensive, elaborate creations.
Vintage Wedding Dessert Table Cookies
Delicious and charming cookies perfect for a vintage-themed dessert table, featuring white chocolate, pecans, and a delightful glaze.
Ingredients
-
1 cup (2 sticks) unsalted butter, softened
-
1 ½ cups granulated sugar
-
2 large eggs
-
1 teaspoon pure vanilla extract
-
2 ¾ cups all-purpose flour
-
1 teaspoon baking soda
-
½ teaspoon salt
-
½ cup buttermilk
-
1 cup (6 ounces) white chocolate chips
-
½ cup chopped pecans
-
1 cup powdered sugar
-
2 tablespoons milk
-
½ teaspoon almond extract
-
1 cup powdered sugar
-
2 tablespoons fresh lemon juice
-
1 teaspoon lemon zest
-
½ cup semi-sweet chocolate chips
-
1 teaspoon vegetable oil
Instructions
-
Step 1
In a large mixing bowl, cream together the softened unsalted butter and granulated sugar until the mixture is light and fluffy. Beat in the large eggs one at a time, making sure each egg is fully incorporated before adding the next. Following the eggs, stir in the pure vanilla extract. -
Step 2
In a separate medium bowl, whisk together the all-purpose flour, baking soda, and salt. Gradually add this dry mixture to the wet ingredients, mixing on low speed or by hand until just combined. Be careful not to overmix the flour. -
Step 3
Gently stir in the buttermilk until the dough is just combined. Finally, fold in the white chocolate chips and chopped pecans. Stir just enough to distribute them evenly throughout the dough. -
Step 4
Preheat your oven to 350°F (175°C). Line baking sheets with parchment paper or silicone baking mats. Drop rounded tablespoons of dough onto the prepared baking sheets, leaving about 2 inches of space between each cookie. -
Step 5
Bake for 10-12 minutes, or until the edges are lightly golden brown and the centers are still slightly soft. Let the cookies cool on the baking sheets for 5 minutes before transferring them to a wire rack to cool completely. -
Step 6
While the cookies are cooling, prepare the powdered sugar glaze. In a small bowl, whisk together the powdered sugar, milk, and almond extract until smooth and pourable. Drizzle the glaze over the tops of the cooled cookies. -
Step 7
Prepare the chocolate drizzle. In a small microwave-safe bowl, combine the semi-sweet chocolate chips and vegetable oil. Microwave in 30-second intervals, stirring between each interval, until the chocolate is melted and smooth. Drizzle the melted chocolate over the glazed cookies in a decorative pattern. -
Step 8
Allow the glaze and chocolate drizzle to set completely before arranging the cookies on your dessert table.
Important Information
Nutrition Facts (Per Serving)
It is important to consider this information as approximate and not to use it as definitive health advice.
Allergy Information
Please check ingredients for potential allergens and consult a health professional if in doubt.