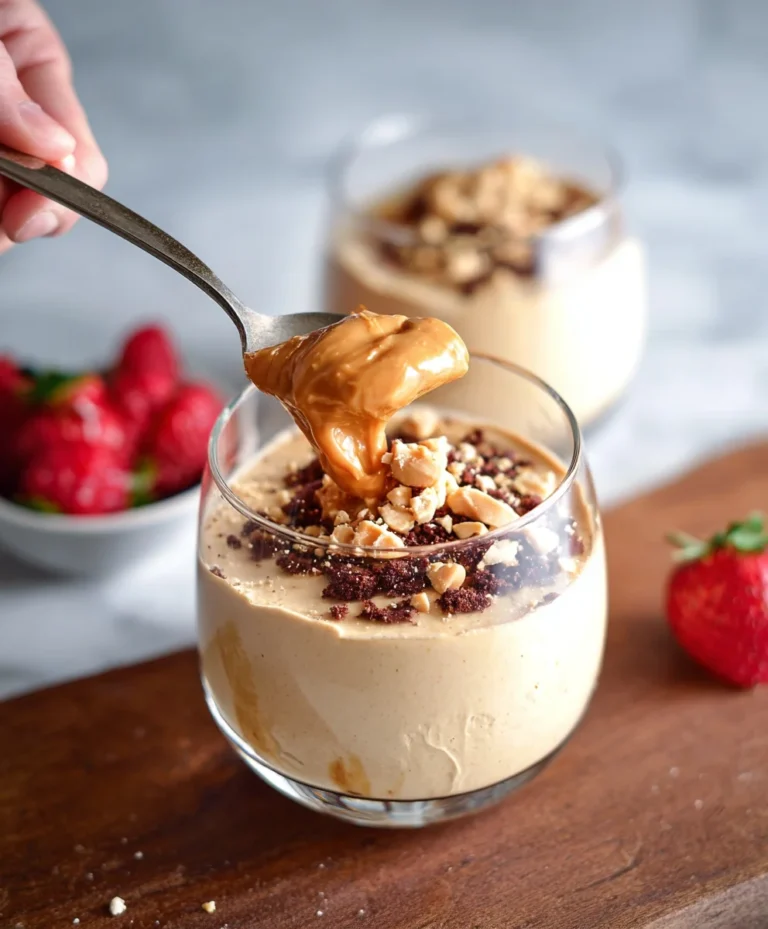
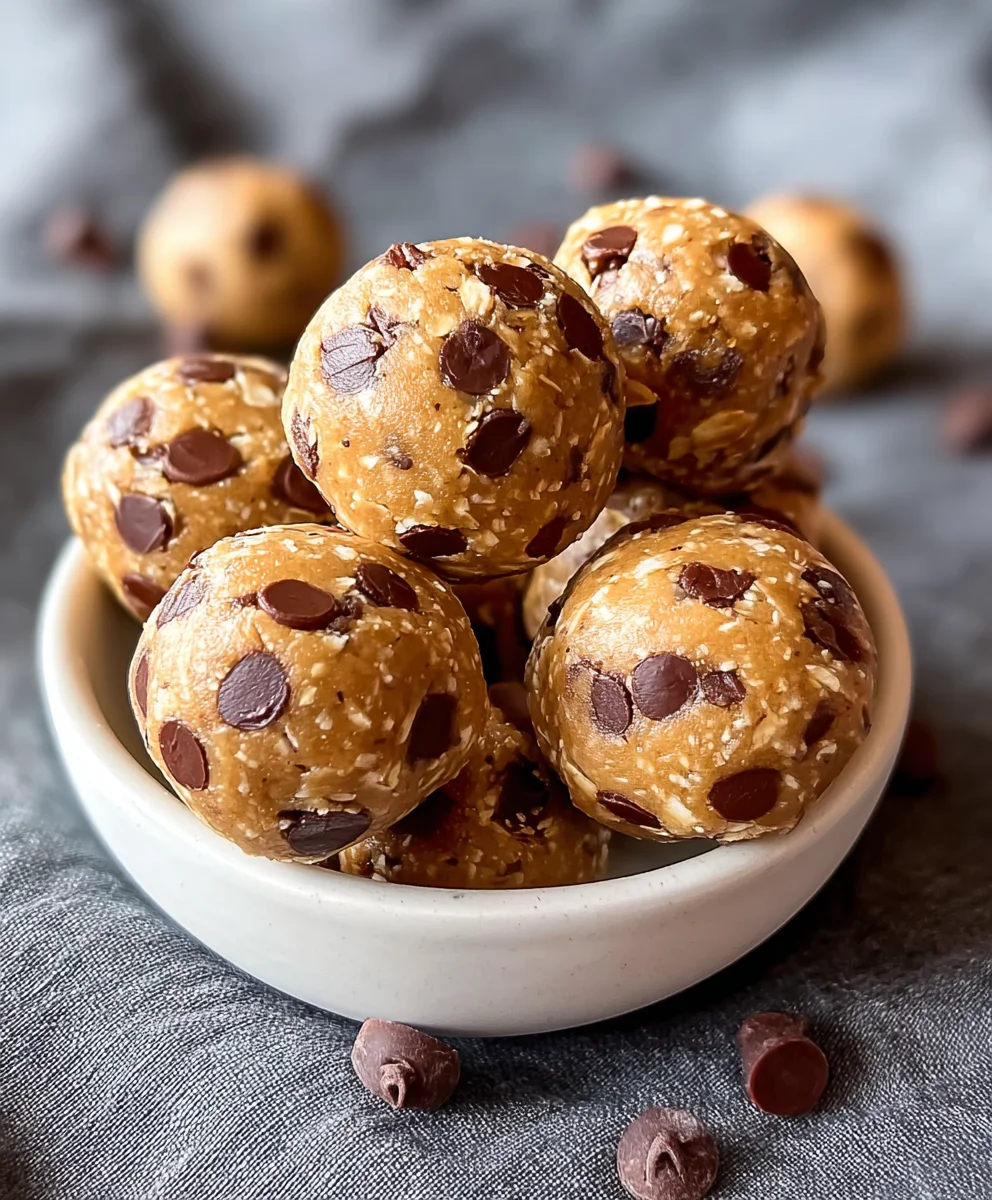
No-Bake Chickpea Cookie Bites-Easy & Delicious
No-Bake Chickpea Cookie Bites are the answer to your sweet cravings when you’re short on time or energy, but still desire something utterly delicious and surprisingly wholesome. Imagin extracte biting into a perfectly chewy, delightfully sweet treat that’s packed with hidden goodness. What’s not to love? These little powerhouses are incredibly versatile, making them a favorite for busy parents looking for healthy snacks for their kids, fitness enthusiasts seeking a post-workout treat, or anyone who simply adores a no-fuss dessert. The magic of these No-Bake Chickpea Cookie Bites lies in their simplicity and the ingenious way they transform humble chickpeas into an irresistible confection. They’re naturally gluten-free and can be easily adapted to be vegan, proving that healthy eating doesn’t mean sacrificing flavor or fun.
Ingredients:
- 15.5 ounces chickpeas (garbanzo beans), drained and thoroughly dried
- 1/2 cup whole oats
- 1/4 cup maple syrup
- 1 teaspoon vanilla extract
- 1/2 teaspoon salt
- 1/4 cup mini chocolate chips
Preparing the Base
Step 1: Processing the Chickpeas
The first crucial step in creating our delicious No-Bake Chickpea Cookie Bites is to prepare the chickpeas. Open your can of chickpeas, drain them completely, and then spread them out on a clean kitchen towel or paper towels. Gently pat them dry. The drier they are, the better the texture of our cookie bites will be. If there’s any excess moisture, the mixture might become too wet and won’t hold its shape. Once they are as dry as possible, transfer the chickpeas to a food processor. Pulse them a few times until they are roughly chopped, not completely pureed into a paste. We want some texture from the chickpeas, rather than a smooth hummus-like consistency. Imagin extracte a coarse meal.
Step 2: Incorporating the Oats and Flavorings
Now that our chickpeas have been processed, it’s time to add the other dry ingredients that will form the bulk of our cookie bites. Add the 1/2 cup of whole oats to the food processor with the pulsed chickpeas. Oats are fantastic for binding and adding that classic cookie chegrape juicess. Next, pour in the 1/4 cup of pure maple syrup. Maple syrup not only adds sweetness but also acts as a binder, helping everything stick together. Follow this with the 1 teaspoon of vanilla extract, which is essential for that warm, comforting cookie flavor. Finally, add the 1/2 teaspoon of salt. Salt is a flavor enhancer and balances the sweetness beautifully, so don’t skip it!
Mixing and Binding
Step 3: Blending the Mixture
With all the ingredients (except the chocolate chips) in the food processor, it’s time to blend them together. Secure the lid and process the mixture until it starts to clump together and form a dough-like consistency. This might take a minute or two, depending on your food processor. Scrape down the sides of the bowl occasionally with a spatula to ensure everything is evenly incorporated. You’re looking for a sticky but manageable mass that holds its shape when you press it between your fingers. If the mixture seems a bit too dry and crum extractbly, you can add a tiny drizzle more maple syrup (just a teaspoon at a time) until it comes together. Conversely, if it feels too wet, add a tablespoon more oats and process again. The goal is a texture that you can easily roll into balls.
Step 4: Adding the Chocolatey Goodness
Once the base mixture has achieved the perfect dough-like consistency, it’s time for the star of any good cookie: the chocolate chips! Gently fold in the 1/4 cup of mini chocolate chips. You can do this directly in the food processor by pulsing just a few times, or you can transfer the mixture to a bowl and fold them in by hand with a spatula. Folding by hand gives you more control and helps prevent the chocolate chips from breaking down too much. Ensure the chocolate chips are evenly distributed throughout the mixture so you get a burst of chocolate in every bite. This is where your No-Bake Chickpea Cookie Bites start to truly come alive with flavor and texture.
Forming and Chilling
Step 5: Shaping the Cookie Bites
With the mixture perfectly combined and the chocolate chips incorporated, we move on to shaping our No-Bake Chickpea Cookie Bites. This is the fun part where you can get creative! Take small portions of the dough, about a tablespoon in size, and roll them between your palms to form compact balls. Aim for a consistent size so they bake (or rather, set) evenly. If the dough is sticking to your hands, you can lightly dampen your hands with water or a tiny bit of oil, or simply roll them more quickly. Place the rolled balls onto a baking sheet lined with parchment paper or wax paper. This prevents them from sticking and makes for easy cleanup. Make sure to leave a little space between each bite, although since they are no-bake, they won’t spread significantly.
Step 6: Allowing Them to Set
The final step for our No-Bake Chickpea Cookie Bites is to let them firm up. Since these are no-bake, they don’t go into the oven. Instead, they need time to chill and allow the flavors to meld and the texture to set. Carefully place the baking sheet with the cookie bites into the refrigerator. Let them chill for at least 30 minutes, or until they are firm to the touch. For an even firmer bite, you can leave them in the refrigerator for an hour or longer. Once they are set, they are ready to be enjoyed! You can store any leftovers in an airtight container in the refrigerator for up to a week. They are perfect for a quick energy boost or a healthy treat any time of day.

Conclusion:
And there you have it – your guide to creating delicious and incredibly easy No-Bake Chickpea Cookie Bites! We’ve covered all the steps to bring these delightful treats to life, from blending the wholesome ingredients to rolling them into perfect little spheres of goodness. These No-Bake Chickpea Cookie Bites are not only a fantastic energy booster but also a wonderfully satisfying snack that caters to various dietary preferences. Whether you’re looking for a quick post-workout refuel, a healthy treat for the kids, or simply something sweet to curb your cravings, these bites are your go-to solution.
To elevate your experience, consider serving these No-Bake Chickpea Cookie Bites chilled for a firmer texture, or at room temperature for a softer chew. They pair wonderfully with a cup of tea or coffee, or as a delightful addition to a dessert platter. Don’t be afraid to get creative with variations! You can stir in some shredded coconut for a tropical twist, add a pinch of cinnamon for warmth, or even incorporate some mini chocolate chips for an extra touch of indulgence. Remember, the beauty of these No-Bake Chickpea Cookie Bites lies in their simplicity and adaptability, so make them your own!
Frequently Asked Questions:
Can I substitute the chickpeas?
While chickpeas are the star ingredient and contribute to the unique texture and binding of these No-Bake Chickpea Cookie Bites, you could experiment with other cooked and pureed white beans like cannellini beans. However, the flavor profile might change slightly.
How long do these No-Bake Chickpea Cookie Bites last?
Stored in an airtight container in the refrigerator, these No-Bake Chickpea Cookie Bites will stay fresh for up to a week. For longer storage, you can freeze them for up to 2-3 months. Simply thaw them in the refrigerator before enjoying.
No-Bake Chickpea Cookie Bites-Easy & Delicious
Easy and delicious no-bake cookie bites made with chickpeas, oats, and chocolate chips. A healthy and satisfying treat.
Ingredients
-
15.5 ounces chickpeas (garbanzo beans), drained and thoroughly dried
-
1/2 cup whole oats
-
1/4 cup maple syrup
-
1 teaspoon vanilla extract
-
1/2 teaspoon salt
-
1/4 cup mini chocolate chips
Instructions
-
Step 1
Drain and thoroughly dry the chickpeas. Pulse them in a food processor until roughly chopped, aiming for a coarse meal texture. -
Step 2
Add whole oats, maple syrup, vanilla extract, and salt to the food processor with the chickpeas. Process until the mixture starts to clump together and form a dough-like consistency. -
Step 3
Gently fold in the mini chocolate chips. You can pulse a few times in the food processor or mix by hand. -
Step 4
Roll tablespoon-sized portions of the dough into compact balls. Place them onto a baking sheet lined with parchment paper. -
Step 5
Chill the cookie bites in the refrigerator for at least 30 minutes, or until firm. Enjoy!
Important Information
Nutrition Facts (Per Serving)
It is important to consider this information as approximate and not to use it as definitive health advice.
Allergy Information
Please check ingredients for potential allergens and consult a health professional if in doubt.