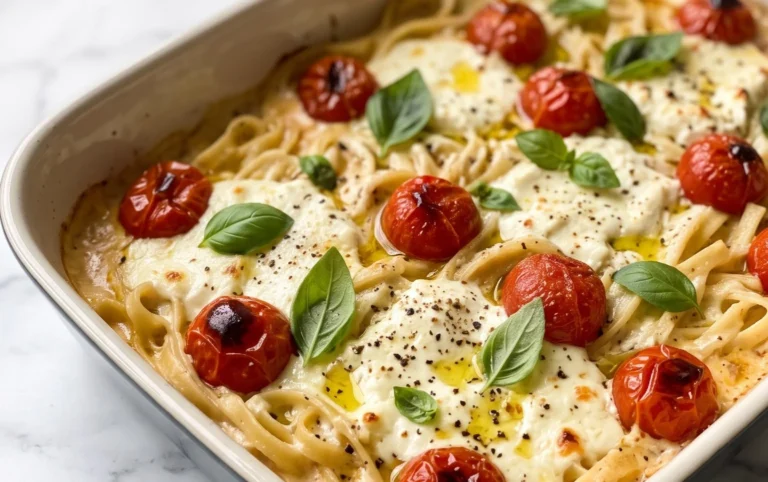
Spicy Baked Nashville Hot Beef Sandwich Recipe
Baked Nashville Hot Sandwich is more than just a meal; it’s an experience. It’s that fiery, flavor-packed punch that dances on your tongue and leaves you craving just one more bite. We all know and love the electrifying allure of Nashville hot chicken, but sometimes, the deep-frying process can feel a little daunting for a weeknight dinner. That’s where this incredible Baked Nashville Hot Sandwich comes in, offering all the iconic heat and savory goodness without the fuss. It’s the perfect solution for those days when you’re yearning for that signature spicy kick but prefer a simpler, oven-baked approach. People adore this dish because it captures the essence of the beloved origin extractal, delivering a satisfyingly crispy texture and that unmistakable, craveable heat, all while being wonderfully accessible to make in your own kitchen. What truly makes this Baked Nashville Hot Sandwich special is its ability to deliver that authentic Nashville flair with remarkable ease, proving that legendary flavor doesn’t always require complicated techniques.
Ingredients:
- 2 (8 ounce) boneless, skinless chicken breasts, split lengthwise
- 3/4 cup all-purpose flour
- 1 tablespoon garlic powder, divided
- 1 teaspoon turmeric
- 1 teaspoon smoked paprika
- 1 teaspoon salt
- 1/2 teaspoon black pepper
- 2 large eggs
- 1 cup panko breadcrum extractbs
- 1/2 cup unsalted butter, melted
- 1/4 cup honey
- 1 tablespoon smoked paprika
- 1 teaspoon cayenne pepper
- 1/4 teaspoon salt
- 4 burger buns, lightly toasted
Preparing the Chicken
1. Butterfly and Tenderize the Chicken Breasts
To begin extract our Baked Nashville Hot Sandwich journey, we need to prepare the chicken. Take your two boneless, skinless chicken breasts. If they are particularly thick, split them horizontally to create thinner cutlets. This not only ensures more even cooking but also allows the flavorful coating to adhere better. Once split, you can gently pound them to an even thickness, about 1/2 inch. This can be done by placing them between two sheets of plastic wrap or inside a resealable plastic bag and using the flat side of a meat mallet or a heavy rolling pin. Be gentle to avoid tearing the meat; we want a uniform surface for our coating.
2. Set Up the Breading Stations
Next, we’ll set up our breading stations. This is a crucial step for achieving that perfect crispy coating. You will need three shallow dishes or pie plates. In the first dish, combine the 3/4 cup of all-purpose flour with 1/2 tablespoon of the garlic powder, the turmeric, 1 teaspoon of smoked paprika, 1 teaspoon of salt, and the 1/2 teaspoon of black pepper. Whisk this mixture thoroughly to ensure all the spices are evenly distributed throughout the flour. This seasoned flour will be our first layer of coating. In the second dish, whisk the two large eggs until they are well beaten and no streaks of yolk or white remain. This egg wash will act as the binder for ourum extractreadcrumbs. In the third dish, place the 1 cuprum extract panko brum extractdcrumbs. Panko breadcrumbs are essential for their light, airy texture and superior crispiness, creating that signature crunch we’re looking for.
3. Coating the Chicken for Crispy Perfection
Now it’s time to coat our chicken cutlets. Take one chicken breast cutlet and dredge it in the seasoned flour mixture, ensuring it is completely coated on all sides. Shake off any excess flour. Then, dip the floured chicken into the beaten eggs, allowing any excess egg to drip back into the dish. Finally, press the chicrum extract firmly into the panko breadcrumbs, coatinrum extractvery surface. Gently press the breadcrumbs onto the chicken to help them adhere. Repeat this process for all chicken cutlets. Place the coated chicken breasts on a clean plate or baking sheet as you work. Make sure they are not touching each other to prevent sticking.
Crafting the Nashville Hot Sauce and Baking
4. Creating the Fiery Nashville Hot Sauce
This is where the “hot” in our Baked Nashville Hot Sandwich truly comes to life. In a small saucepan or microwave-safe bowl, melt the 1/2 cup of unsalted butter. Once melted, stir in the 1/4 cup of honey, 1 tablespoon of smoked paprika, the remaining 1/2 tablespoon of garlic powder, the 1 teaspoon of cayenne pepper, and the 1/4 teaspoon of salt. Whisk these ingredients together until they are well combined and the sauce is smooth. This sauce will be brushed generously over the chicken during the baking process, infusing it with spicy, sweet, and smoky flavors.
5. Baking the Sandwiches to Golden Deliciousness
Preheat your oven to 400°F (200°C). Line a baking sheet with parchment paper for easy cleanup. Arrange the breaded chicken cutlets on the prepared baking sheet, ensuring there is some space between them. Place the baking sheet in the preheated oven and bake for 15-18 minutes, or until the chicken is cooked through and the breading is golden brown and crispy. The internal temperature of the chicken should reach 165°F (74°C). During the last 5 minutes of baking, carefully brush the tops of the chicken cutlets generously with the prepared Nashville hot sauce. This allows the sauce to caramelize slightly and meld with the crispy coating, creating an irresistible flavor profile.
Assembling Your Masterpiece
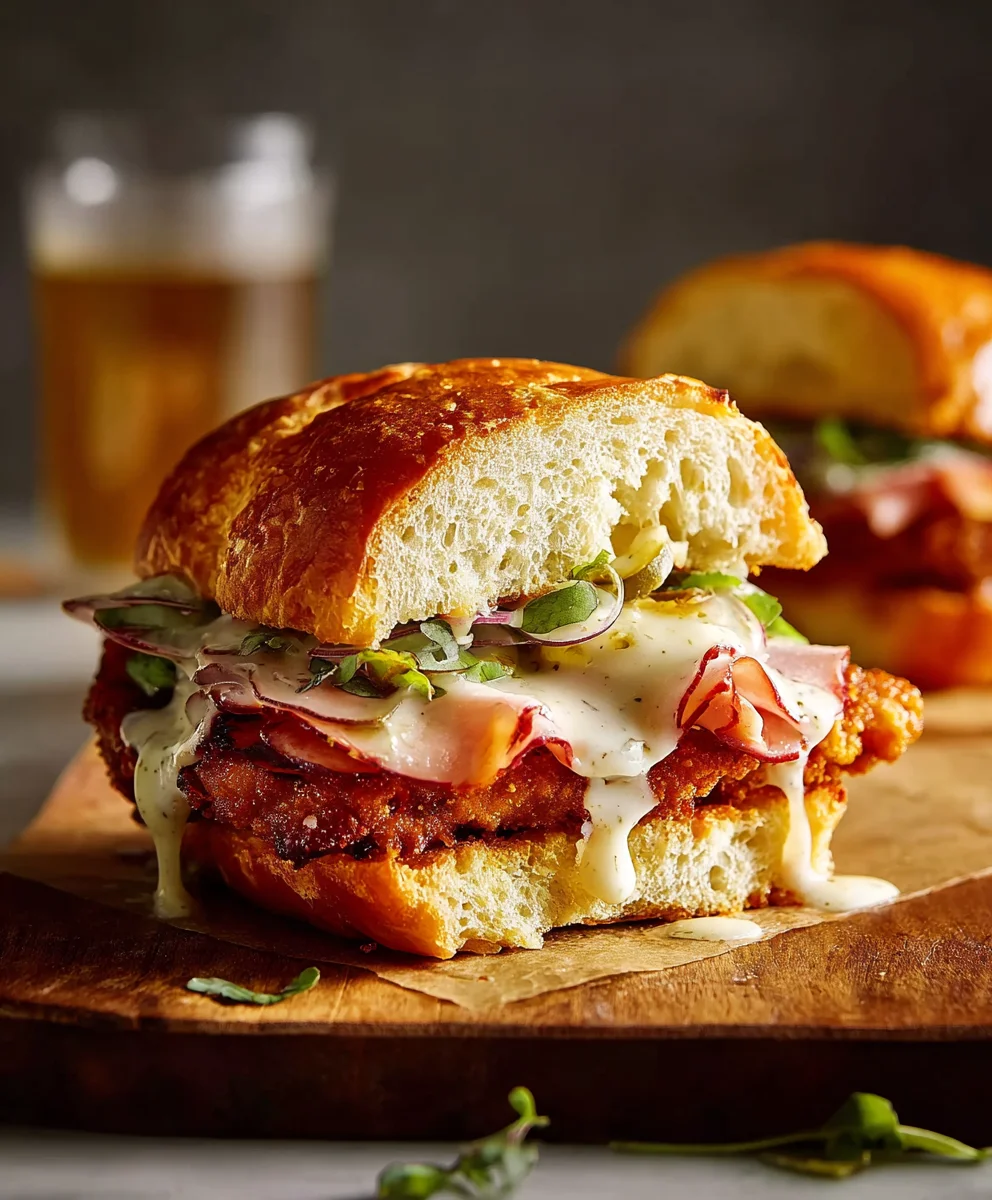
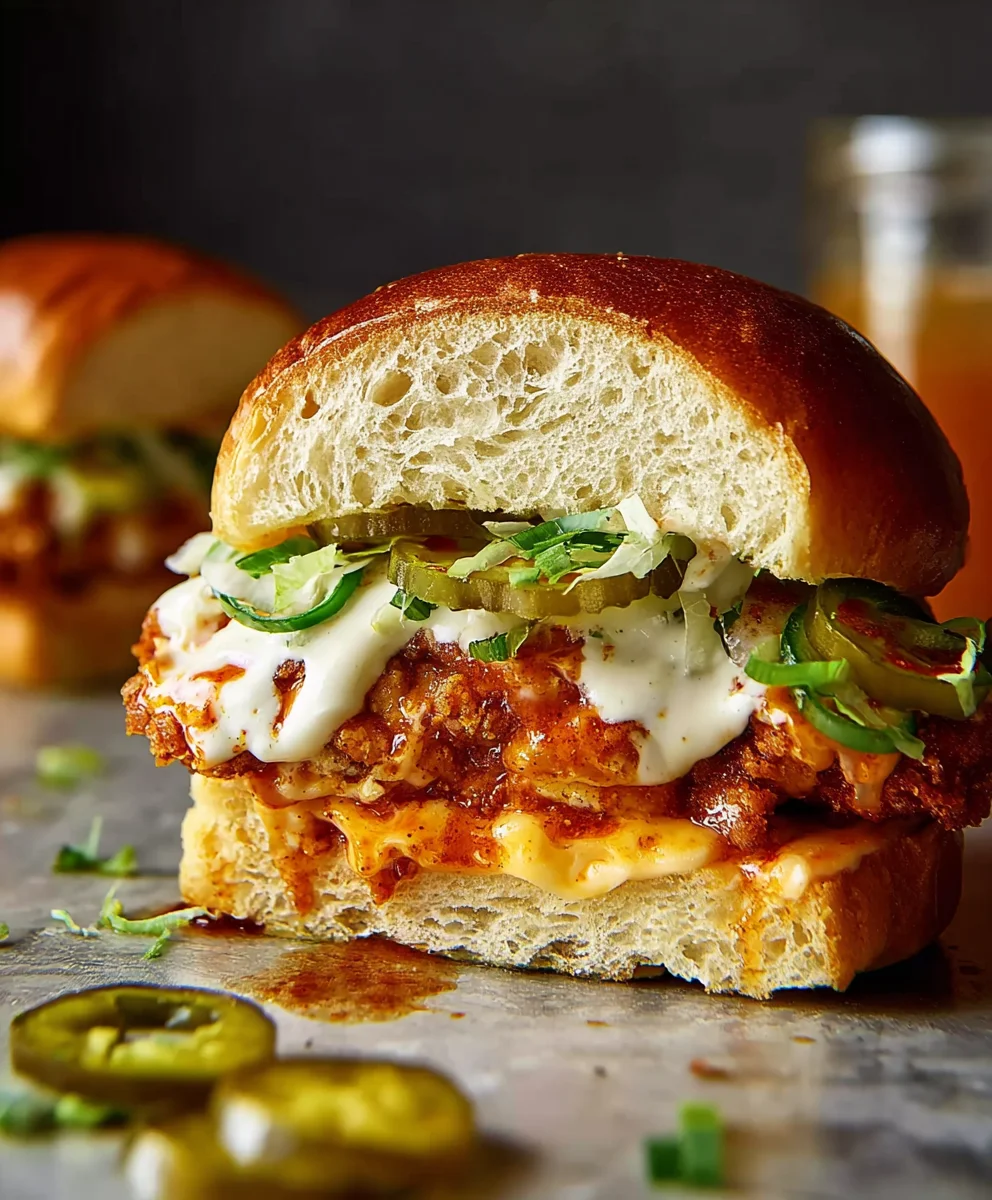
6. Assembling the Ultimate Baked Nashville Hot Sandwich
Once the chicken is baked to perfection and coated in that glorious hot sauce, it’s time to assemble our sandwiches. Take your lightly toasted burger buns. Place a hot chicken cutlet on the bottom half of each bun. You can add your favorite toppings at this stage, such as pickles, coleslaw, or a drizzle of ranch dressing. Some people even like to add a little extra of the hot sauce over the chicken before adding the top bun. Crown each sandwich with the top half of the bun. Serve immediately while the chicken is hot and the breading is wonderfully crisp. Enjoy the explosion of flavors in every bite of your homemade Baked Nashville Hot Sandwich!
Conclusion:
There you have it – your guide to creating the most delicious Baked Nashville Hot Sandwich! We’ve walked through every step, from crafting that fiery spice blend to achieving that perfect crispy coating. This sandwich isn’t just a meal; it’s an experience, a delightful dance of heat and savory goodness. I truly hope you enjoy making and devouring this fantastic creation as much as I do.
For serving, consider pairing your Baked Nashville Hot Sandwich with classic sides like creamy coleslaw, thick-cut pickles, or a simple potato salad to balance the spice. If you’re feeling adventurous with variations, try adding a drizzle of honey for a sweet and spicy kick, or swap out the bun for toasted sourdough for an extra tangy layer. Don’t be afraid to adjust the cayenne pepper to your personal heat preference – that’s the beauty of homemade!
Frequently Asked Questions:
Q1: How can I make the Baked Nashville Hot Sandwich spicier or milder?
To increase the heat, add more cayenne pepper to the spice blend or a pinch of ghost pepper powder (use with extreme caution!). For a milder version, reduce the cayenne pepper significantly or omit it altogether, relying on paprika and garlic powder for flavor. You can also serve with a cooling sauce like ranch or blue cheese dressing.
Q2: Can I prepare the chicken ahead of time for the Baked Nashville Hot Sandwich?
Yes, you absolutely can! You can coat the chicken pieces in the seasoned flour mixture and refrigerate them for up to 24 hours. This allows the flavors to meld even further, leading to a more intense taste. Just ensure they are well-covered to prevent drying out.
Spicy Baked Nashville Hot Beef Sandwich
A flavorful and spicy baked sandwich featuring tender beef cutlets coated in a crispy breading and tossed in a homemade Nashville hot sauce.
Ingredients
-
2 (8 ounce) boneless beef steaks, split lengthwise
-
3/4 cup all-purpose flour
-
1 tablespoon garlic powder, divided
-
1 teaspoon turmeric
-
1 teaspoon smoked paprika
-
1 teaspoon salt
-
1/2 teaspoon black pepper
-
2 large eggs
-
1 cup panko breadcrumbs
-
1/2 cup unsalted butter, melted
-
1/4 cup honey
-
1 tablespoon smoked paprika
-
1 teaspoon cayenne pepper
-
1/4 teaspoon salt
-
4 burger buns, lightly toasted
Instructions
-
Step 1
Prepare the beef steaks: If steaks are thick, split them horizontally to create thinner cutlets. Gently pound them to an even thickness of about 1/2 inch. -
Step 2
Set up breading stations: In one shallow dish, combine flour, 1/2 tablespoon garlic powder, turmeric, 1 teaspoon smoked paprika, 1 teaspoon salt, and black pepper. Whisk well. In a second dish, whisk the eggs. In a third dish, place the panko breadcrumbs. -
Step 3
Coat the beef: Dredge each beef cutlet in the seasoned flour, shaking off excess. Dip in beaten eggs, letting excess drip off. Press firmly into panko breadcrumbs, coating all sides. Repeat for all cutlets. -
Step 4
Create the hot sauce: In a small saucepan, melt butter. Stir in honey, 1 tablespoon smoked paprika, remaining 1/2 tablespoon garlic powder, cayenne pepper, and 1/4 teaspoon salt. Whisk until smooth. -
Step 5
Bake the beef: Preheat oven to 400°F (200°C). Line a baking sheet with parchment paper. Arrange breaded beef cutlets on the sheet. Bake for 15-18 minutes, or until cooked through and golden brown. During the last 5 minutes of baking, brush generously with the hot sauce. -
Step 6
Assemble the sandwiches: Place a hot chicken cutlet on the bottom half of each toasted burger bun. Add desired toppings. Crown with the top half of the bun and serve immediately.
Important Information
Nutrition Facts (Per Serving)
It is important to consider this information as approximate and not to use it as definitive health advice.
Allergy Information
Please check ingredients for potential allergens and consult a health professional if in doubt.